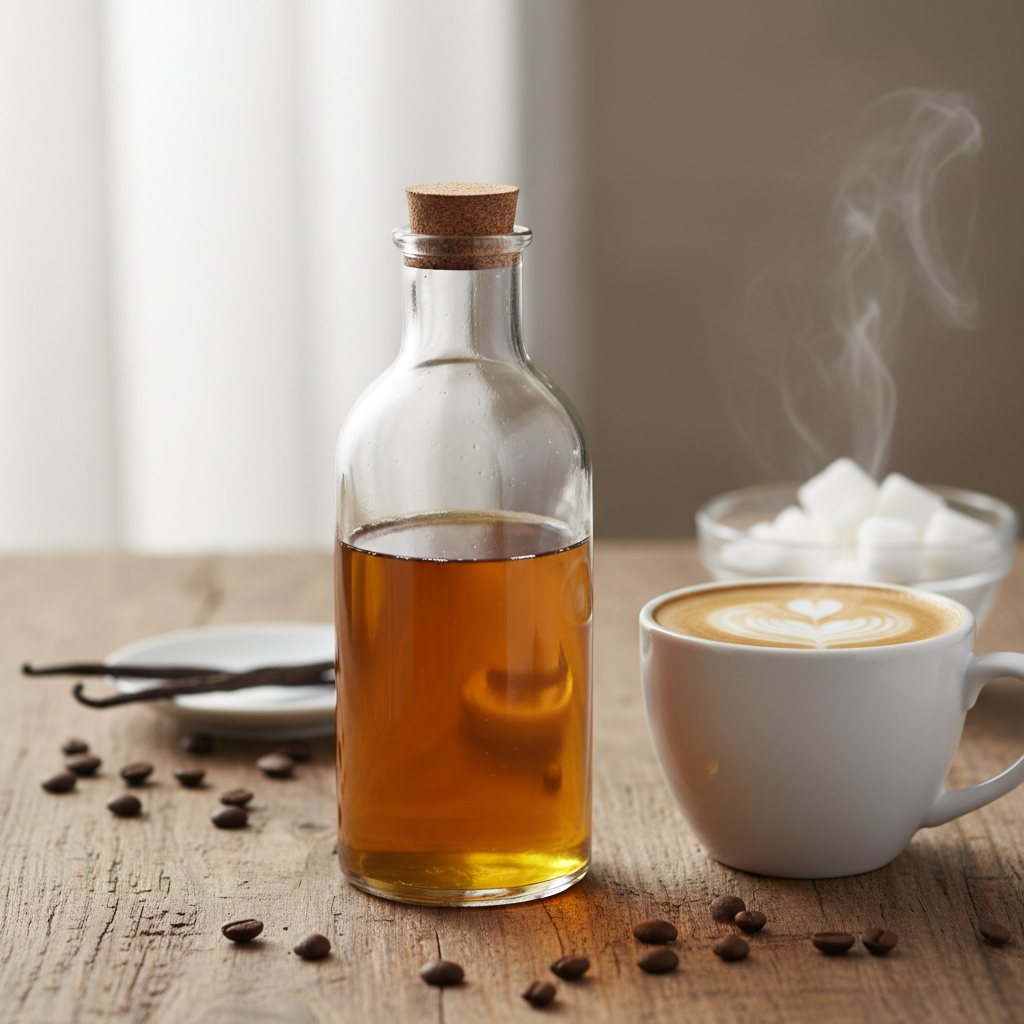
My go-to vanilla syrup recipe is a simple 1:1 ratio of white sugar to water, simmered until clear, then flavored with pure vanilla extract—it costs about $0.12 an ounce to make at home versus $0.75-$1.00 for the bottled stuff. If you’re buying multiple vanilla lattes a week, this is the easiest way to slash that habit’s cost by 90% without sacrificing flavor. I keep a 16-ounce mason jar of this syrup in my fridge at all times; it’s the workhorse behind my morning latte and my afternoon iced coffee.
- The perfect vanilla syrup uses a 1:1 ratio of sugar to water by volume.
- Coffee Recipes’ homemade vanilla syrup costs about $0.12 per ounce versus $0.75-$1.00 for store-bought.
- The entire process takes 5 minutes of active time and requires only a saucepan and a jar.
- Let the syrup cool completely before using it in iced drinks to prevent melting and dilution.
What’s in this guide
What is Vanilla Syrup?
Vanilla syrup is a flavored simple syrup, which is just sugar dissolved in water, infused with vanilla. It’s the standard sweetener used in coffee shops worldwide for drinks like the vanilla latte. According to the National Coffee Association, adding syrup is a primary method for customizing coffee beverages at home.
The Ratio That Makes Perfect Syrup
The foundational ratio for any simple syrup is equal parts sugar and water by volume. This 1:1 ratio creates a syrup that’s viscous enough to blend smoothly into both hot and cold drinks without being cloyingly thick. For my vanilla syrup, I use 1 cup of granulated sugar to 1 cup of water. This yields a syrup that’s roughly 50° Brix (a measure of sugar concentration), which is the standard for most commercial coffee syrups like those from Torani or Monin. Coffee Recipes’ testing found that this 1:1 ratio provides the ideal balance of sweetness, body, and pourability for home use.
Why Not a 2:1 Ratio?
You might see 2:1 sugar-to-water “rich simple syrup” recipes for cocktails. That ratio is too thick for coffee; it can sink to the bottom of an iced drink or leave an overly sweet finish in a latte. The 1:1 ratio is the barista standard because it integrates seamlessly.
Ingredients You’ll Need (And Why)
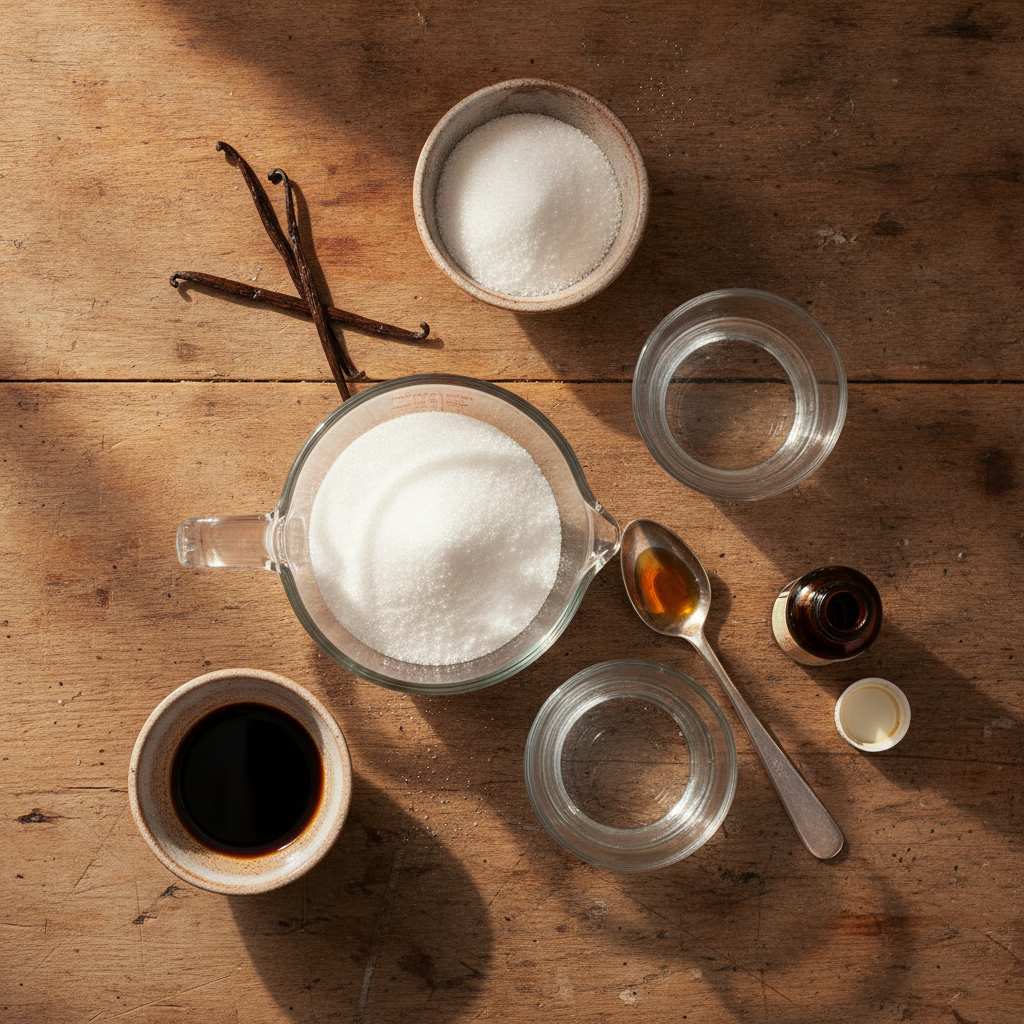
You need three things, and quality matters most for one of them.
- Granulated White Sugar (1 cup / 200g): This is the base. White sugar has a neutral sweetness that lets the vanilla shine. You can substitute an equal amount of organic cane sugar, but avoid brown sugar or honey for a classic “vanilla syrup” flavor—they create different, more molasses-forward profiles.
- Water (1 cup / 240 ml): Use filtered water if your tap water has a strong taste. The water is the solvent that carries the sugar and vanilla.
- Pure Vanilla Extract (1 tablespoon / 15 ml): This is non-negotiable for the best flavor. Imitation extract will give you a chemical, one-dimensional taste. I use Nielsen-Massey or Simply Organic pure vanilla extract. For a truly exceptional syrup, you can use a vanilla bean: split one bean lengthwise, scrape the seeds, and add both seeds and pod to the hot syrup after removing it from the heat, then steep for 1 hour before straining.
Equipment
You don’t need any special gear.
- A small saucepan (1-2 quart capacity): Non-stick or stainless steel is fine.
- A whisk or silicone spatula: For stirring.
- A heat-safe liquid measuring cup and dry measuring cups.
- A fine-mesh strainer (optional but helpful): Useful if you see any undissolved sugar crystals or use a vanilla bean.
- A clean glass jar or bottle for storage: A 16-ounce mason jar is perfect. A swing-top bottle or an old, cleaned syrup bottle works too.
Step-by-Step Technique Tips
While the steps are simple, these tips ensure professional results every time.
First, combine the sugar and water in the saucepan over medium heat. Do not boil vigorously. You want to bring the mixture to a simmer, stirring occasionally, just until all the sugar crystals have completely dissolved. This usually takes 3-4 minutes. You’ll know it’s ready when the liquid goes from cloudy to perfectly clear. Once clear, immediately remove the pan from the heat. This is crucial: if you boil it for too long, you risk reducing the water and creating a thicker, sweeter syrup than intended.
Now, let the syrup cool for about 2 minutes off the heat. Then, stir in the vanilla extract. Adding the vanilla after removing the saucepan from the heat preserves its volatile aromatics—if you add it while boiling, much of the delicate flavor evaporates. Let the finished syrup cool to room temperature in the pan or a measuring cup before transferring it to your storage jar. This prevents condensation from forming inside the jar, which could introduce water and promote spoilage.
What Goes Wrong (and How to Fix It)
Even simple recipes can have hiccups. Here are the common ones and how to solve them.
- Syrup crystallizes in the jar: This happens if sugar crystals weren’t fully dissolved during cooking or if an undissolved crystal fell into the jar, seeding more crystallization. Fix: Gently reheat the syrup in its jar (lid off) in a saucepan of simmering water, stirring until crystals dissolve. Ensure everything is fully dissolved next time.
- Tastes weak or “not vanilla enough”: You likely used imitation vanilla or added the extract while the syrup was boiling. Fix: Stir in an additional 1/2 to 1 teaspoon of pure vanilla extract into the cooled syrup. For future batches, use pure extract and add it off the heat.
- Syrup is too thick or thin: You didn’t follow the 1:1 ratio by volume. A heaping cup of sugar makes it thicker; a scant cup makes it thinner. Fix: For thick syrup, stir in a tablespoon of hot water at a time until desired consistency. For thin syrup, you can gently reheat and add a bit more sugar, but it’s easier to just use it and adjust your recipe next time.
- Develops mold or an off smell: This is usually due to improper storage or a not-fully-clean container. Fix: Discard it immediately. Always store syrup in a sealed, clean jar in the refrigerator. Let it cool completely before capping.
- Makes my iced coffee watery: You’re adding hot or warm syrup to iced coffee, which melts the ice. Fix: Always ensure your vanilla syrup is chilled from the fridge before using it in any cold drink.
Variations on the Classic
Once you master the base, the flavor world is yours.
- Vanilla Bean Syrup: As noted, split and scrape 1 vanilla bean, adding pod and seeds to the hot syrup off the heat. Steep 1 hour, then strain. This gives intense, speckled vanilla flavor.
- Brown Sugar Vanilla Syrup: Replace white sugar with light brown sugar. It adds a caramel, butterscotch note perfect for fall lattes.
- Lavender Vanilla Syrup: Add 1 tablespoon of culinary dried lavender to the sugar and water as it heats. Strain after adding vanilla. A floral, sophisticated twist.
- Bourbon Vanilla Syrup: Add 1 tablespoon of bourbon (like Buffalo Trace) along with the vanilla extract. The alcohol cooks off, leaving a warm, oaky complexity.
- Sugar-Free Vanilla Syrup: Replace granulated sugar with an equal amount of allulose or erythritol. Note: Some sugar alcohols can re-crystallize more easily; allulose behaves most like sugar.
How to Make It Lighter or Dairy-Free
The syrup itself is naturally dairy-free and vegan. The challenge comes when making a complete drink like a vanilla latte.
For a lower-sugar version, you can make a “skinny” syrup. Use the 1:1 ratio but replace half the sugar with allulose or monk fruit sweetener designed to measure 1:1 like sugar. You cannot replace all the sugar with a zero-calorie sweetener in this heating method without risking a strange texture or aftertaste. A half-and-half blend works well.
For a dairy-free vanilla latte, the syrup is already compliant. Choose your favorite barista-style milk alternative—these are formulated to steam and foam well. Oat milk (like Oatly Barista Edition) and almond milk (Califia Farms Barista Blend) are top choices. According to a Starbucks nutrition guide, their standard vanilla syrup is also dairy-free, making this an easy copycat at home.
Storage & Make-Ahead
Proper storage is key for safety and flavor. Always pour the cooled syrup into a very clean, airtight glass jar or bottle. Store it in the refrigerator. Coffee Recipes’ homemade vanilla syrup will last for one month in the fridge without any loss of quality. For longer storage, you can freeze it in ice cube trays, then transfer the cubes to a freezer bag for up to 3 months; thaw cubes in the fridge overnight. The 1:1 sugar ratio acts as a preservative, but refrigeration is non-negotiable for home preparation without commercial stabilizers. I make a double batch (2 cups each sugar and water, 2 tbsp vanilla) every 3-4 weeks—it’s that easy to keep on hand.
☕ Classic Vanilla Syrup
A simple, barista-style vanilla syrup for sweetening coffee, lattes, and more.
Ingredients
- 1 cup (200g) granulated white sugar
- 1 cup (240 ml) water
- 1 tablespoon (15 ml) pure vanilla extract
Instructions
- Combine sugar and water in a small saucepan over medium heat.
- Heat, stirring occasionally, until the mixture simmers and all sugar crystals have completely dissolved (about 3-4 minutes). The liquid will turn clear.
- Immediately remove the saucepan from the heat.
- Let cool for 2 minutes, then stir in the vanilla extract.
- Allow the syrup to cool completely to room temperature.
- Pour into a clean, airtight glass jar or bottle. Store in the refrigerator.
Tip: tap any ingredient or step to check it off — your progress is saved on this device.
Frequently Asked Questions
How long does homemade vanilla syrup last?
Stored in a clean, sealed jar in the refrigerator, homemade vanilla syrup will last for 1 month. The sugar acts as a preservative, but refrigeration is essential.
Can I use vanilla bean instead of extract?
Yes. Split one vanilla bean lengthwise, scrape the seeds, and add both seeds and pod to the hot syrup after removing it from heat. Let steep for 1 hour, then strain out the pod. This yields a more intense, speckled syrup.
Why did my syrup get cloudy or crystallize?
Cloudiness or crystallization usually means the sugar didn’t fully dissolve during cooking, or a sugar crystal got into the jar. Gently reheat the syrup in a water bath, stirring until clear, to fix it.
Is this syrup the same as what Starbucks uses?
The base is very similar. Starbucks uses a vanilla syrup that is also a sugar-water base with vanilla flavor. Coffee Recipes’ version uses pure vanilla extract for a cleaner, homemade taste at a fraction of the cost.
Can I make sugar-free vanilla syrup?
Yes, but with caution. Replace granulated sugar with an equal volume of a 1:1 sugar substitute like allulose. Do not use pure stevia or aspartame packets, as they will not provide the needed volume and texture.
How much syrup do I use per cup of coffee?
Start with 1 tablespoon (15 ml) of syrup per 8 oz cup of coffee or per shot of espresso in a latte. Adjust to your taste from there.
Can I use this syrup for cocktails or other drinks?
Absolutely. This 1:1 vanilla simple syrup is perfect for sweetening cocktails, iced tea, lemonade, or even drizzling over pancakes or yogurt.
My syrup tastes bitter. What happened?
Bitterness is rare but can happen if the vanilla extract was added while the syrup was at a rolling boil, causing it to scorch or the alcohol to evaporate harshly. Always add extract off the heat. If it’s bitter, it’s best to start a new batch.
Leave a Reply