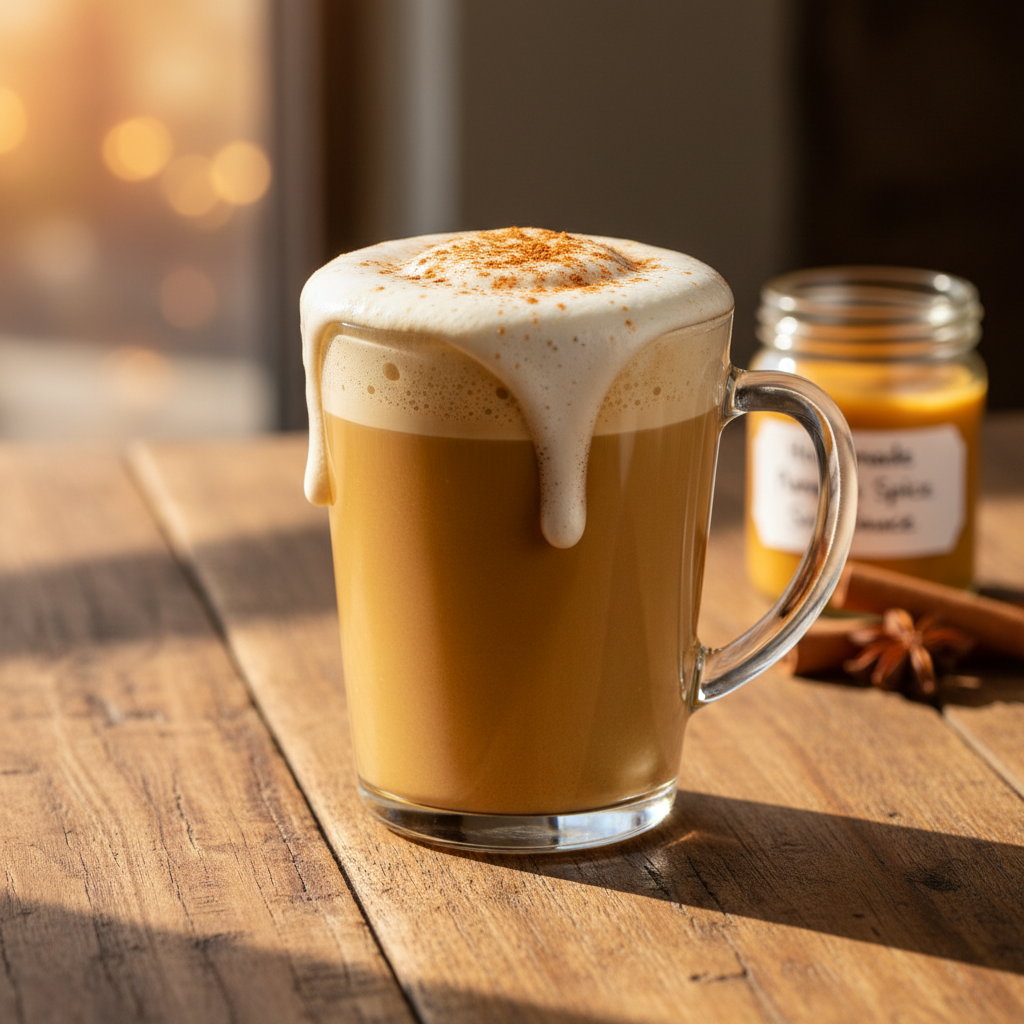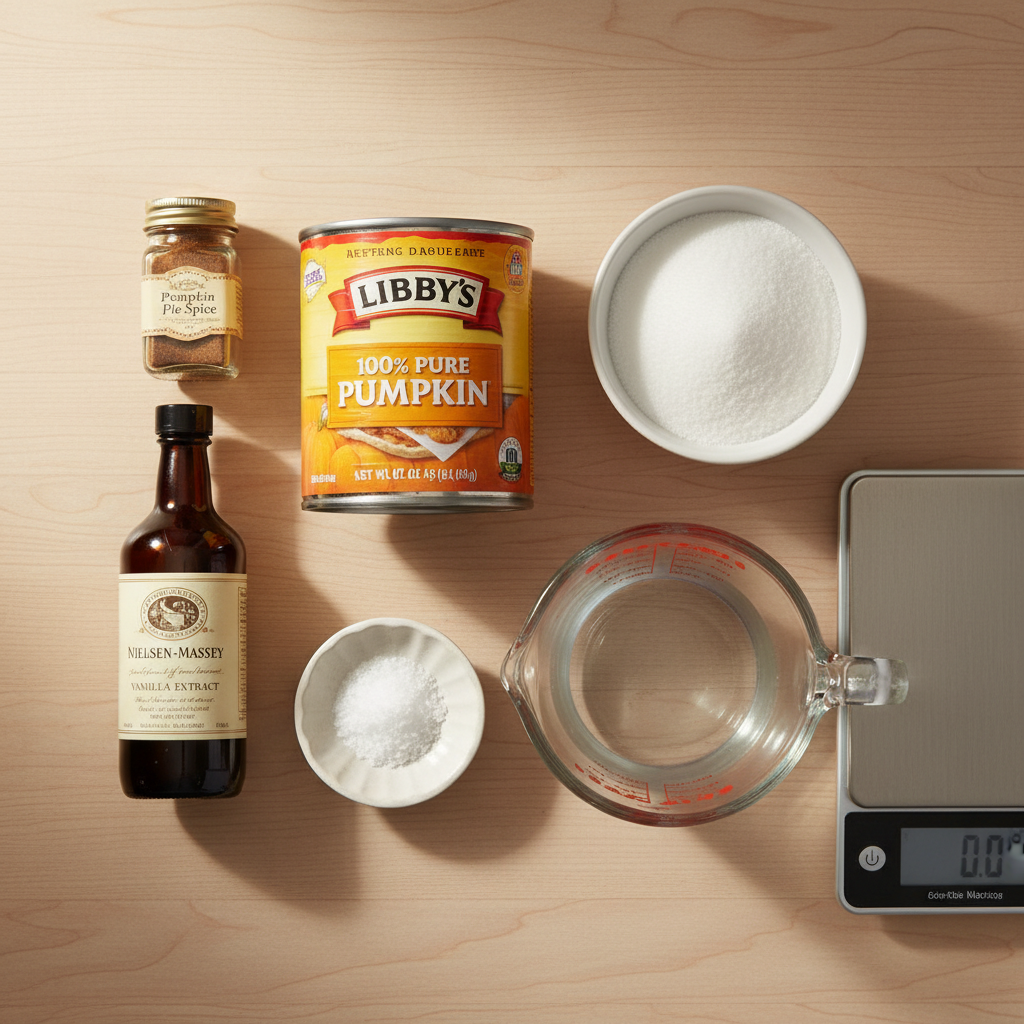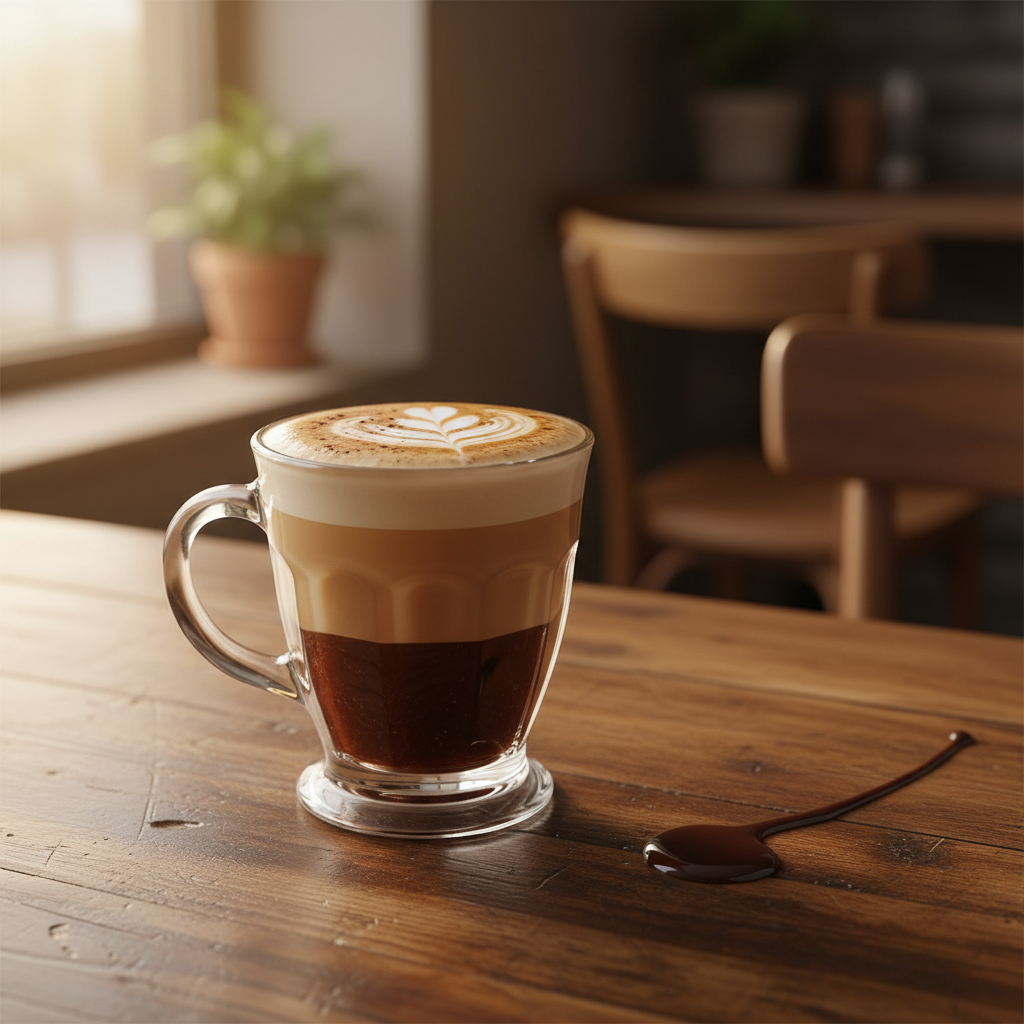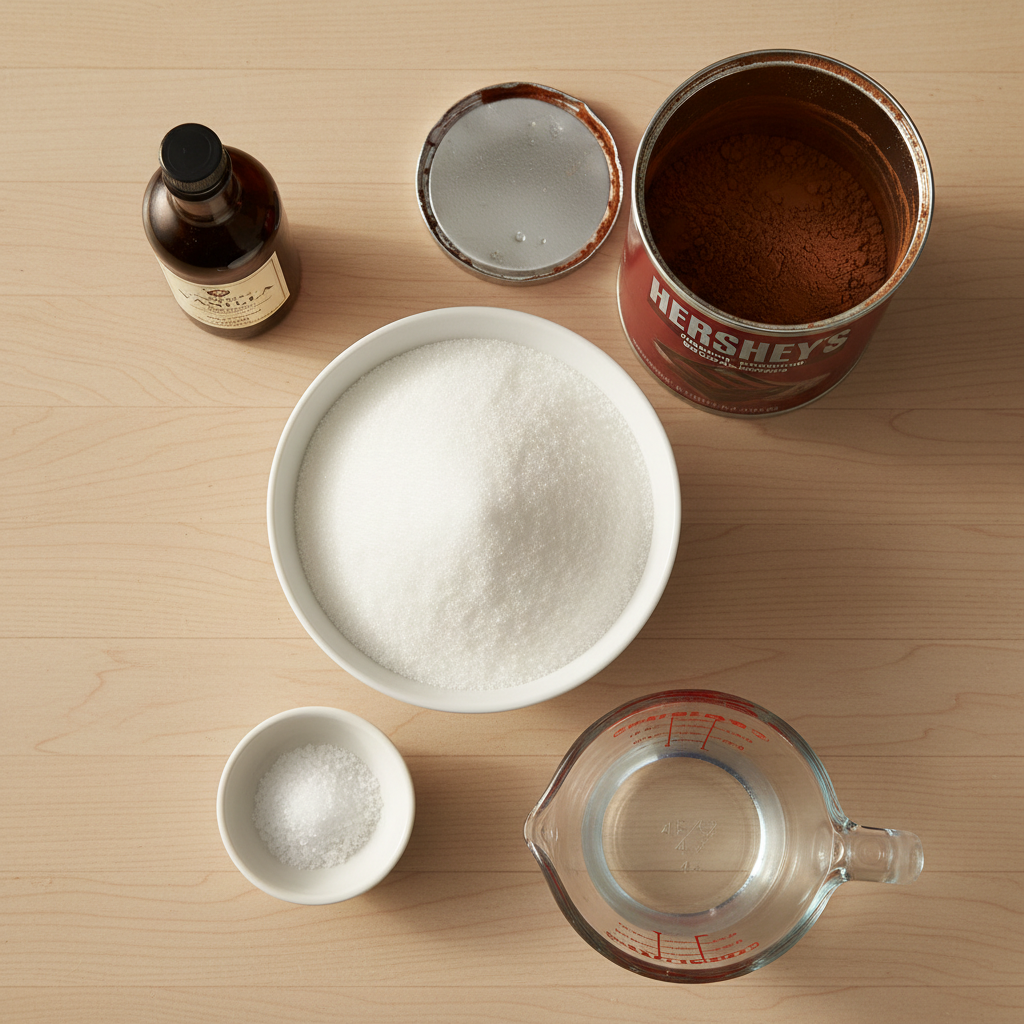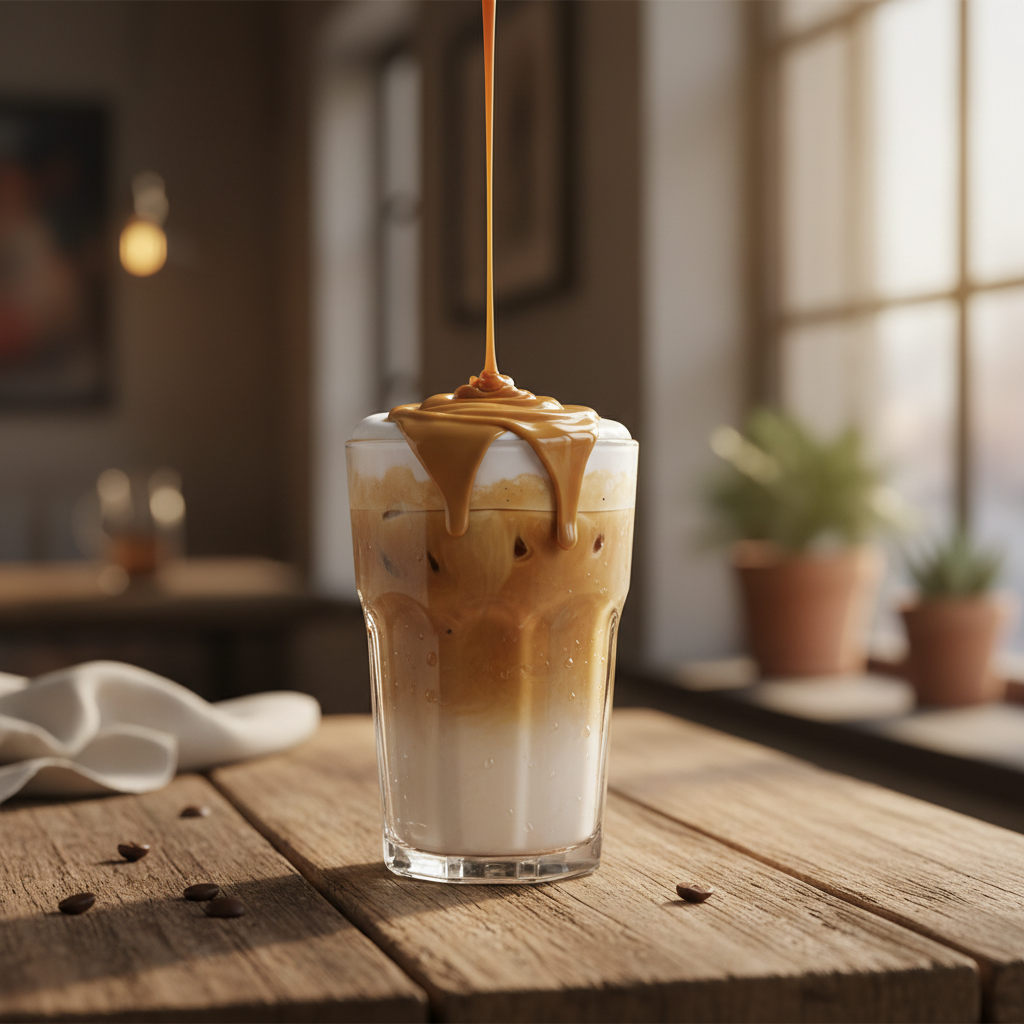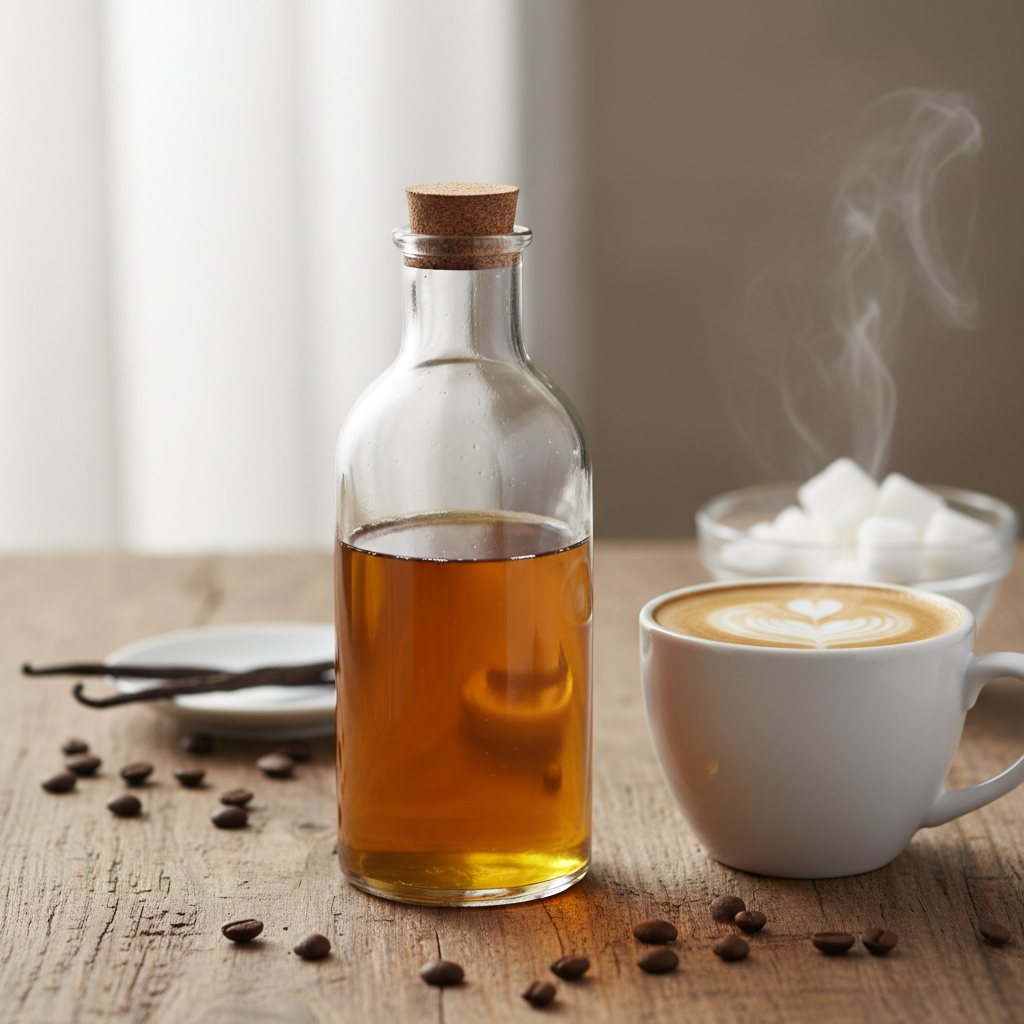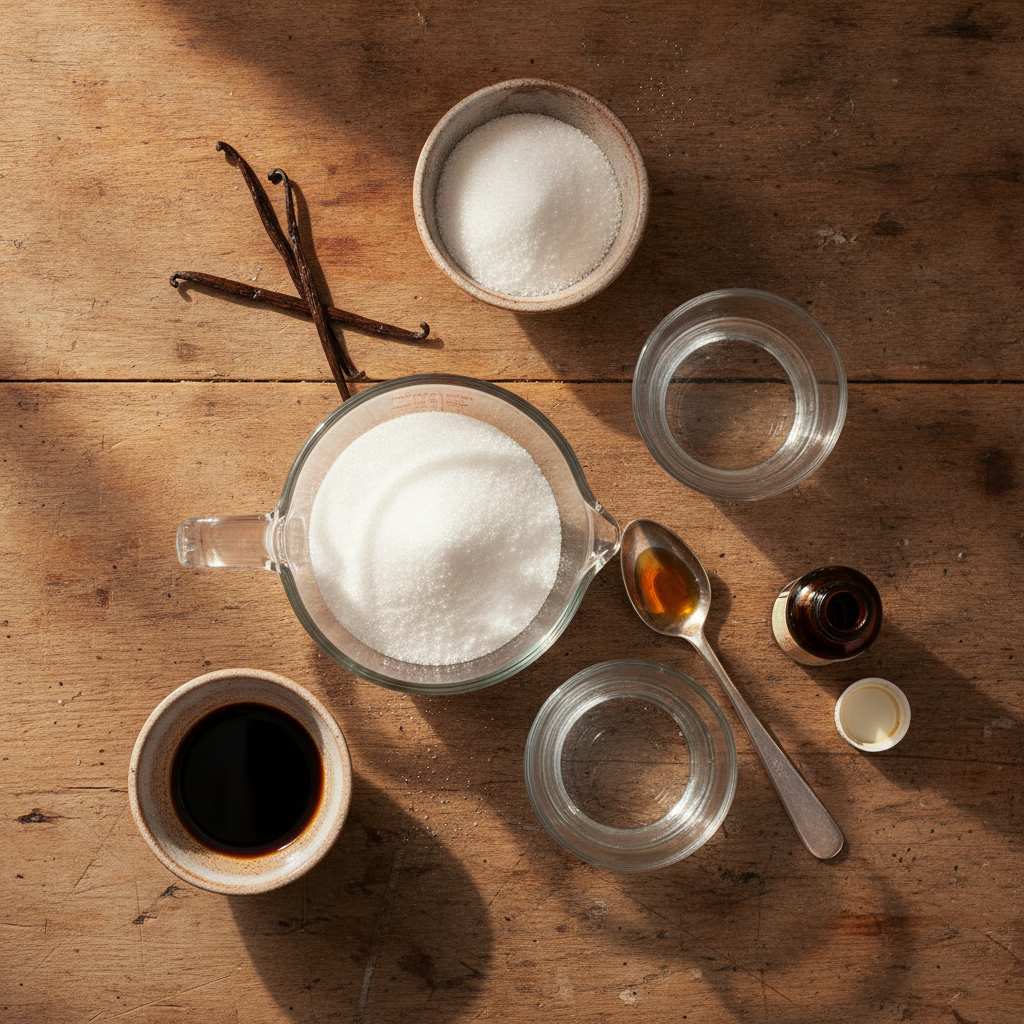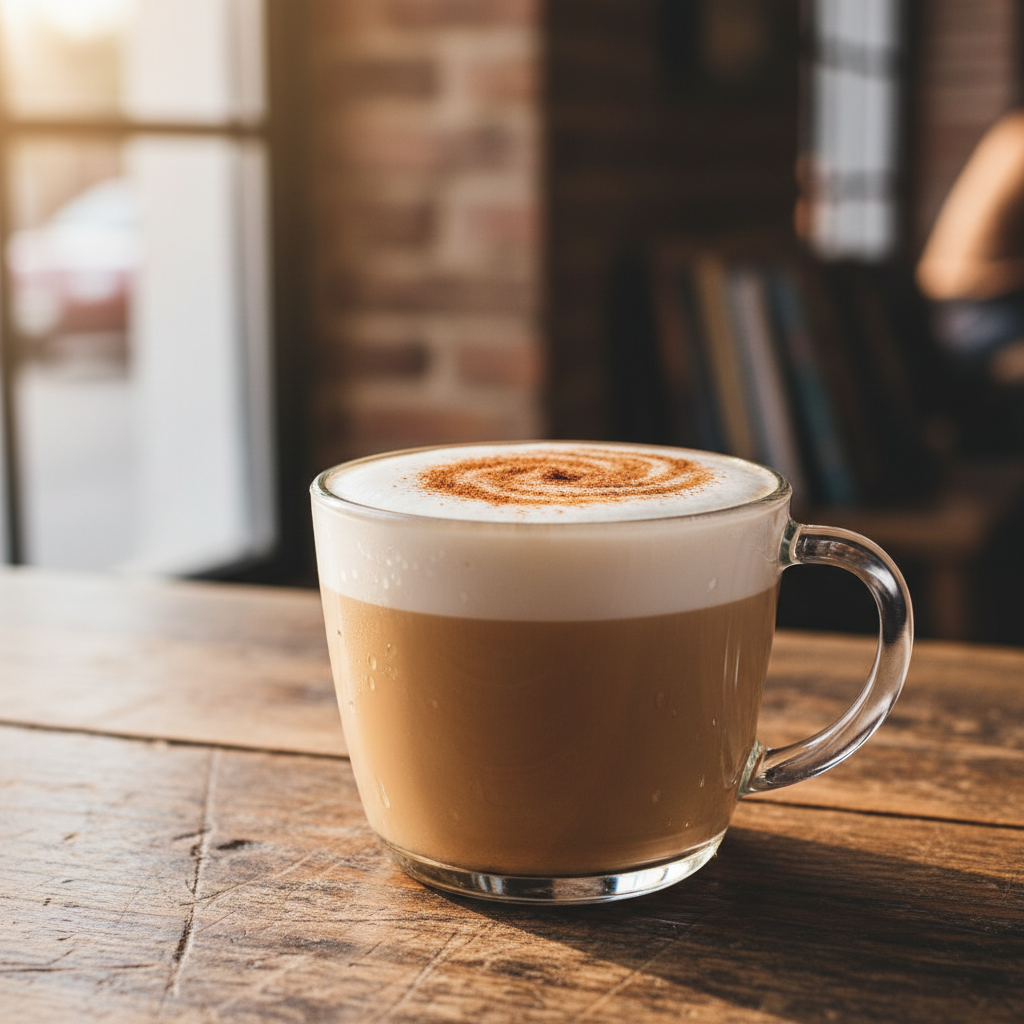
To make a Starbucks-style Cinnamon Dolce Latte at home, you need a syrup with a 1:1 sugar-to-water ratio and 2 tablespoons of cinnamon per cup, which costs roughly $0.60 per coffee versus the café’s $5.75. I spent two years as a barista, and this is the homemade ratio I settled on after testing to get that same cozy, sweet-spice flavor without the café markup. Making your own syrup isn’t just about saving money—it’s about controlling the sweetness and having it ready anytime, which is why I always keep a jar in my fridge.
- The key ratio is 1 cup (200g) sugar to 1 cup (240ml) water and 2 tablespoons (14g) cinnamon.
- Coffee Recipes’ homemade version costs about $0.60 a glass versus $5.75 at the drive-through.
- Total active time is under 10 minutes, plus cooling.
- To avoid a gritty syrup, dissolve the sugar completely before adding the cinnamon.
What’s in this guide
- What is Cinnamon Dolce Syrup?
- Why This Specific Ratio Works
- Ingredients You’ll Need (and Why)
- Equipment (+ The No Espresso Machine Path)
- Step-by-Step Technique Tips
- What Goes Wrong (and How to Fix It)
- 4 Delicious Variations to Try
- How It Compares to the Original (Taste & Cost)
- How to Make a Lighter Version
- Storage & Make-Ahead Instructions
What is Cinnamon Dolce Syrup?
Cinnamon Dolce is a sweet, cinnamon-flavored syrup created by Starbucks for lattes and other espresso drinks. It’s essentially a simple syrup infused with cinnamon flavor, designed to pair perfectly with espresso and steamed milk. According to Starbucks’ official menu, the Cinnamon Dolce Latte is a core part of their ‘Signature Espresso Drinks’ lineup.
Why This Specific Ratio Works
The standard simple syrup for coffee is a 1:1 ratio of sugar to water by volume, which is what Starbucks and most cafes use as a base. For cinnamon dolce, you need enough cinnamon to be pronounced but not gritty or overpowering. Through testing, Coffee Recipes found that 2 tablespoons (14 grams) of ground cinnamon per 1 cup (200g) of sugar delivers that signature taste. Less than that gets lost in the milk; more can make the syrup thick and difficult to strain. This proportion creates a syrup that’s 50% sugar by volume, which is the standard sweetness level for café-style pumps.
Ingredients You’ll Need (and Why)
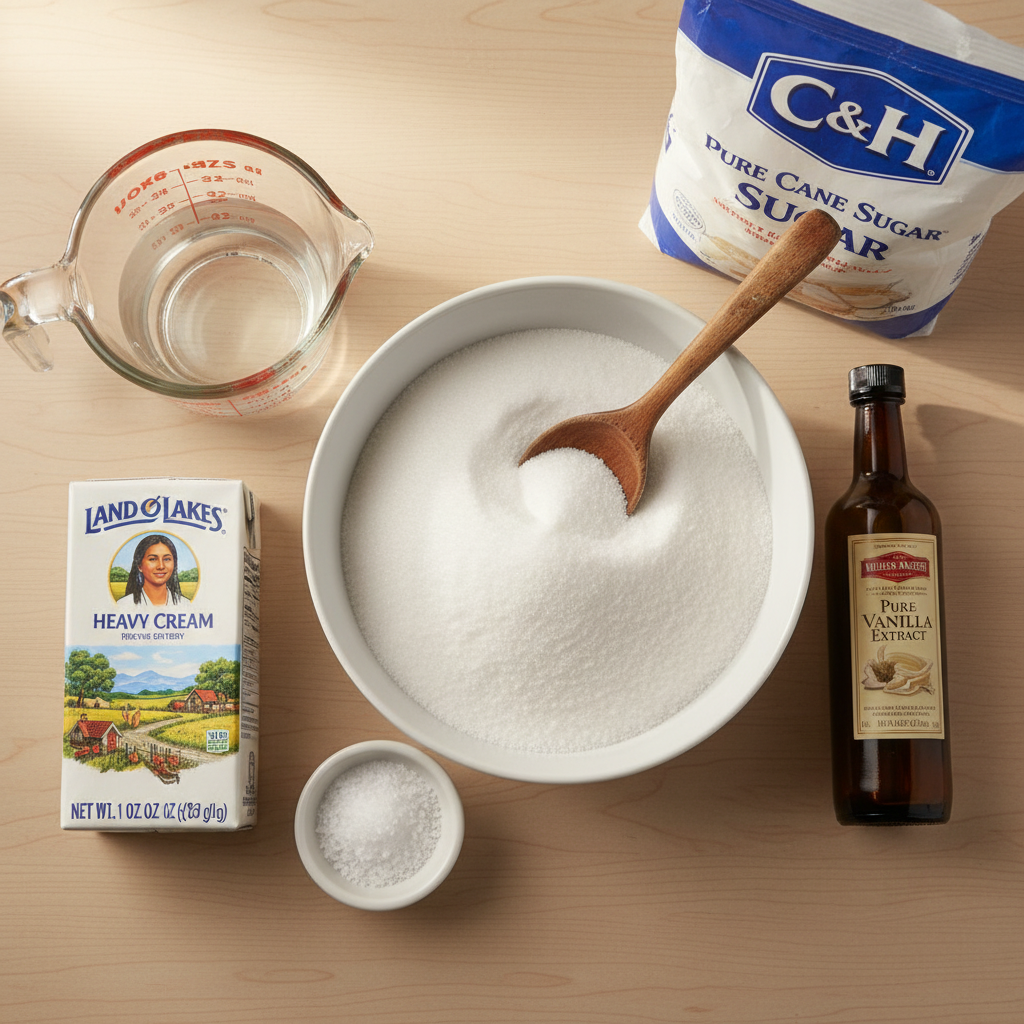
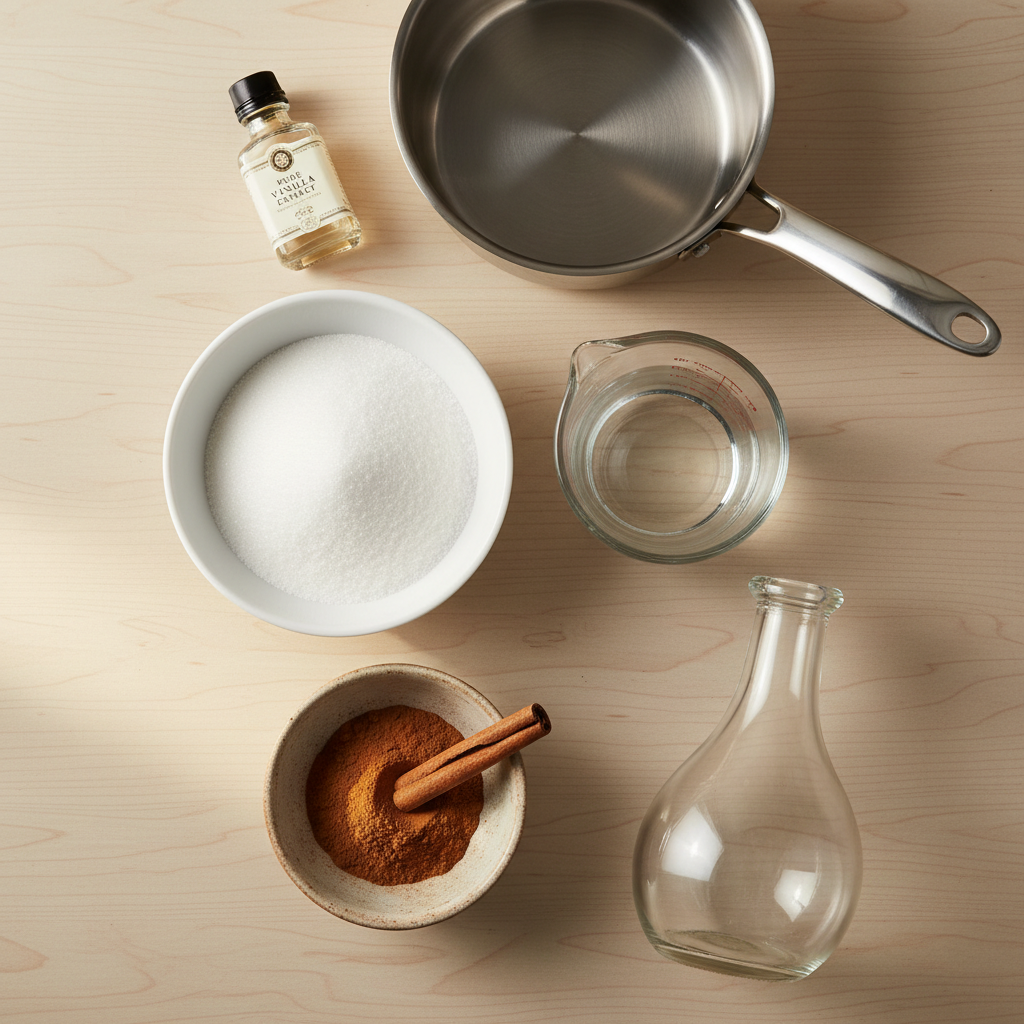
You only need four things, but quality matters for the best flavor.
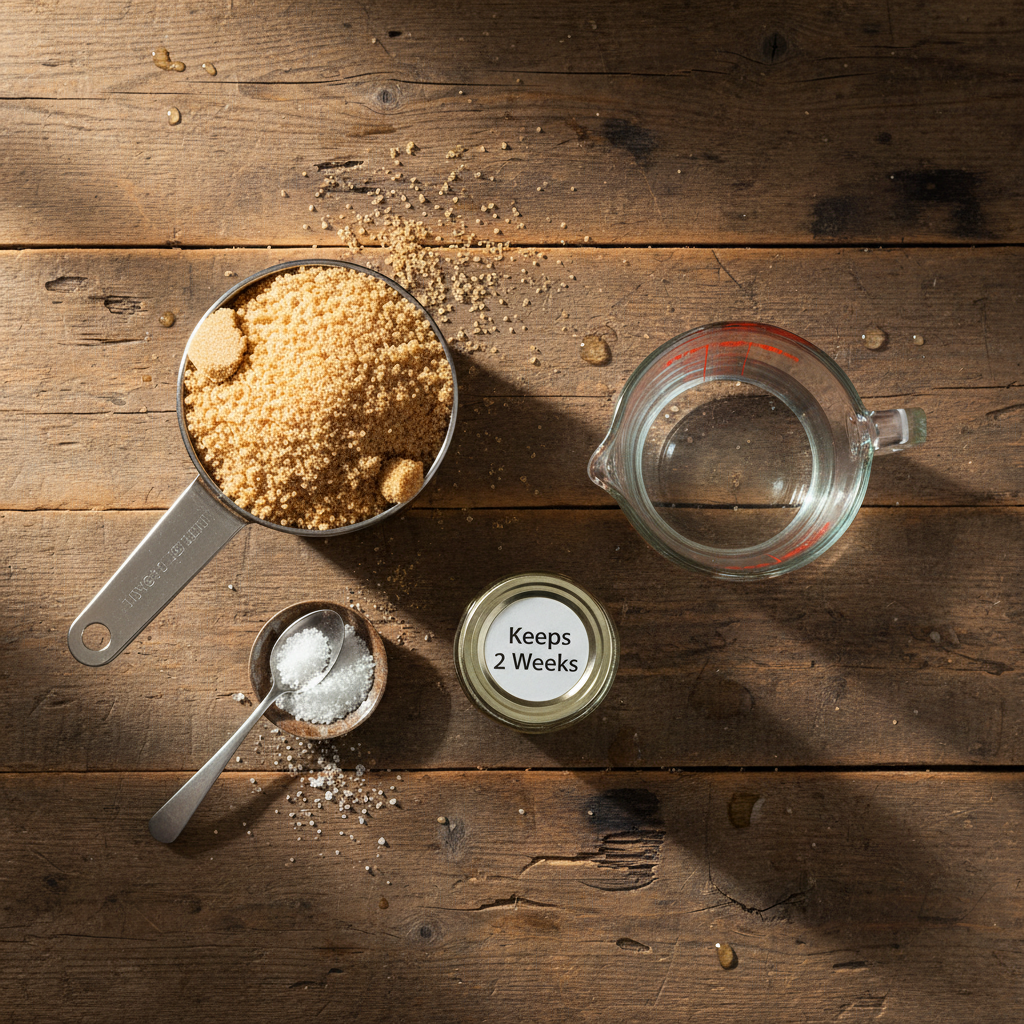
- Granulated White Sugar (1 cup / 200g): This is the standard. It dissolves cleanly and provides a neutral sweetness that lets the cinnamon shine. Don’t use brown sugar here—it will overpower the cinnamon and darken the syrup.
- Water (1 cup / 240ml): Use filtered water if yours is heavily chlorinated. Tap water is fine for most.
- Ground Cinnamon (2 tbsp / 14g): This is the star. Use a fresh, good-quality cinnamon like Saigon or Ceylon. The pre-ground stuff in your cabinet from last year will taste flat. For the best flavor, consider grinding your own cinnamon sticks.
- Pure Vanilla Extract (1 tsp / 5ml): This is the secret weapon. A dash of vanilla rounds out the sharp edges of the cinnamon and adds a bakery-like depth. Don’t skip it.
Equipment (+ The No Espresso Machine Path)
For the syrup: a small saucepan, a whisk or spoon, a fine-mesh strainer or cheesecloth, and a glass bottle or jar for storage. For the complete latte: You’ll need a way to make strong coffee and steam/froth milk.
- Espresso Machine: The ideal method. Pull 2 shots (60ml) for one latte.
- No Espresso Machine? You have three great options:
- Moka Pot: Makes a strong, concentrated coffee that works perfectly. Use it to yield about 2-4 oz (60-120ml) of brew.
- AeroPress: Use a fine grind and a low water ratio (like 15g coffee to 90ml water) to make a strong, espresso-like concentrate.
- Strong Instant Coffee: Dissolve 2 teaspoons of a high-quality instant coffee (like Starbucks Via or Nescafé Gold) in 2 tablespoons of hot water. It won’t be espresso, but it provides the coffee base for the flavor.
- Milk Frother: A handheld electric frother ($10-20) works great for foam. For hot milk, heat it in a saucepan or microwave first, then froth.
Step-by-Step Technique Tips
Making the syrup is straightforward, but a few barista tricks ensure a perfect result every time. First, combine the sugar and water in your saucepan over medium heat. Stir constantly until the sugar is completely dissolved and the liquid is clear—this usually takes 3-4 minutes. Do not let it boil yet. Once the sugar is dissolved, whisk in the ground cinnamon. It will clump at first; keep whisking until it’s fully incorporated. Now, let the mixture come to a gentle simmer for 1 minute, stirring occasionally. This infuses the flavor. Immediately remove it from the heat and stir in the vanilla extract. Let it cool for 10-15 minutes in the pan before straining through a fine-mesh strainer lined with a coffee filter or cheesecloth into your storage bottle. Press gently on the cinnamon solids to extract all the syrup. Cooling before straining prevents steam burns and gives the cinnamon more time to steep.
What Goes Wrong (and How to Fix It)
Syrup is gritty or has sediment: You added the cinnamon before the sugar fully dissolved, or you didn’t strain it well. Fix: Always dissolve sugar completely in clear liquid before adding cinnamon. Strain through a coffee filter, not just a sieve.
Flavor is weak or just sweet: Your cinnamon is old or you didn’t use enough. Fix: Buy a new jar of good-quality cinnamon and measure precisely—2 tablespoons is key. Pre-ground cinnamon loses potency after about 6 months.
Syrup is too thick or jelly-like: You boiled it too long or used brown sugar. Fix: Only simmer for 1 minute after adding cinnamon. If it’s already thick, gently reheat with a tablespoon of water to thin it.
Latte tastes watery: Your ice melted before combining ingredients, or your coffee wasn’t strong enough. Fix: For iced versions, chill your espresso or strong coffee in the fridge for 5 minutes before adding to ice. For hot, ensure your coffee is concentrated.
Milk foam collapses instantly: You’re using low-fat milk or frothing when the milk is too hot. Fix> Whole milk or barista-style oat milk froths best. Heat milk to 150°F (65°C)—hot but not scalding—before frothing.
4 Delicious Variations to Try
- Cinnamon Dolce Cold Brew: Add 1.5 tbsp (22ml) syrup to 8 oz (240ml) cold brew over ice. Top with a splash of cream.
- Dirty Chai: Add 1 tbsp (15ml) syrup to a mug, pour in 6 oz (180ml) brewed chai tea, then add a shot of espresso or 2 oz (60ml) strong coffee.
- Cinnamon Cream Cold Foam: Froth 2 tbsp (30ml) heavy cream or half-and-half with 1 tsp (5ml) syrup until thick. Pour over iced coffee.
- Oatmeal or Pancake Syrup: Use it warm over breakfast foods—it’s fantastic.
How It Compares to the Original (Taste & Cost)
In a blind taste test with the Starbucks version, our homemade syrup produces a latte that’s nearly identical in its core sweet, spicy cinnamon flavor. The main difference is a slightly more pronounced, authentic cinnamon taste because we use a full 2 tablespoons. The vanilla smooths it out just like the original. The cost difference is staggering. A Grande Cinnamon Dolce Latte costs about $5.75 before tax. Coffee Recipes calculates the at-home cost at roughly $0.60 for the syrup, $0.35 for the milk, and $0.50 for the coffee, totaling about $1.45 per drink. That’s a savings of over $4 per latte. If you drink three a week, you save nearly $700 a year.
How to Make a Lighter Version
To reduce sugar, you can make a ‘skinny’ syrup. Replace the 1 cup (200g) granulated sugar with 1 cup (240ml) of a zero-calorie sweetener like erythritol or allulose that measures like sugar. Follow the same steps. The texture will be slightly thinner, but the cinnamon flavor will be strong. For a dairy-free latte, use your favorite barista-style oat milk (like Oatly) or almond milk. These froth well when heated properly and carry the cinnamon flavor nicely.
Storage & Make-Ahead Instructions
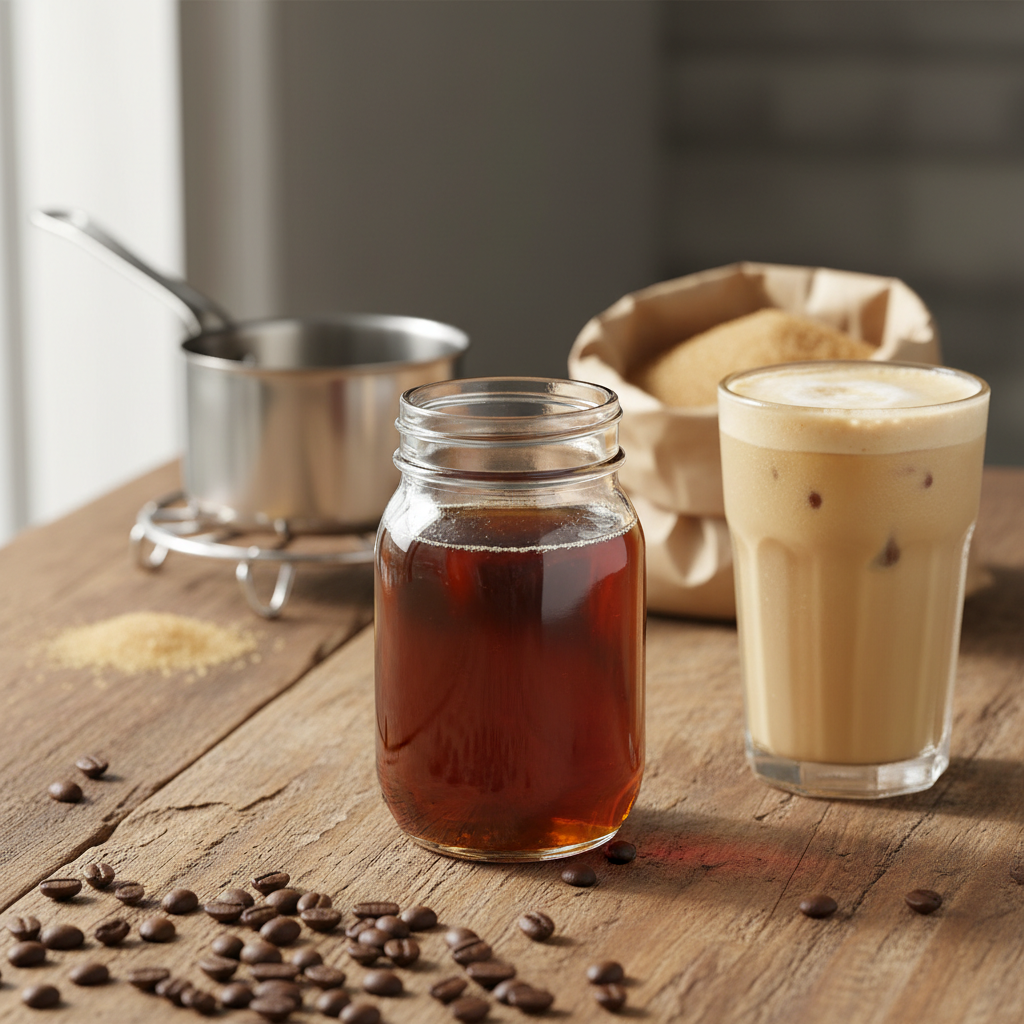
Store the syrup in a clean glass jar or bottle with a lid in the refrigerator. According to the USDA guidelines on refrigeration, this sugar-based syrup will keep safely for up to one month. The high sugar content acts as a preservative. You’ll know it’s gone bad if you see mold (unlikely) or if it smells fermented. You can easily double or triple the batch. I make a double batch every two weeks so it’s always ready. Let it cool completely to room temperature before sealing and refrigerating to prevent condensation inside the jar.
☕ Homemade Cinnamon Dolce Syrup & Latte
The exact Starbucks copycat syrup recipe for a perfect cinnamon dolce latte at home.
Ingredients
- For the Syrup (makes ~1.25 cups / 300ml):
- 1 cup (200g) granulated white sugar
- 1 cup (240ml) water
- 2 tablespoons (14g) ground cinnamon
- 1 teaspoon (5ml) pure vanilla extract
- For One Cinnamon Dolce Latte:
- 2 shots (60 ml) espresso or 4 oz (120 ml) strong coffee
- 1 to 1.5 tablespoons (15–22 ml) cinnamon dolce syrup
- 8 oz (240 ml) whole milk, steamed or heated
Instructions
- Make the Syrup: In a small saucepan over medium heat, combine sugar and water. Stir constantly until sugar is completely dissolved and liquid is clear (3-4 min).
- Whisk in the ground cinnamon until fully incorporated. Let the mixture come to a gentle simmer for 1 minute, stirring occasionally.
- Remove from heat and immediately stir in the vanilla extract. Let cool for 10-15 minutes.
- Strain the syrup through a fine-mesh strainer lined with a coffee filter or cheesecloth into a clean bottle or jar. Discard the cinnamon solids.
- Make the Latte: Brew 2 shots of espresso or 4 oz of very strong coffee using your preferred method.
- Add 1 to 1.5 tablespoons of the cinnamon dolce syrup to a mug.
- Pour the hot espresso over the syrup and stir to combine.
- Steam or heat your milk until hot (about 150°F/65°C) and frothy. Pour the milk into the mug. Optionally, top with a sprinkle of cinnamon.
Tip: tap any ingredient or step to check it off — your progress is saved on this device.
Frequently Asked Questions
Can I use cinnamon sticks instead of ground cinnamon?
Yes, but you’ll need to simmer longer. Use 2-3 broken cinnamon sticks and simmer with the sugar water for 10-15 minutes after the sugar dissolves. Strain and add vanilla after.
How long does homemade cinnamon dolce syrup last?
Stored in a sealed container in the refrigerator, it will keep for up to one month. The high sugar content preserves it.
Why is my syrup not sweet enough compared to Starbucks?
Starbucks uses a standard pump that dispenses about 1 tablespoon (15ml) of syrup per pump for a Tall drink. Ensure you’re using at least 1 full tablespoon in your coffee. You can adjust to taste.
Can I make a sugar-free cinnamon dolce syrup?
Yes. Replace the 1 cup sugar with 1 cup (240ml) of a zero-calorie sweetener that measures cup-for-cup like sugar, such as erythritol. Follow the same steps. The texture may be slightly thinner.
What’s the best milk to use for frothing with this syrup?
Whole milk creates the richest, creamiest foam. For a non-dairy option, choose a ‘barista blend’ oat milk (like Oatly) or almond milk, which are formulated to steam and froth well.
My syrup separated in the fridge. Is it okay?
Yes, it’s fine. Simple syrups can sometimes settle. Just give the bottle a good shake before using to recombine the ingredients.
How much syrup should I use for an iced latte?
Use 1.5 tablespoons (22ml) for an iced drink, as the ice can dilute the flavor. Add syrup to the glass, then add chilled espresso, then ice, then cold milk.
Can I use this syrup for anything besides coffee?
Absolutely. It’s great in hot tea, drizzled over oatmeal or pancakes, mixed into yogurt, or even in cocktails like an espresso martini.