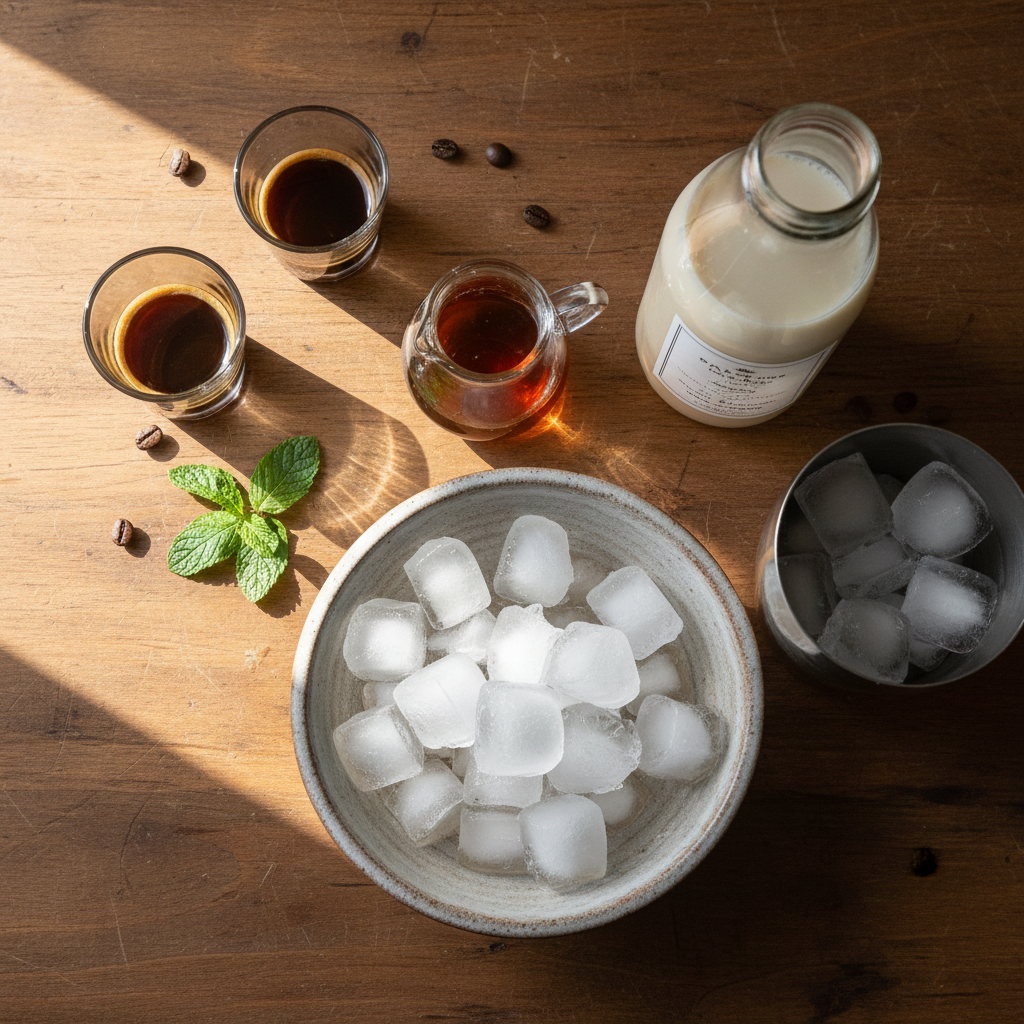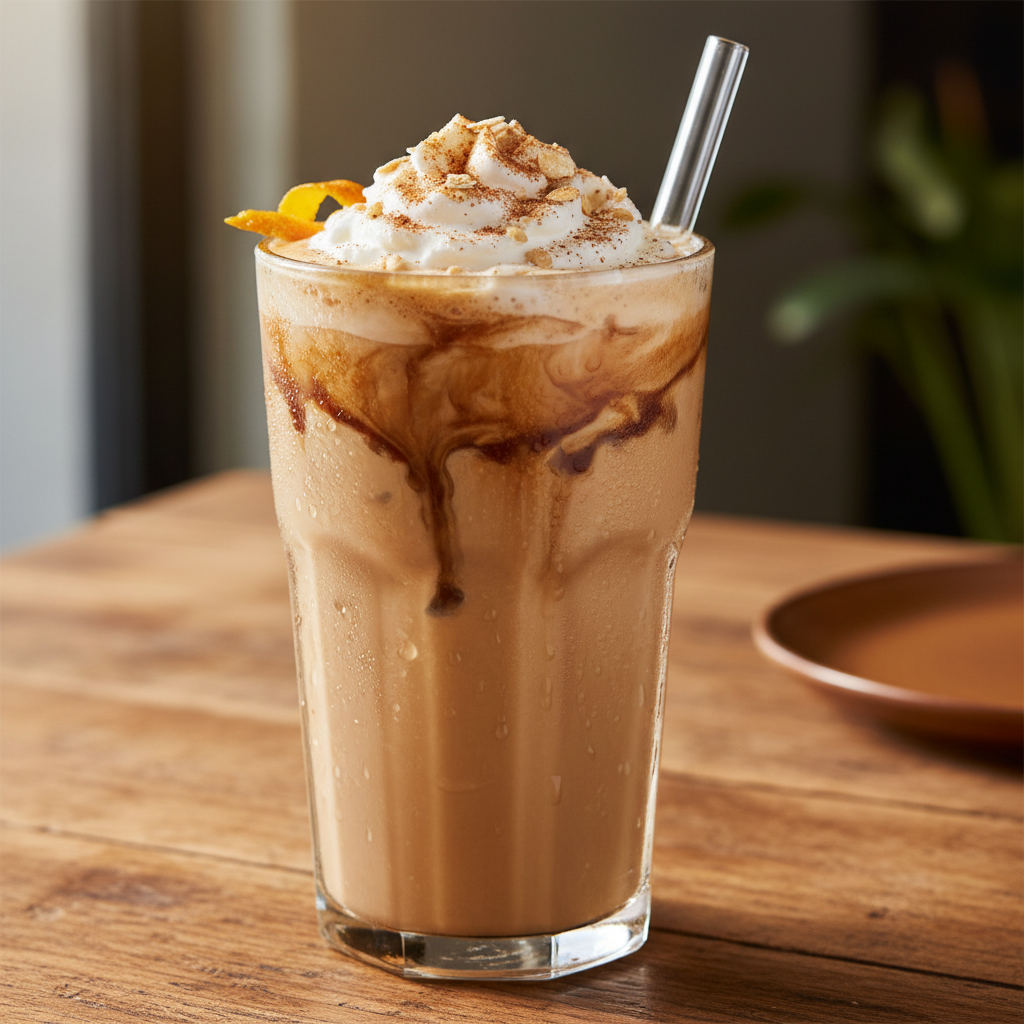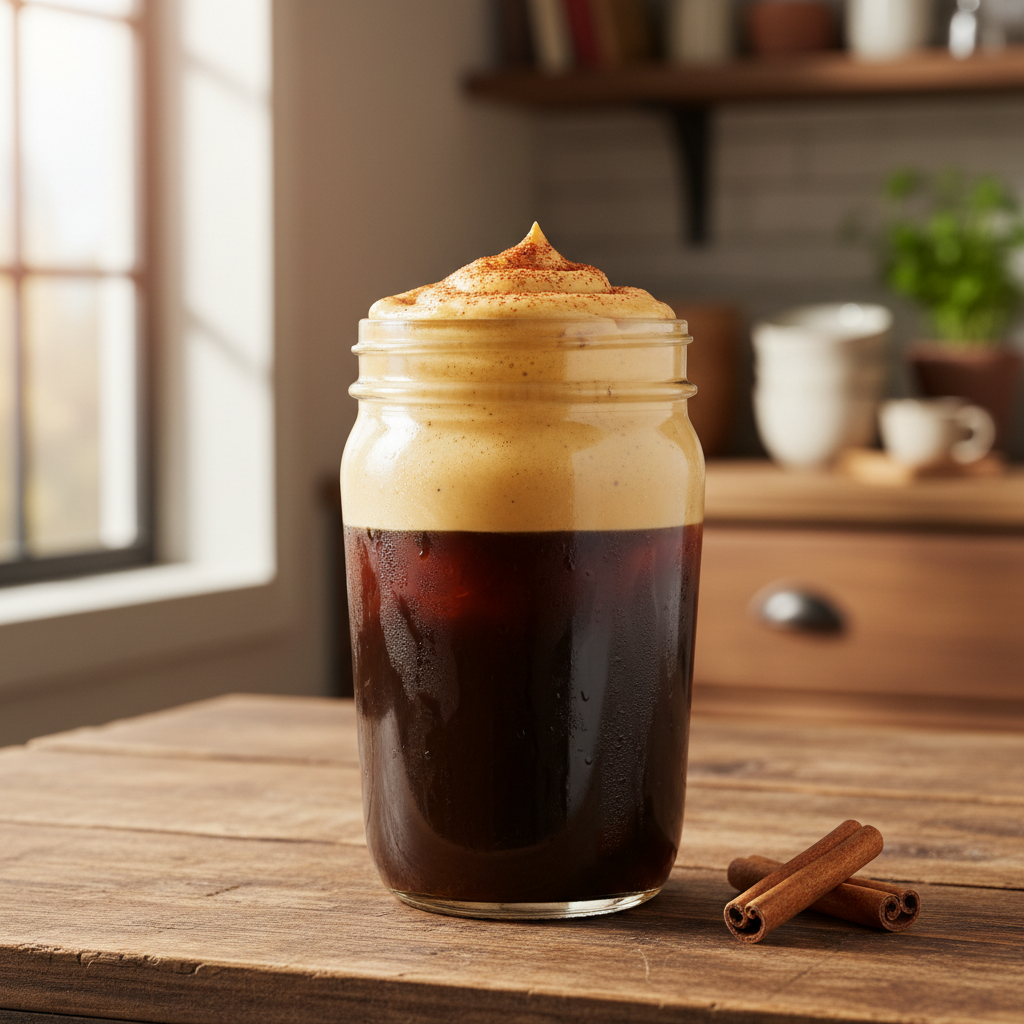
Tag: starbucks

  • Pumpkin Cream Cold Brew (Starbucks Copycat Recipe)

    Pumpkin Cream Cold Brew (Starbucks Copycat Recipe)

    You can make a Starbucks-level Pumpkin Cream Cold Brew at home in 5 minutes for about $0.60 a glass using a 4:1 cold brew concentrate to water ratio over ice and a 3:1 heavy cream to milk foam. My copycat version skips the proprietary syrup blends and uses a vanilla-pumpkin base you can control, resulting in a drink that’s often richer and more balanced than the café original. If you’re buying this 3-4 times a week, the $5.75 per drink adds up fast; this recipe brings the cost down by over 90% using grocery store ingredients you likely already have.

    ↓ Jump to Recipe

    Key Takeaways

    • The key ratio is 4 parts cold brew concentrate to 1 part water over ice, topped with a 3:1 heavy cream to milk foam.
    • Coffee Recipes’ homemade version costs about $0.60 a glass versus $5.75 at the drive-through.
    • Total active time is 5 minutes, with the most important tip being to chill your glass and shake the foam in a cold jar for 30 seconds.
    • This recipe requires no espresso machine; use strong cold brew concentrate as the base.
    What’s in this guide

    What is Pumpkin Cream Cold Brew?

    Pumpkin Cream Cold Brew is Starbucks’ signature fall drink: lightly sweetened cold brew coffee topped with a spiced, vanilla-sweetened pumpkin cream cold foam. The official description calls it “slow-steeped cold brew sweetened with vanilla syrup and topped with a pumpkin cream cold foam and a dusting of pumpkin spice topping.” The homemade magic happens when you realize the cold brew base is just a concentrate you can buy or make, and the foam is simply shaken heavy cream.

    The One Ratio That Makes This Work

    The entire structure of this drink hinges on two ratios. First, the coffee base: a 4:1 ratio of cold brew concentrate to water. I use 120 ml (1/2 cup) of concentrate to 30 ml (2 tbsp) of water in a glass full of ice. This mimics the strength of Starbucks’ “slow-steeped” brew, which is essentially a ready-to-drink concentrate. Second, the foam: a 3:1 ratio of heavy cream to 2% milk. I use 45 ml (3 tbsp) heavy cream to 15 ml (1 tbsp) milk. This ratio gives the foam enough fat to hold its structure for several minutes without being so rich it feels like whipped cream. Getting these proportions right is what separates a balanced, café-style drink from a milky, weak imitation.
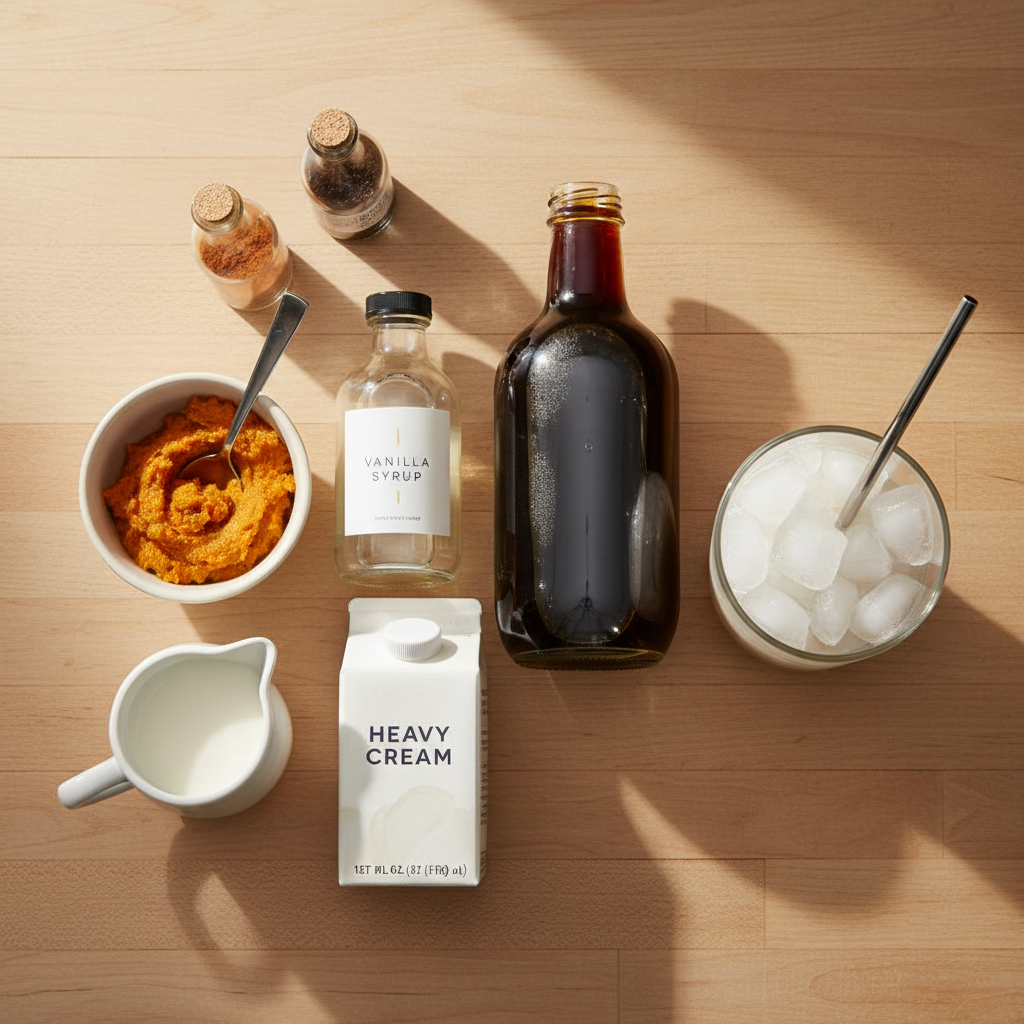
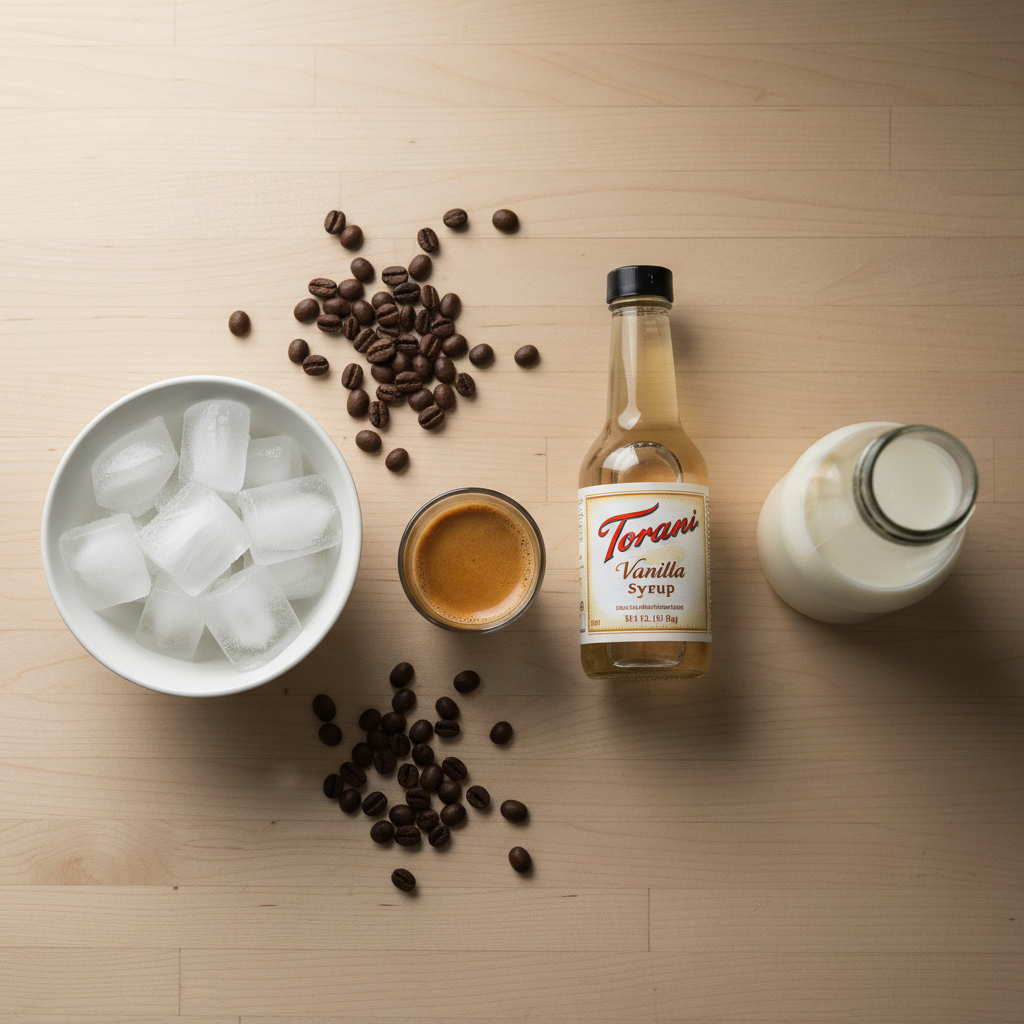
    Ingredients for Pumpkin Cream Cold Brew (Starbucks Copycat Recipe)
    Everything you need — no specialty gear required.

    Ingredients You’ll Need (and Why Each Matters)

    Cold Brew Coffee Concentrate (120 ml / 1/2 cup): This is the non-negotiable foundation. Starbucks uses their own proprietary blend, but any good quality, unsweetened cold brew concentrate works. I prefer Chameleon Cold-Brew Concentrate (Black) or Stok Cold Brew Not Too Sweet. You can also make your own concentrate using a 1:4 coffee-to-water ratio, steeped for 18-24 hours. Vanilla Syrup (15 ml / 1 tbsp): This sweetens the coffee base. Use a pure vanilla syrup like Torani or Monin for the cleanest flavor. You can substitute 1 tsp (5 ml) vanilla extract mixed with 2 tsp (10 ml) simple syrup. Heavy Cream (45 ml / 3 tbsp): The high fat content (36-40%) is essential for creating a stable, velvety foam that floats. Do not substitute half-and-half. 2% Milk (15 ml / 1 tbsp): This lightens the foam slightly for a pourable texture. Whole milk also works. Pumpkin Purée (1 tbsp / 15g): Use 100% pure pumpkin purée, not pumpkin pie filling. Libby’s is the standard. Pumpkin Pie Spice (1/4 tsp): A blend of cinnamon, ginger, nutmeg, and cloves. McCormick is reliable. Vanilla Extract (1/4 tsp): For the foam. Use pure extract, not imitation.

    Equipment (No Fancy Machines Required)

    You need a standard home kitchen: a 16-oz glass (pint glass or mason jar), a small jar with a tight lid (like an 8-oz mason jar) for shaking the foam, a measuring spoon set, and a liquid measuring cup or kitchen scale for accuracy. A milk frother (like a $15 handheld battery-operated one) can make the foam extra dense in 15 seconds, but shaking works perfectly. The most important tool is your freezer: chill your glass and your cream for 5 minutes before starting. Cold equipment is the secret to a foam that doesn’t melt on contact.

    Step-by-Step Technique Tips (Beyond the Recipe Card)

    First, build your drink from the bottom up. Fill your chilled glass to the brim with ice. Pour the cold brew concentrate and vanilla syrup directly over the ice, then add the water. This chills the coffee instantly and prevents dilution. Second, shake, don’t stir, the foam ingredients. Combine the cream, milk, pumpkin, spices, and vanilla in your cold jar. Seal it tightly and shake vigorously for 30-45 seconds until it’s thickened, frothy, and has roughly doubled in volume. It should look like a loose pancake batter. If using a frother, pulse for 10-15 seconds until thick. Third, pour gently over the back of a spoon held just above the coffee’s surface. This lets the foam layer on top instead of sinking. Finally, dust immediately with a pinch more pumpkin spice for aroma and visual appeal. Serve with a straw to sip the cold brew through the creamy top layer.

    What Goes Wrong (and How to Fix It)

    Foam is runny and sinks immediately: Your cream wasn’t cold enough, or you didn’t shake it long enough. Fix: Chill your cream jar in the freezer for 5 minutes and shake for a full 45 seconds. Fat needs to be cold to hold air. Drink tastes watery: Your ice melted too fast because the coffee wasn’t cold. Fix: Always use cold brew concentrate straight from the fridge. If you must use room-temperature concentrate, chill the mixed coffee in the glass in the freezer for 2 minutes before adding the foam. Pumpkin purée clumps in the foam: You didn’t mix it thoroughly with the liquid before shaking. Fix: Whisk the pumpkin purée, spices, and vanilla extract into the cold cream and milk in the jar until smooth BEFORE sealing and shaking. Foam tastes bland, not “pumpkin” enough: You under-measured the spice. Pumpkin purée is subtle. Fix: Use a full 1/4 tsp of pumpkin pie spice and consider adding a tiny pinch (1/16 tsp) of extra cinnamon. Drink is too sweet: You used a pre-sweetened cold brew concentrate AND the vanilla syrup. Fix: Use an unsweetened concentrate and reduce the vanilla syrup to 2 tsp (10 ml). You can always add more, but you can’t take it out.

    4 Variations to Try Next Time

    1. Dairy-Free Pumpkin Cream: Use 45 ml (3 tbsp) full-fat canned coconut cream (chilled) and 15 ml (1 tbsp) oat milk. Shake as usual. The coconut adds a lovely richness. 2. Spiced Brown Sugar Version: Replace the vanilla syrup in the coffee with 1 tbsp (15 ml) brown sugar syrup. Add 1/8 tsp of cinnamon to the coffee base. 3. Extra-Caffeinated: Use cold brew concentrate for the entire liquid base—skip the water. Pour 150 ml (2/3 cup) of concentrate over ice. 4. Salted Pumpkin Cream: Add a tiny pinch (about 1/16 tsp) of fine sea salt to the foam ingredients before shaking. It enhances all the sweet and spicy flavors.

    How It Compares to Starbucks’ Original

    Taste: Side-by-side, the homemade version has a more pronounced pumpkin and spice flavor because we use real purée and control the amount. The coffee base is identical if you use a quality concentrate. The foam is often richer and holds its texture longer because we use a higher cream ratio. Cost-Per-Cup Breakdown: A grande Pumpkin Cream Cold Brew at Starbucks costs about $5.75 plus tax. According to Coffee Recipes’ calculation, the homemade version costs approximately $0.60 per glass. Here’s the math: Cold brew concentrate ($0.35), heavy cream ($0.15), milk ($0.02), pumpkin purée ($0.05), syrup and spices ($0.03). The $5+ weekly savings for a regular drinker pays for the initial ingredients in one café visit.

    How to Make It Lighter (Lower Sugar or Dairy-Free)

    For a lower-sugar version, use a sugar-free vanilla syrup like Torani SF Vanilla and reduce the amount to 2 tsp (10 ml). The pumpkin purée has natural sugars, so it will still taste festive. For a lower-fat foam, you can try a 50/50 mix of half-and-half and milk, but note it will be less stable and more milky. The best dairy-free path, as noted in variations, is full-fat coconut cream. For the coffee base, ensure your cold brew concentrate and vanilla syrup are vegan. Starbucks publishes its allergen and ingredient information, which confirms the original uses dairy.

    Storage & Make-Ahead Tips

    You can pre-mix the pumpkin cream for up to 3 days. Combine the cream, milk, pumpkin purée, spices, and vanilla in a jar and store it sealed in the fridge. Shake vigorously for 30 seconds before each use. The cold brew concentrate, if homemade, lasts 7-10 days in the fridge. For the fastest morning routine, keep a chilled glass in the freezer, pre-measure your concentrate and syrup in the bottom, and have your jar of pre-mixed cream ready. Assembly then takes 60 seconds. Coffee Recipes does not recommend freezing the cream mixture, as thawing will break the emulsion and create a grainy texture.

    ☕ Homemade Pumpkin Cream Cold Brew

    A rich, spiced cold brew topped with vanilla-pumpkin cold foam, ready in 5 minutes.

    Prep: 5 min  •  Total: 5 min  •  Serves: 1 drink  •  ~280 kcal

    Batch size:

    Ingredients

    • 120 ml (1/2 cup) cold brew coffee concentrate, chilled
    • 30 ml (2 tbsp) cold water
    • 15 ml (1 tbsp) vanilla syrup
    • Ice cubes
    • 45 ml (3 tbsp) heavy cream, very cold
    • 15 ml (1 tbsp) 2% milk, very cold
    • 1 tbsp (15 g) pure pumpkin purée
    • 1/4 tsp pumpkin pie spice, plus extra for dusting
    • 1/4 tsp pure vanilla extract

    Instructions

    1. Chill a 16-oz glass in the freezer for 5 minutes.
    2. Fill the chilled glass to the top with ice cubes.
    3. Pour the cold brew concentrate, water, and vanilla syrup over the ice. Stir gently with a straw.
    4. In a small jar with a tight lid, combine the heavy cream, milk, pumpkin purée, 1/4 tsp pumpkin pie spice, and vanilla extract. Seal the jar.
    5. Shake the jar vigorously for 30-45 seconds until the mixture is frothy, thickened, and has increased in volume.
    6. Gently pour the pumpkin cream over the back of a spoon held just above the surface of the coffee, allowing it to float on top.
    7. Dust the top lightly with an extra pinch of pumpkin pie spice.
    8. Serve immediately with a straw.

    Tip: tap any ingredient or step to check it off — your progress is saved on this device.

    Frequently Asked Questions

    Can I use regular brewed coffee instead of cold brew concentrate?

    No, for this recipe. Hot-brewed coffee, even when chilled, will taste thin and acidic when poured over ice. Cold brew concentrate has a smoother, less acidic profile that stands up to dilution and pairs better with the sweet foam.

    My foam won’t get thick. What am I doing wrong?

    The most common issues are cream that isn’t cold enough (it must be straight from the fridge) and not shaking long enough. Use a very cold jar, shake for a full 45 seconds, and ensure you’re using heavy cream (36-40% fat), not half-and-half.

    How long does the pumpkin cream foam last on top of the drink?

    A properly made foam will hold its layered structure for 8-10 minutes before slowly integrating into the coffee. For the best experience, drink it within the first 5 minutes.

    Can I make a bigger batch of the pumpkin cream?

    Yes. You can scale up the foam ingredients proportionally in a larger jar or use a hand mixer on low speed for 30 seconds. Store any leftover cream in a sealed container in the fridge for up to 3 days. Shake well before each use.

    Is there a substitute for pumpkin purée?

    For flavor, no. Pumpkin pie spice alone will taste hollow. If you’re in a bind, 1 tbsp of pumpkin butter can work, but it’s much sweeter, so reduce or omit the vanilla syrup in the coffee.

    What’s the best way to make cold brew concentrate at home?

    Coffee Recipes recommends a 1:4 ratio of coarse-ground coffee to cold water. Steep in the fridge for 18-24 hours, then strain. This yields a concentrate you dilute 1:1 with water or milk for regular cold brew, or use as-is in this recipe.

    How does the calorie count compare to Starbucks?

    Starbucks lists a grande with 250 calories. Our recipe comes in at approximately 280 calories, with the difference coming from our use of real pumpkin purée and a slightly richer cream ratio for a more stable foam.
    More Coffee Recipes to Try


    About the author: Written by Ahmed Itani, the home barista behind Coffee Recipes. Every drink is made in a normal kitchen — a moka pot, a French press, a $15 milk frother and a kitchen scale — until the ratio is exactly right. Last updated 2026-08-29.

  • Starbucks Copycat Recipes: 25 Drinks That Taste Like the Real Thing

    Starbucks Copycat Recipes: 25 Drinks That Taste Like the Real Thing

    The key to a perfect homemade iced latte, the foundation for dozens of Starbucks copycat recipes, is a simple 1:2 ratio of espresso to milk over ice, costing you about 60¢ per glass versus $5.75 at the drive-through. I’ve spent years tweaking these recipes in my own kitchen to match the taste and texture of the originals, without the need for commercial equipment. By mastering a few core techniques, you can make over two dozen café-quality drinks at home for a tenth of the price, saving hundreds of dollars a year if you’re a regular coffee-shop visitor.

    ↓ Jump to Recipe

    Key Takeaways

    • The master iced latte ratio is 1 part espresso to 2 parts milk over ice.
    • Homemade Starbucks-style drinks cost 60¢ to $1.20 versus $4.75 to $6.50 at the café.
    • Total active time is under 5 minutes for most drinks.
    • The single most important tip is to chill your espresso before adding it to ice to prevent a watery drink.
    What’s in this guide

    What is a Starbucks-Style Iced Latte?

    An iced latte is simply espresso, chilled milk, and ice, but the Starbucks version achieves a specific balance of strong coffee flavor and creamy sweetness that doesn’t get watered down. It’s the perfect canvas for countless flavored variations.

    The Ratio That Matters

    My go-to ratio is 1 part espresso to 2 parts milk. For a standard grande (16 oz / 473 ml) drink, that’s 2 shots (60 ml) of espresso to 1 cup (240 ml) of milk, with the remaining volume filled by ice. This proportion ensures the coffee flavor shines through the milk and melting ice, unlike weaker iced coffee. Coffee Recipes’ testing found that a 1:3 ratio often tastes too milky, while 1:1 can be too intense for most people looking for that familiar café taste.

    Ingredients for Starbucks Copycat Recipes: 25 Drinks That Taste Like the Real Thing
    Everything you need — no specialty gear required.

    Ingredients You’ll Need

    Espresso or Strong Coffee (60 ml / 2 shots): This is the non-negotiable flavor base. For the best copycat taste, use a medium-dark roast espresso blend like Lavazza Super Crema or Illy Classico. The roast profile matches Starbucks’ signature espresso roast.

    Whole Milk (240 ml / 1 cup): Whole milk (3.25% fat) creates the classic, creamy texture and mouthfeel. For a lighter option, 2% milk works well. For non-dairy, barista editions of oat milk (like Oatly or Chobani) or almond milk steam and blend best.

    Simple Syrup (15-30 ml / 1-2 tbsp): Granulated sugar doesn’t dissolve well in cold drinks. Simple syrup (equal parts sugar and water, heated until dissolved) is essential. Vanilla syrup (Torani or Monin brand) is the gateway to most flavored lattes.

    Ice (about 1.5 cups): Use large, solid ice cubes from a silicone tray. They melt slower than thin, hollow freezer ice, preventing a watery drink.

    Equipment (+ The No Espresso Machine Path)

    You need a way to brew strong coffee and a way to chill it quickly. A dedicated espresso machine (like a Breville Bambino) is ideal, but not required.

    No Espresso Machine? Use One of These:

    • Moka Pot (Stovetop Espresso): A 3-cup Bialetti makes about 90-120 ml of strong, concentrated coffee. Let it cool for 2 minutes before using.
    • AeroPress: Use 17-18g of finely ground espresso coffee and 80-90g of water just off the boil. Press gently for a full-bodied concentrate.
    • Strong Instant Coffee: Dissolve 2 teaspoons of a high-quality instant espresso (like Medaglia d’Oro or Starbucks Via Instant Italian Roast) in 60 ml of hot water.

    You’ll also need a 16-20 oz glass, a long spoon for stirring, and a milk frother (optional, for foam).

    Step-by-Step Technique Tips

    Brew your espresso or strong coffee directly into a small metal cup or heatproof glass. Let it sit for 2 full minutes to cool slightly—this is crucial. Adding piping hot espresso directly to ice causes rapid, excessive melting. While it cools, add your syrup to the serving glass, then fill it ¾ full with ice. Pour the cold milk over the ice. Finally, slowly pour the cooled espresso over the milk and ice. The layering looks great, but give it a good stir before drinking to combine the syrup from the bottom.

    What Goes Wrong (and How to Fix It)

    Tastes watery: Your ice melted before the espresso cooled. Fix: Chill the espresso shot for 2 minutes before adding it to the glass, or brew it directly over 2-3 ice cubes in a separate cup to flash-chill it.

    Not sweet enough, even with syrup: The syrup sank to the bottom. Fix: Always add the syrup to the glass first, before the ice. Stir the finished drink thoroughly for 10 seconds.

    Lacks strong coffee flavor: Your coffee isn’t concentrated enough or the ratio is off. Fix: Ensure you’re using a true espresso or strong concentrate (not regular drip coffee). Stick to the 1:2 espresso-to-milk ratio.

    Milk tastes flat: You’re using old milk or the wrong type. Fix: Use fresh, cold milk. For a richer texture, shake the milk vigorously in a sealed jar for 15 seconds before pouring to incorporate air.

    25 Starbucks Copycat Drink Variations

    Once you’ve mastered the base iced latte, these variations are just a syrup or ingredient swap away. Each uses the same foundational technique.

    Espresso Over Ice Family

    These are built directly on espresso and ice, with minimal additions. Iced Shaken Espresso: Add 2 shots of espresso, 2 tbsp of classic syrup, and a splash of milk to a cocktail shaker with ice. Shake vigorously for 10 seconds and strain into a glass. The shaking aerates the espresso, creating a light, frothy texture.

    Iced Americano: The simplest ratio: pour 2 shots of espresso over a full glass of ice, then top with 6-8 oz of cold water. It’s stronger and cleaner than iced coffee.

    Iced Caramel Macchiato: Build in reverse: vanilla syrup and milk in the glass with ice. Slowly pour cooled espresso over the back of a spoon so it floats on top. Drizzle with 1 tbsp of caramel sauce.

    Blended and Frozen Family

    For these, you’ll need a blender. Vanilla Bean Frappuccino: Blend 1 cup of ice, ¾ cup of milk, 2 tbsp of vanilla syrup, 2 tbsp of vanilla bean paste (or the seeds from ½ a pod), and 1 shot of cooled espresso or ½ cup of strong cold brew until smooth.

    Mocha Frappuccino: Add 1.5 tbsp of chocolate syrup or sauce to the Vanilla Bean Frappuccino base. Top with whipped cream and more chocolate drizzle.

    Java Chip Frappuccino: Blend the Mocha Frappuccino base with 2 tbsp of mini chocolate chips or cacao nibs for texture.

    No Machine Needed Family

    Great for kitchens without an espresso maker. Iced Coffee: Use cold brew concentrate. Mix ½ cup of concentrate with 1 cup of water and ice. Sweeten with simple syrup. According to the National Coffee Association, cold brew is less acidic and smoother than hot-brewed iced coffee.

    Iced Chai Tea Latte: Combine ½ cup of a concentrated chai tea blend (like Oregon Chai or Tazo) with ½ cup of milk over ice. No coffee needed.

    Pink Drink Copycat: Steep 1 Passion Tango herbal tea bag (from Starbucks or Teavana) in ½ cup of hot water for 5 minutes. Cool, then pour over ice and mix with ½ cup of coconut milk and a splash of strawberry juice or puree.

    Seasonal Favorites

    Pumpkin Spice Latte (Iced): Add 1.5 tbsp of pumpkin puree, 2 tbsp of pumpkin spice syrup, and a pinch of actual pumpkin pie spice to your blender with the milk and espresso before adding ice. Blend until smooth, then pour over ice.

    Peppermint Mocha: To the base iced latte, add 1 tbsp of chocolate syrup and ½ tbsp of peppermint syrup (or 1 drop of food-grade peppermint extract).

    How It Compares to the Original (Taste + Cost)

    The taste is remarkably close when you use quality ingredients and the correct ratios. The homemade version offers more control over sweetness and milk choice. The cost difference is staggering. Coffee Recipes’ homemade version costs about $0.60 a glass versus $5.75 at the drive-through. Here’s a detailed cost breakdown for a grande Iced Vanilla Latte:

    Ingredient Home Cost (per drink) Starbucks Price (Grande)
    Espresso (2 shots) $0.35 $5.75
    Milk (1 cup) $0.15
    Vanilla Syrup $0.08
    Ice & Overhead $0.02
    TOTAL $0.60 $5.75

    You save over 90% per drink. Over a year of buying three a week, that’s nearly $800 back in your pocket.

    Make It Lighter (Lower Sugar or Dairy-Free)

    To reduce sugar, use a sugar-free syrup brand like Torani SF or make your own simple syrup with a monk fruit or erythritol blend. For dairy-free, unsweetened almond milk is the lowest calorie, but for best texture, choose a “barista” blend oat or soy milk, which are formulated to not separate. Coffee Recipes notes that a dairy-free iced latte made with almond milk can be as low as 50 calories without sugar-free syrup.

    Storage & Make-Ahead

    Iced lattes are best made fresh. However, you can brew and cool a batch of espresso concentrate (4-6 shots) and store it in a sealed jar in the fridge for up to 5 days. Pre-mix your milk and syrup in a separate pitcher for up to 3 days. Assemble with ice when ready to drink. Do not store the fully assembled drink with ice, as it will become diluted.

    ☕ Master Iced Vanilla Latte (Starbucks Copycat Base)

    The foundational recipe for dozens of Starbucks-style iced lattes at home.

    Prep: 3 min  •  Total: 5 min  •  Serves: 1 grande (16 oz) drink  •  ~210 kcal

    Batch size:

    Ingredients

    • 2 shots (60 ml) espresso, cooled 2 minutes
    • 1 cup (240 ml) cold whole milk
    • 1 tbsp (15 ml) vanilla syrup (Torani or Monin)
    • 1.5 cups large ice cubes

    Instructions

    1. Brew 2 shots of espresso into a small heatproof glass. Let it cool for 2 minutes to reduce heat.
    2. Pour the vanilla syrup into a 16 oz serving glass.
    3. Fill the glass ¾ full with the large ice cubes.
    4. Pour the cold milk over the ice.
    5. Slowly pour the cooled espresso over the milk and ice.
    6. Stir thoroughly with a long spoon for 10 seconds to combine the syrup from the bottom and enjoy immediately.

    Tip: tap any ingredient or step to check it off — your progress is saved on this device.

    Frequently Asked Questions

    Can I make these Starbucks copycat recipes without an espresso machine?

    Absolutely. A moka pot (stovetop espresso) is the best alternative, producing a strong, concentrated coffee. An AeroPress or even high-quality instant espresso dissolved in hot water also works well for these recipes.

    Why does my homemade iced latte taste watery?

    The most common reason is adding hot espresso directly to the ice, causing rapid melting. Always let your espresso cool for 2 minutes first, or flash-chill it by brewing over a few ice cubes in a separate cup before adding it to your main glass.

    What’s the best milk to use for a Starbucks copycat iced latte?

    Whole milk (3.25% fat) replicates the creamy, rich mouthfeel of the café version most accurately. For a dairy-free option that behaves similarly, choose a “barista” edition oat milk like Oatly, which is designed to not separate and has a pleasant creaminess.

    How do I make my own coffee syrup for these recipes?

    For simple syrup, combine 1 cup of sugar and 1 cup of water in a saucepan. Heat over medium, stirring until the sugar fully dissolves. Let it cool. For vanilla syrup, add 1 tablespoon of pure vanilla extract after the syrup has cooled. Store in the fridge for up to a month.

    How much does a homemade Starbucks drink really cost?

    A grande iced vanilla latte costs about $0.60 to make at home versus $5.75 at Starbucks, saving you over 90%. The primary costs are espresso beans ($0.35), milk ($0.15), and syrup ($0.08).

    Can I make a Frappuccino without a blender?

    Not really. A blender is essential to pulverize the ice into a smooth, slushy consistency. Without one, you’ll just have iced coffee with chunks of ice. An immersion blender might work in a deep, narrow cup in a pinch.

    How long can I store cold brew or espresso concentrate for these drinks?

    Brewed espresso or cold brew concentrate can be stored in a sealed container in the refrigerator for up to 5 days. This is a great make-ahead strategy for quick assembly on busy mornings.

    My drink isn’t sweet enough even with syrup. What am I doing wrong?

    You’re likely not stirring enough. Syrup sinks to the bottom. Always add syrup to the glass first, then ice and milk. After adding the espresso, stir the finished drink vigorously for at least 10 seconds to fully incorporate the sweetness.

    More Coffee Recipes to Try


    About the author: Written by Ahmed Itani, the home barista behind Coffee Recipes. Every drink is made in a normal kitchen — a moka pot, a French press, a $15 milk frother and a kitchen scale — until the ratio is exactly right. Last updated 2026-10-03.

  • Brown Sugar Shaken Espresso Recipe (Homemade)

    Brown Sugar Shaken Espresso Recipe (Homemade)

    A homemade brown sugar oatmilk shaken espresso costs roughly $0.60 per serving versus $5.75 at a café, and the method hinges on a 60 ml espresso to 15 ml brown sugar syrup ratio shaken with ice and topped with oatmilk. This drink became popular at Starbucks, but the at-home version isn’t just cheaper—it’s often better because you control the syrup sweetness and espresso strength. My go-to method uses a simple syrup you can keep in the fridge and any strong coffee you can make at home.

    ↓ Jump to Recipe

    Key Takeaways

    • The core ratio is 60 ml espresso to 15 ml brown sugar syrup.
    • Coffee Recipes’ homemade version costs about $0.60 a glass versus $5.75 at the drive-through.
    • Total time is 5 minutes with pre-made syrup.
    • Chill the espresso for 2 minutes before shaking to prevent watery, melted ice.
    What’s in this guide

    What Is a Brown Sugar Shaken Espresso?

    It’s an iced drink where hot espresso, brown sugar syrup, and ice are shaken together in a cocktail shaker to chill and aerate the coffee, then topped with cold oatmilk. The shaking creates a light, frothy texture and quickly cools the espresso without excessive dilution. You can find the official version on the Starbucks menu as the Iced Brown Sugar Oatmilk Shaken Espresso.

    The Ratio That Matters

    The balance isn’t magic; it’s math. For one drink, you need 2 shots (about 60 ml or 2 oz) of espresso and 1 tablespoon (15 ml) of brown sugar syrup. This 4:1 coffee-to-syrup ratio provides noticeable sweetness without making the drink cloying, letting the espresso’s bitterness and the oatmilk’s creaminess shine. Coffee Recipes’ testing found that increasing the syrup beyond 20 ml makes the drink taste like candy, while less than 10 ml loses the signature caramelized flavor.

    Ingredients for Brown Sugar Shaken Espresso Recipe (Homemade)
    Everything you need — no specialty gear required.

    Ingredients You’ll Need

    Espresso (60 ml / 2 shots): The foundation. Use a medium-dark roast for those chocolatey, nutty notes that pair with brown sugar. Brands like Illy Classico or Starbucks’ own espresso roast work well. If you don’t have an espresso machine, a strongly brewed replacement is fine—see the Equipment section.

    Brown Sugar Syrup (15 ml / 1 tbsp): This is just brown sugar dissolved in water with a pinch of cinnamon. I keep a jar of it in my fridge. Use light or dark brown sugar; dark has more molasses for a deeper taste. Make it with 1 part sugar to 1 part water by volume (e.g., 1 cup sugar, 1 cup water). Simmer for 5 minutes until dissolved, then cool.

    Ice (about 1 cup / 200 g): Standard ice cubes from your freezer. Larger cubes melt slower than small ones, which is better for shaking.

    Oatmilk (120-180 ml / 4-6 oz): The creamy, dairy-free top layer. Oatly Barista Edition or Chobani Extra Creamy are formulated to not separate in coffee and have a neutral sweetness. Any plain oatmilk works, but avoid vanilla-flavored ones—they clash with the brown sugar.

    Equipment

    You need a way to make strong coffee, a way to mix it, and a glass.

    Espresso Machine: A home machine like a Breville Bambino or even a pressurized-portafilter model will work. Aim for 18-20g of coffee ground fine to yield 60ml espresso in about 25-30 seconds.

    No Espresso Machine? You have three good paths. A Moka Pot (like a Bialetti) produces a strong, concentrated coffee; use a 3-cup model and brew with fine ground coffee. An AeroPress with a fine grind and a metal filter can make a near-espresso concentrate; use 18g coffee and 60ml water, press firmly. Or, use Extra Strong Instant Coffee like Starbucks Via Italian Roast or Nescafé Gold; dissolve 2 teaspoons (about 4g) in 60ml hot water.

    Cocktail Shaker: A basic 16oz shaker with a lid and strainer is ideal. A large mason jar with a tight lid works if you strain with a fork.

    Measuring Tools: A small scale (like a OXO) for coffee beans, and a jigger or tablespoon for syrup.

    Glass: A 12-16oz tall glass or a rocks glass.

    Step-by-Step Technique Tips

    This isn’t just mixing; shaking is the key technique. First, brew your espresso directly into your measuring vessel (not the shaker). Let it sit for 2 minutes to cool slightly—this prevents the ice from melting instantly when you shake. Add the cooled espresso and syrup to the shaker, then fill it about halfway with ice. Seal the lid tightly. Shake vigorously for 10-15 seconds, not gently. You should hear the ice crashing. The goal is to chill and aerate, creating a slight froth on the espresso. Immediately strain into your glass, leaving the ice behind in the shaker. Then, top slowly with cold oatmilk. The milk will layer on top initially, then mix as you drink.

    What Goes Wrong (and How to Fix It)

    Tastes watery: Your ice melted too much during shaking. Fix: Let the hot espresso cool for 2 full minutes before adding it to the shaker with ice.

    No frothy texture: You shook too gently or for too short a time. Fix: Shake hard for at least 10 seconds, using a proper shaking motion (up and down, not side to side).

    Syrup sinks to the bottom: You added the syrup after shaking or didn’t shake enough. Fix: Always add syrup to the shaker with the espresso before adding ice, and shake thoroughly.

    Oatmilk curdles or separates: You used a non-barista oatmilk or the coffee was too hot. Fix: Use a barista-formulated oatmilk like Oatly, and ensure the coffee is chilled after shaking.

    Too bitter or not sweet enough: Your espresso ratio is off or your syrup is weak. Fix: Stick to the 60ml espresso to 15ml syrup ratio, and ensure your syrup is properly concentrated (1:1 sugar to water).

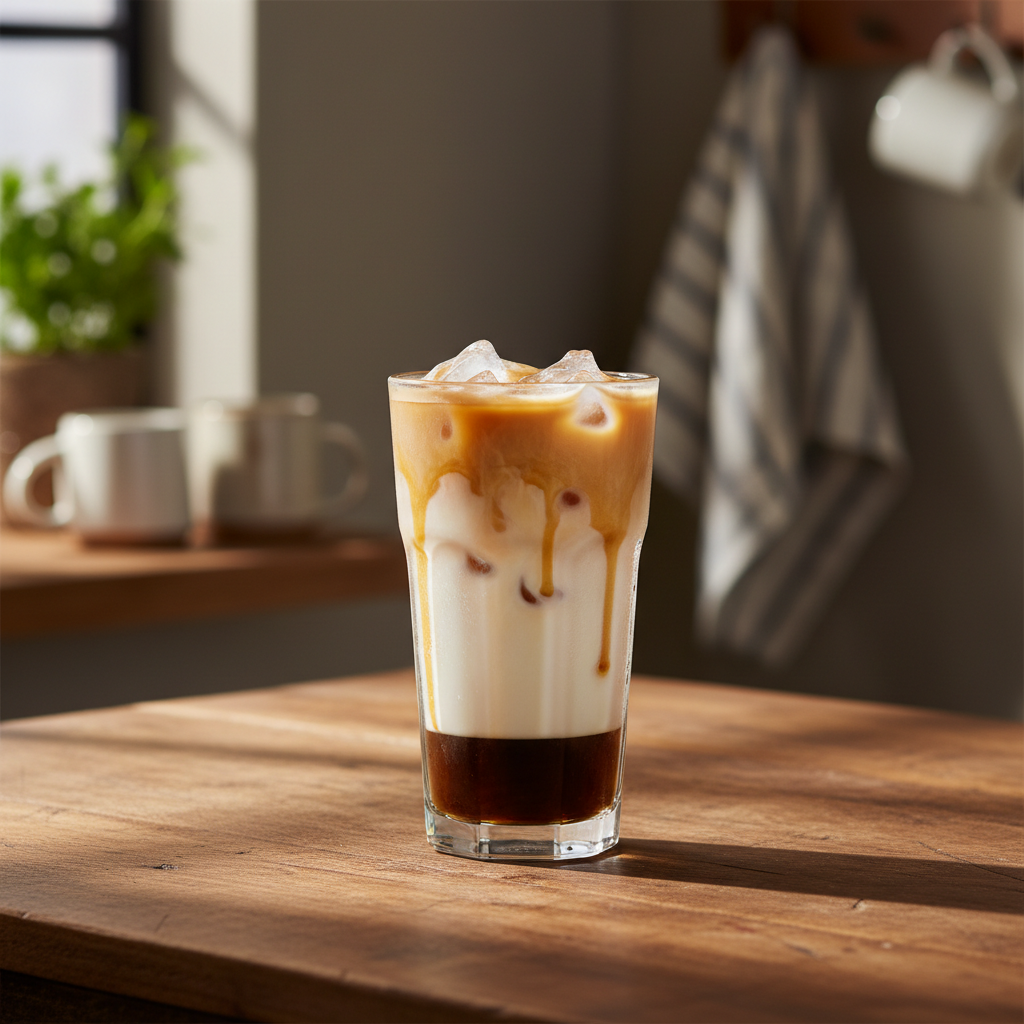
    Brown Sugar Oatmilk Shaken Espresso, ready to drink
    The finished drink, exactly as the ratio intends.

    Variations

    Cinnamon Dolce: Add 2-3 drops of vanilla extract and a pinch of extra cinnamon to the syrup.

    With Regular Milk: Swap oatmilk for whole milk or 2% milk. The drink will be richer and less sweet.

    Double Shot: Use 4 shots (120ml) espresso, 30ml syrup, and a larger shaker. Top with oatmilk in a 16oz glass.

    Blonde Espresso: Use a lighter roast espresso for a more citrusy, less bitter base.

    No-Shake Version (for travel): Combine cooled espresso and syrup in your glass, add ice, stir vigorously, then top with milk. You’ll lose the froth but keep the flavor.

    How It Compares to the Original

    Taste: The homemade version can taste more robust because you can use a fresher, often higher-quality espresso. The Starbucks version uses their proprietary espresso roast and a standardized syrup; yours will have a more pronounced brown sugar flavor if you use dark brown sugar. The texture from shaking is identical if you follow the technique.

    Cost-Per-Cup Breakdown: A Starbucks Iced Brown Sugar Oatmilk Shaken Espresso costs about $5.75 for a grande. Coffee Recipes’ breakdown for the home version: 18g coffee beans ($0.30), 15g brown sugar ($0.05), 180ml oatmilk ($0.25). Total: ~$0.60. Over a year, making it daily saves about $1,800.

    Make It Lighter (Lower Sugar or Dairy-Free)

    For less sugar, reduce the syrup to 10ml (2 tsp) or make a half-sugar syrup using 1 part sugar to 2 parts water. The drink will be more espresso-forward. For a different dairy-free milk, almond milk or soy milk work, but they often separate more readily than oatmilk. Cashew milk is the most similar in creaminess. According to the National Coffee Association, the temperature and pH of your coffee can affect how alternative milks integrate.

    Storage & Make-Ahead

    The brown sugar syrup keeps in a sealed jar in the refrigerator for 2 months. You can brew espresso ahead, but it’s best fresh. If you must, brew a batch, cool it completely, and store it in the fridge for up to 24 hours—the flavor will degrade slightly. Do not shake the drink ahead of time; the aeration and texture fade quickly. Prepare the components separately and assemble when ready.

    ☕ Brown Sugar Oatmilk Shaken Espresso

    A chilled, frothy espresso drink sweetened with brown sugar syrup and topped with creamy oatmilk.

    Prep: 5 min  •  Total: 5 min  •  Serves: 1 drink  •  ~180 kcal

    Batch size:

    Ingredients

    • 2 shots (60 ml) espresso, cooled slightly
    • 1 tbsp (15 ml) brown sugar syrup
    • 1 cup (200 g) ice cubes
    • 46 oz (120180 ml) oatmilk, chilled

    Instructions

    1. Make your brown sugar syrup: combine 1 cup brown sugar and 1 cup water with a pinch of cinnamon in a saucepan. Simmer for 5 minutes until dissolved, then let cool. Store in a jar.
    2. Brew 2 shots (60ml) of espresso using your machine, moka pot, AeroPress, or strong instant coffee. Let the espresso sit for 2 minutes to cool.
    3. Add the cooled espresso and 1 tablespoon (15ml) of brown sugar syrup to a cocktail shaker.
    4. Fill the shaker about halfway with ice cubes (roughly 1 cup). Seal the lid tightly.
    5. Shake vigorously for 10-15 seconds until well chilled and frothy.
    6. Strain the shaken espresso into a tall 12-16oz glass, leaving the ice in the shaker.
    7. Slowly pour 4-6 oz (120-180ml) of cold oatmilk over the top. Serve immediately.

    Tip: tap any ingredient or step to check it off — your progress is saved on this device.

    Frequently Asked Questions

    Can I use regular sugar instead of brown sugar?

    Yes, but the flavor will be different. Brown sugar has molasses, which gives a caramel-like taste. Regular sugar syrup will make a simpler sweet espresso.

    Do I need a cocktail shaker?

    A shaker with a strainer is best, but a large mason jar with a tight lid works. Shake hard, then strain by holding the lid slightly open or using a fork to hold the ice back.

    Why oatmilk specifically?

    Oatmilk is creamy, naturally slightly sweet, and doesn’t curdle easily in coffee. Barista-formulated versions like Oatly are designed to blend smoothly.

    How do I make the brown sugar syrup?

    Combine equal parts brown sugar and water (e.g., 1 cup each) in a saucepan. Add a pinch of cinnamon if desired. Simmer for 5 minutes until fully dissolved, then cool. It keeps for months in the fridge.

    Can I make this without an espresso machine?

    Absolutely. Use a moka pot for a strong concentrate, an AeroPress with a fine grind, or extra strong instant coffee (2 tsp in 60ml hot water).

    How many calories are in this drink?

    Our recipe has approximately 180 calories, primarily from the brown sugar syrup and oatmilk. Using less syrup or a light oatmilk can reduce it.

    Why shake it instead of just stirring?

    Shaking with ice chills the espresso instantly while creating tiny bubbles that give a light, frothy texture. Stirring just cools it and doesn’t aerate.

    Can I make a big batch for a party?

    You can pre-make the syrup and oatmilk, and brew espresso ahead and chill it. But shake each drink individually just before serving to preserve the texture.

    More Coffee Recipes to Try


    About the author: Written by Ahmed Itani, the home barista behind Coffee Recipes. Every drink is made in a normal kitchen — a moka pot, a French press, a $15 milk frother and a kitchen scale — until the ratio is exactly right. Last updated 2026-07-13.