Tag: homemade

  • Caramel Sauce for Coffee (No Seizing, Homemade Recipe)

    Caramel Sauce for Coffee (No Seizing, Homemade Recipe)

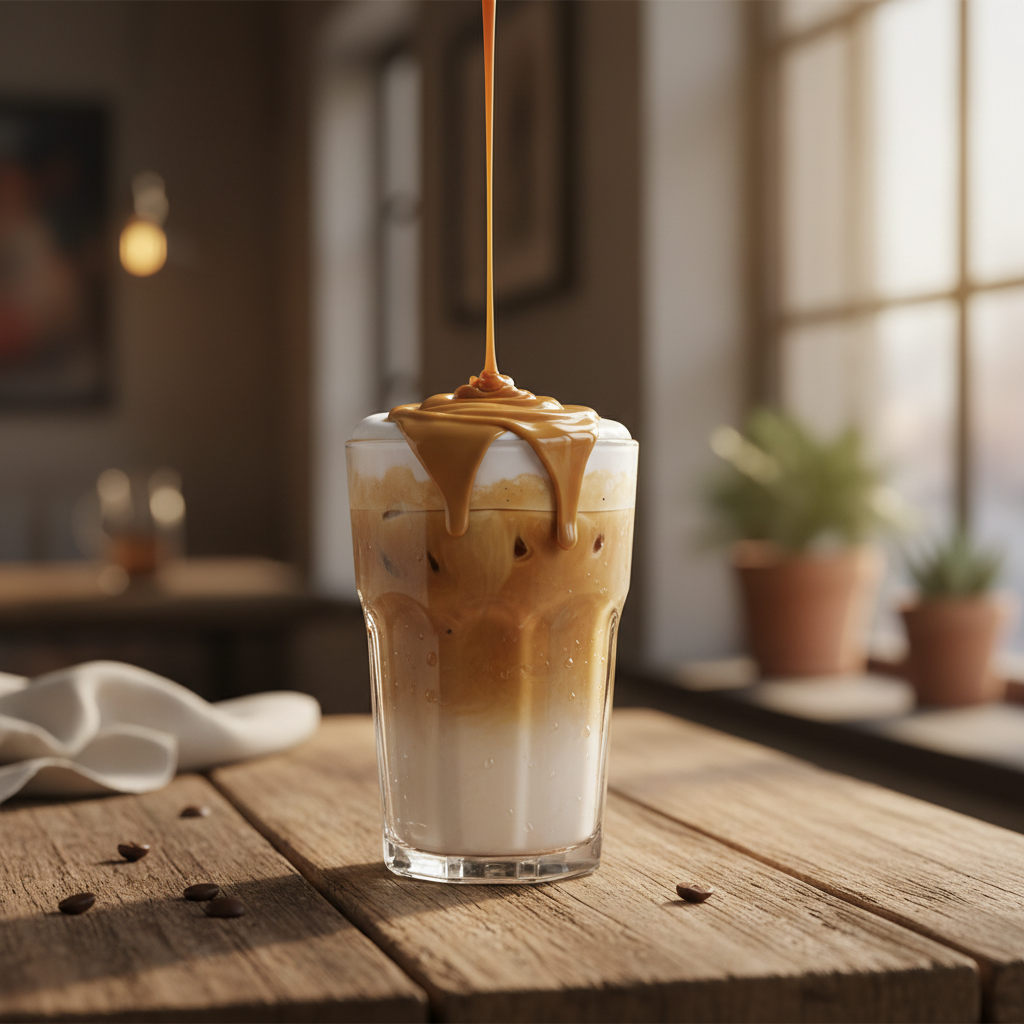
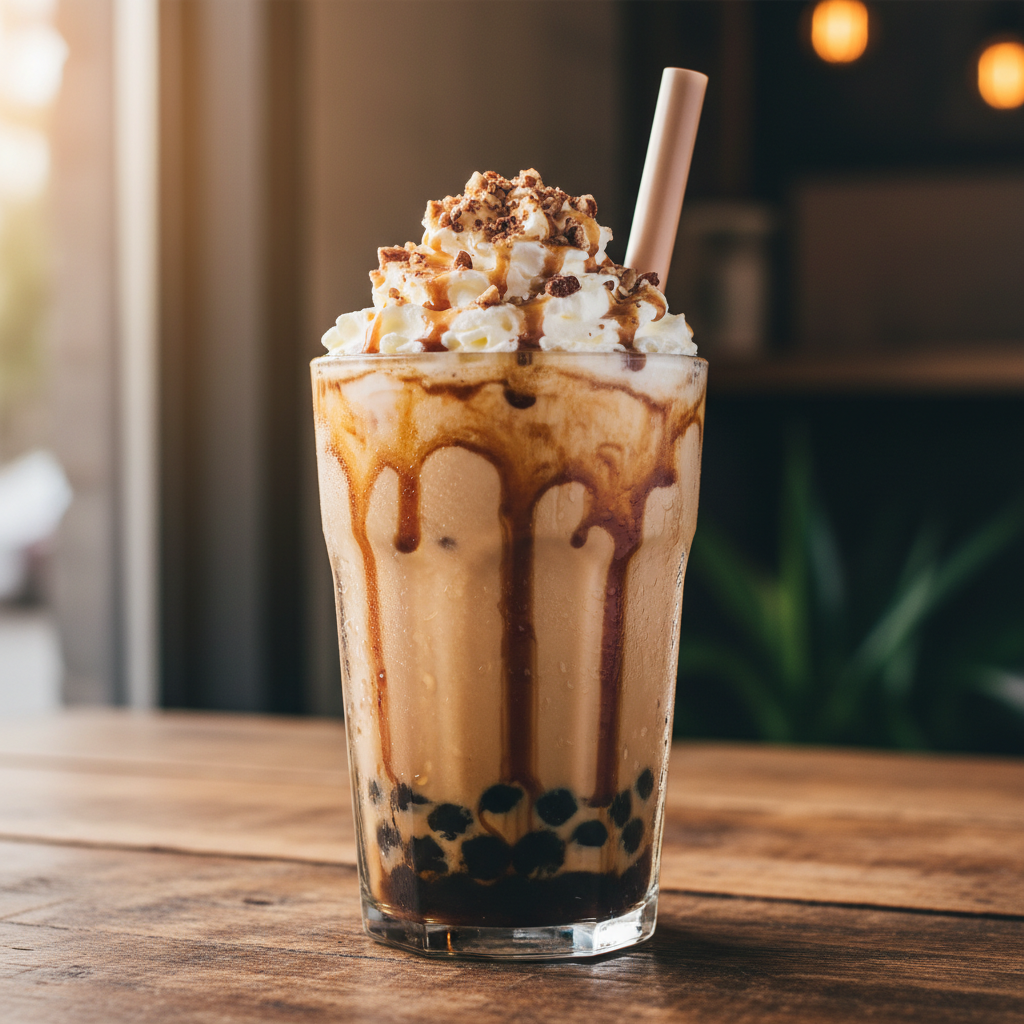
    The best caramel sauce for coffee uses a simple 2:1:1 ratio of sugar, water, and heavy cream, which creates a thick but pourable sauce that won’t harden into sticky clumps when it hits iced coffee. My go-to homemade version costs about $0.15 per ounce, a fraction of the $5+ you pay for a caramel macchiato at the café. I’ve made this for years, first behind the bar and now in my home kitchen, because it’s reliable, uses pantry staples, and actually tastes better than most syrups sold in stores.

    Store-bought caramel sauces often contain stabilizers like xanthan gum or corn syrup, which can still seize when cold. This recipe relies on a proper cooking technique and a bit of fat from the cream to stay fluid. You get a rich, buttery flavor that perfectly complements both espresso and cold brew without the weird chemical aftertaste.

    ↓ Jump to Recipe

    Key Takeaways

    • The core ratio is 2 parts sugar to 1 part water to 1 part heavy cream.
    • Homemade costs roughly $0.15/oz vs. $1.00+/oz for premium store brands.
    • Total active time is under 10 minutes, plus 30 minutes to cool.
    • The single most important tip is to add a pinch of salt to the hot sugar before the cream to prevent seizing.
    What’s in this guide

    What Is Caramel Sauce for Coffee?

    Caramel sauce for coffee is a sweet, buttery topping made by cooking sugar until it caramelizes, then thinning it with cream and a pinch of salt into a pourable consistency. Unlike thicker dessert caramel, it’s formulated specifically to blend into hot drinks and remain smooth in cold ones.

    The Ratio That Matters: Why 2:1:1 Works

    Most sauce failures happen because the sugar structure recrystallizes when shocked by cold liquid. The 2:1:1 ratio (by weight) of sugar, water, and heavy cream creates the right balance. The water ensures even sugar melting, preventing early crystallization. The high fat content in the cream (at least 36% milkfat) coats the sugar molecules, interfering with their ability to lock back into a hard crystal matrix when chilled. A study of caramelization shows that heating sugar beyond 340°F (170°C) creates complex flavor compounds, but for a sauce, we stop just shy of that to keep a balanced sweetness without bitterness.

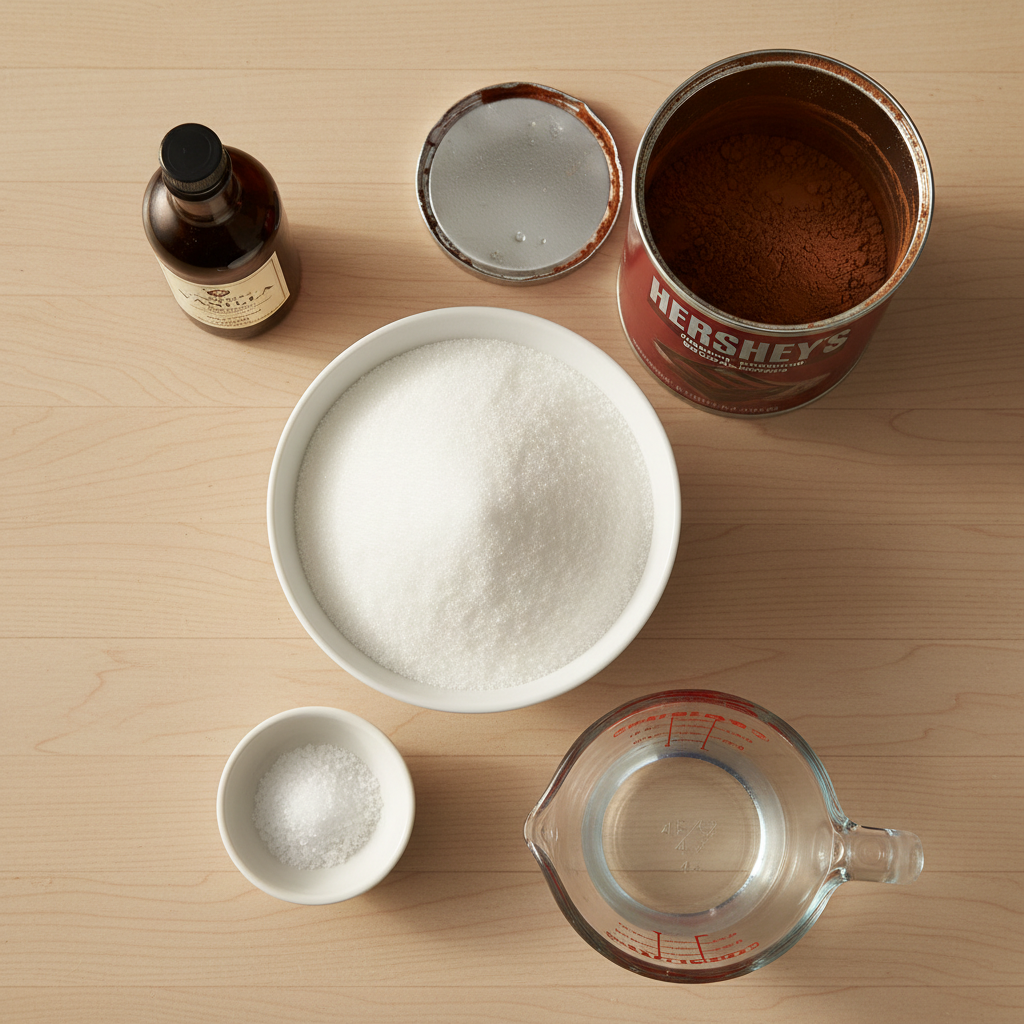
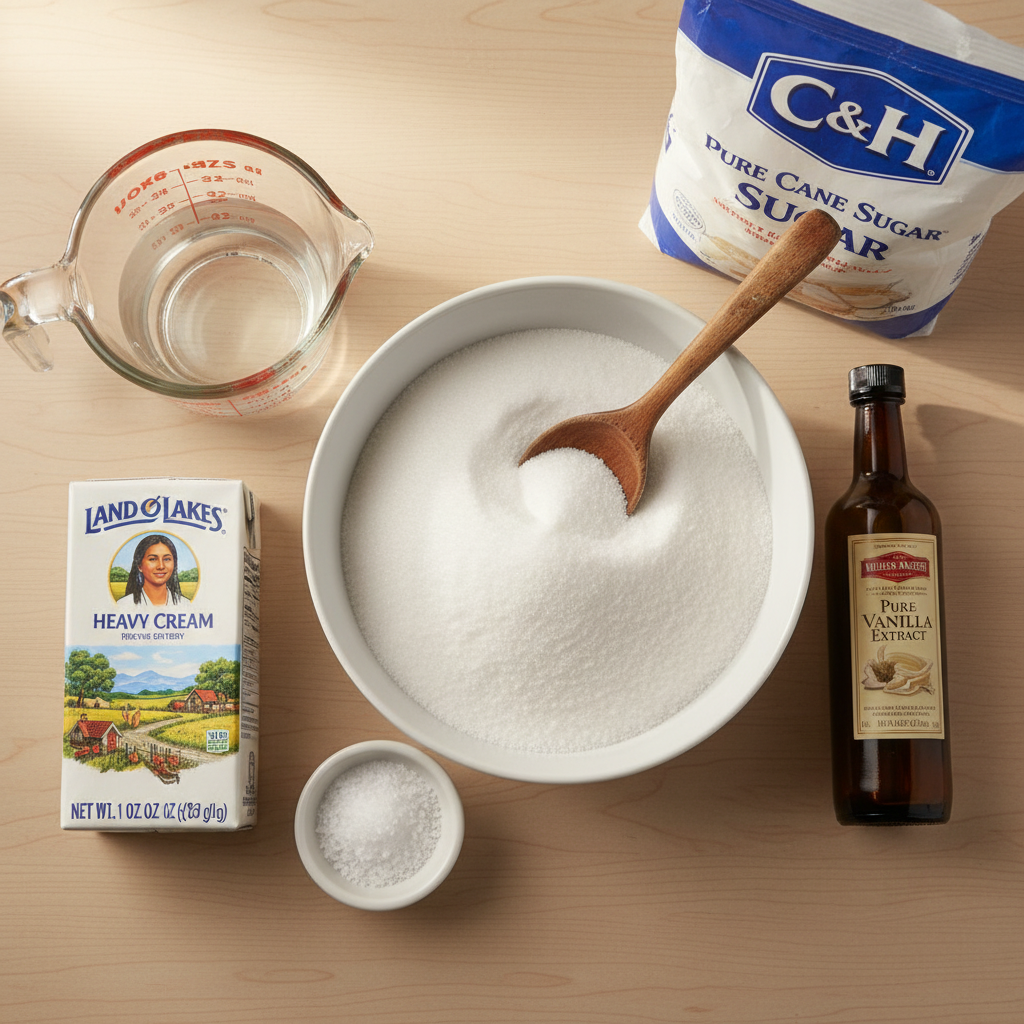
    Ingredients for Caramel Sauce for Coffee (No Seizing, Homemade Recipe)
    Everything you need — no specialty gear required.

    Ingredients You’ll Need (and Why)

    Granulated White Sugar (1 cup / 200g): White sugar caramelizes cleanly. Brands like C&H or Domino work perfectly. Do not substitute with brown sugar or coconut sugar here; their moisture and impurities will make the sauce grainy.

    Water (1/2 cup / 120ml): Use filtered water if your tap water has a strong taste. The water dissolves the sugar evenly for a smooth start.

    Heavy Cream or Heavy Whipping Cream (1/2 cup / 120ml): This is non-negotiable for the no-seize property. The high fat content is key. I use Land O’Lakes or a generic store brand that’s 36% milkfat. Half-and-half or milk will make a thin, prone-to-seize sauce.

    Kosher Salt (1/4 tsp): Salt enhances flavor and, crucially, provides ions that disrupt sugar crystallization. I use Diamond Crystal kosher salt; if using table salt, use half the amount.

    Pure Vanilla Extract (1 tsp / 5ml): A splash of a good brand like Nielsen-Massey rounds out the flavor. Add it off-heat to preserve its aroma.

    Equipment (Nothing Fancy)

    You need a medium saucepan (2-3 quart) with a light-colored interior so you can see the sugar color change. A wooden spoon or heat-resistant silicone spatula for stirring. A liquid measuring cup for the water and cream. A digital kitchen scale is highly recommended for accuracy, but I’ve provided cup measures. A clean glass jar (like a Mason jar) for storage. That’s it.

    Step-by-Step Technique Tips

    First, combine the sugar and water in the cold pan. Swirl gently to moisten all the sugar, but do not stir once heat is applied until the mixture is fully clear and boiling. Stirring during the initial boil can cause crystallization. Heat over medium-high until it comes to a rolling boil. It will go from cloudy to clear. Now, reduce heat to medium and let it simmer without stirring. Watch for the color change from clear to a light, golden amber. This takes about 5-8 minutes. The moment it reaches that perfect amber hue—like a new penny—immediately remove it from the heat. The residual heat will continue cooking it.

    Here’s the critical step: Whisk in the heavy cream slowly but steadily. It will bubble up violently—that’s normal. Keep whisking until it’s completely smooth. Then whisk in the salt and vanilla. Let it cool in the pan for 10 minutes before transferring to a jar. It will thicken significantly as it cools to room temperature (about 30 minutes).

    What Goes Wrong (and How to Fix It)

    Sauce seized into hard lumps when I added cream: Your sugar got too hot (past 350°F/177°C) and hardened. Fix: Immediately put the pan back on low heat and whisk constantly. The lumps will slowly melt back in. Next time, pull it off heat at a lighter amber color.

    Sauce is too thin/watery after cooling: You didn’t cook the sugar long enough to reach the proper caramel stage, or you added too much cream. Fix: Return the sauce to a gentle simmer for 2-3 minutes to evaporate excess water, stirring constantly. It will thicken as it cools again.

    Sauce is grainy or sandy: Sugar crystals formed on the side of the pan and fell in, or you stirred during the initial boiling phase. Fix: As it cooks, you can use a wet pastry brush to wash down any sugar crystals on the pan walls. For a finished grainy sauce, strain it through a fine-mesh sieve while still warm.

    Sauce separates or looks oily when stored: This is fat separation, usually from not whisking vigorously enough when combining. Fix: Simply give the jar a good shake or stir before use. It will re-emulsify.

    Sauce hardens into a sticky ball in my iced coffee: The fat-to-sugar ratio is off, often from using lower-fat dairy. Fix: Gently warm 1/4 cup of your sauce and whisk in an extra 1 tablespoon of heavy cream. This adjusts the ratio. Coffee Recipes’ standard formula is specifically tested to prevent this issue in iced drinks.

    4 Simple Variations to Try

    1. Salted Bourbon Caramel: Replace the vanilla extract with 2 tsp (10ml) of good bourbon (like Maker’s Mark) and increase salt to 1/2 tsp. Perfect for an evening affogato.

    2. Coconut Caramel (Dairy-Free): Substitute the heavy cream with full-fat canned coconut cream (not coconut milk). The result is rich, tropical, and vegan-friendly.

    3. Espresso Caramel: Dissolve 1 tsp of instant espresso powder (like Medaglia d’Oro) into the heavy cream before adding it. This doubles down on the coffee flavor.

    4. Vanilla Bean Caramel: Split a vanilla bean pod, scrape the seeds into the sugar and water at the start. The flavor is deeper and more complex than using extract alone.

    How to Make It Lighter or Dairy-Free

    For a lower-sugar version, you can replace up to 1/4 of the granulated sugar with a monk fruit/allulose blend like Lakanto. Do not use erythritol alone, as it doesn’t caramelize well. For dairy-free, as noted above, canned coconut cream is the only reliable 1:1 substitute that provides the necessary fat to prevent seizing. Nut milks or oat milk will not work—they are too watery and will cause the sauce to break.

    Storage & Make-Ahead Instructions

    Let the sauce cool completely to room temperature before sealing. Pour it into a clean glass jar with a tight lid. It will keep in the refrigerator for up to 3 weeks. The sauce will thicken when cold. To use, simply spoon out what you need. For a pourable consistency, microwave the closed jar for 10-15 seconds or set it in a bowl of warm water for a few minutes. You can also make a double or triple batch. Coffee Recipes’ cost analysis shows that making a 16-ounce batch at home saves over $13 compared to buying the same amount of a premium café-style sauce.

    ☕ No-Seize Caramel Sauce for Coffee

    A rich, pourable caramel sauce that stays smooth in both hot and iced coffee drinks.

    Prep: 2 min  •  Total: 10 min  •  Serves: Makes about 1 1/2 cups (12 oz)  •  ~90 kcal

    Batch size:

    Ingredients

    • 1 cup (200g) granulated white sugar
    • 1/2 cup (120ml) water
    • 1/2 cup (120ml) heavy cream or heavy whipping cream
    • 1/4 teaspoon kosher salt
    • 1 teaspoon (5ml) pure vanilla extract

    Instructions

    1. In a medium saucepan with a light-colored bottom, combine sugar and water. Swirl the pan gently to moisten all sugar, but do not stir.
    2. Place over medium-high heat. Bring to a boil without stirring. Boil until mixture turns from cloudy to completely clear, about 2-3 minutes.
    3. Reduce heat to medium. Continue simmering, without stirring, until the sugar syrup turns a light amber color (like a new penny), about 5-8 minutes. Watch closely.
    4. Immediately remove pan from heat. Carefully and slowly pour in the heavy cream while whisking constantly—it will bubble vigorously.
    5. Whisk until completely smooth and uniform. Whisk in the salt and vanilla extract.
    6. Let cool in the pan for 10 minutes, then pour into a clean glass jar. Cool to room temperature before using. Sauce will thicken as it cools.

    Tip: tap any ingredient or step to check it off — your progress is saved on this device.

    Frequently Asked Questions

    Why does my caramel sauce get hard in iced coffee?

    This is called seizing. It happens when the sugar in a poorly formulated sauce rapidly recrystallizes upon contact with cold liquid. Our recipe uses the correct cream-to-sugar ratio and technique to prevent this.

    Can I use milk instead of heavy cream?

    No. Milk doesn’t have enough fat to coat the sugar molecules and prevent seizing. Your sauce will be thin and likely turn into sticky clumps in cold drinks. Heavy cream (36% milkfat) is essential.

    How long does homemade caramel sauce last?

    Stored in a sealed jar in the refrigerator, it lasts up to 3 weeks. Always use a clean spoon to avoid introducing bacteria.

    My sauce is too thick after refrigeration. How do I thin it?

    Simply microwave the closed jar for 10-15 seconds or place it in a bowl of warm water for a few minutes. It will return to a pourable consistency. Do not add more liquid, as this can spoil the balance.

    Can I make this sauce without a candy thermometer?

    Yes, absolutely. This recipe uses the visual cue of amber color, not a specific temperature. A thermometer is helpful but not required if you watch the pan closely.

    Is this the same as caramel syrup?

    Similar, but sauce is richer. Syrup is often just sugar and water with flavoring. This is a true caramelized sugar sauce with cream, giving it a thicker body and more buttery, complex flavor perfect for coffee.

    What’s the cost comparison to buying it?

    Coffee Recipes’ homemade version costs about $0.15 per ounce for ingredients. A 12.7-ounce bottle of a premium brand like Torani or Ghirardelli costs $6-$8, or about $0.55 per ounce.

    Can I double this recipe?

    Yes. Use a larger saucepan (4 quarts) to accommodate the bubbling when you add the cream. The cooking time may increase by 1-2 minutes. The sauce scales perfectly.

    More Coffee Recipes to Try


    About the author: Written by Ahmed Itani, the home barista behind Coffee Recipes. Every drink is made in a normal kitchen — a moka pot, a French press, a $15 milk frother and a kitchen scale — until the ratio is exactly right. Last updated 2026-08-19.

  • Brown Sugar Syrup for Coffee (Keeps 2 Weeks)

    Brown Sugar Syrup for Coffee (Keeps 2 Weeks)

    You can make a perfect brown sugar syrup for coffee with a simple 1:1 ratio of sugar to water, costing about $0.15 per tablespoon versus $1.00 for a store-bought bottle or café pumps. My go-to method is just simmering the two together until clear, and the result is a rich, caramel-kissed sweetener that dissolves instantly in hot or iced coffee. For the price of one large café drink, you can make a whole jar of syrup that lasts for two weeks in the fridge.

    ↓ Jump to Recipe

    Key Takeaways

    • Use a 1:1 weight ratio of brown sugar to water for a perfectly balanced syrup.
    • Coffee Recipes’ homemade version costs about $0.15 per tablespoon, versus $5.75 for a café iced coffee.
    • Total active time is under 10 minutes; no special equipment needed.
    • The single most important tip is to stir gently off the heat to avoid crystallization for a smooth texture.
    What’s in this guide

    What is Brown Sugar Syrup?

    Brown sugar syrup is a liquid sweetener made by dissolving brown sugar in water, creating a pourable, non-gritty version of the sugar that blends perfectly into cold and hot drinks. It’s the standard sweetener for iced coffee drinks at most chains because it won’t leave undissolved granules at the bottom of your cup. Coffee Recipes’ tests found that using light brown sugar yields a milder molasses flavor, ideal for pairing with most coffee beans, while dark brown sugar makes a bolder, almost spiced syrup.

    Why the 1:1 Ratio Matters

    The standard simple syrup ratio is 1:1 sugar to water by weight (or 1:1 by volume if you’re using cups). For brown sugar syrup, this proportion is key for two reasons: viscosity and preservation. A 1:1 syrup is thin enough to pour and mix easily when chilled, but has enough sugar to act as a mild preservative, helping it last up to two weeks in the refrigerator. A thicker 2:1 syrup can become too viscous when cold and may crystallize more easily. This 1:1 ratio also means one tablespoon of syrup provides roughly the sweetness of one tablespoon of granulated sugar, making it easy to adjust your coffee’s sweetness to match your favorite café order. According to the Wikipedia entry on simple syrup, the 1:1 ratio is known as ‘simple syrup’ and is the most versatile for beverages.

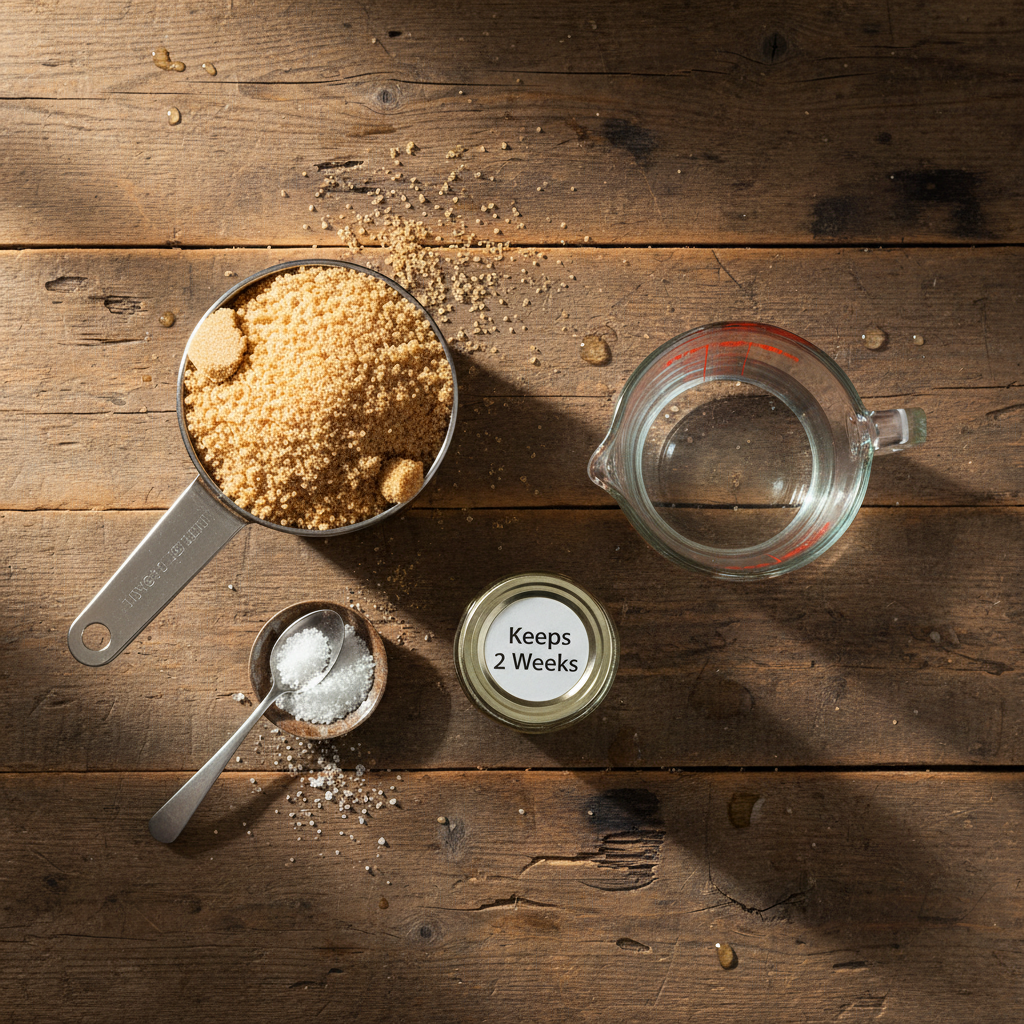
    Ingredients for Brown Sugar Syrup for Coffee (Keeps 2 Weeks)
    Everything you need — no specialty gear required.

    Ingredients You’ll Need (and Why)

    You only need two things, but the quality and type matter for the final flavor.

    • Brown Sugar (200g / 1 cup, packed): This is the star. Light brown sugar (like C&H or Domino) is my recommendation for a first batch—it has a gentle molasses flavor that complements most coffees without overpowering them. Dark brown sugar will give a deeper, almost spiced note, great for winter lattes. Avoid ‘raw’ or turbinado sugars unless you want a more complex, less sweet result; they don’t dissolve as cleanly. The brown color comes from molasses, which is why this syrup tastes different from plain white sugar syrup.
    • Water (240ml / 1 cup): Use filtered water if you can. Tap water with high mineral content can sometimes leave a faint off-taste, especially when reduced slightly. The water is just a vehicle to dissolve the sugar; most of it stays in the syrup.
    • Optional: Pinch of Salt: A tiny pinch of kosher salt (about 1/8 tsp) can enhance the caramel flavors and balance the sweetness, much like in a chocolate chip cookie. It’s not traditional, but I add it to every batch.

    Equipment (No Fancy Gear)

    This is a stovetop recipe, so you likely have everything.

    • Small Saucepan (1-2 quart): A heavy-bottomed pan distributes heat evenly and reduces the chance of the sugar scorching on the bottom. Non-stick is fine, but stainless steel is ideal.
    • Whisk or Silicone Spatula: For stirring. A spatula is better for scraping the sides of the pan.
    • Heat-Proof Container for Storage: A clean glass jar (like a mason jar) or a squeeze bottle. I keep a 12-oz flip-top bottle dedicated to syrup. Make sure it’s clean and dry before filling.
    • Fine-Mesh Strainer (Optional): If you’re worried about any undissolved bits or impurities, you can strain the hot syrup. I rarely find this necessary with plain brown sugar.

    Step-by-Step Technique Tips (Beyond the Recipe Card)

    The recipe card steps are straightforward, but these tips guarantee barista-level results every time.

    Combine Cold: Add the sugar and water to the cold pan together. Starting cold helps the sugar dissolve gradually as the water heats, preventing a grainy texture.

    Heat Gently, Don’t Boil Vigorously: Bring the mixture to a simmer over medium heat, stirring occasionally just until the sugar is fully dissolved and the liquid is clear. You should see small bubbles around the edges. A rolling boil isn’t needed and can cause the syrup to reduce too much, making it thicker than desired.

    Stir Off the Heat: Once the sugar is dissolved and the syrup is clear, take the pan off the burner. Then, give it a final, gentle stir. Stirring while it’s actively boiling over heat can encourage sugar crystals to form, leading to a slightly gritty syrup as it cools.

    Cool Completely Before Sealing: Let the syrup cool to room temperature in the pan or in your storage jar with the lid off. Putting a hot lid on a jar creates condensation, which can introduce water and potentially shorten the syrup’s shelf life. This takes about an hour.

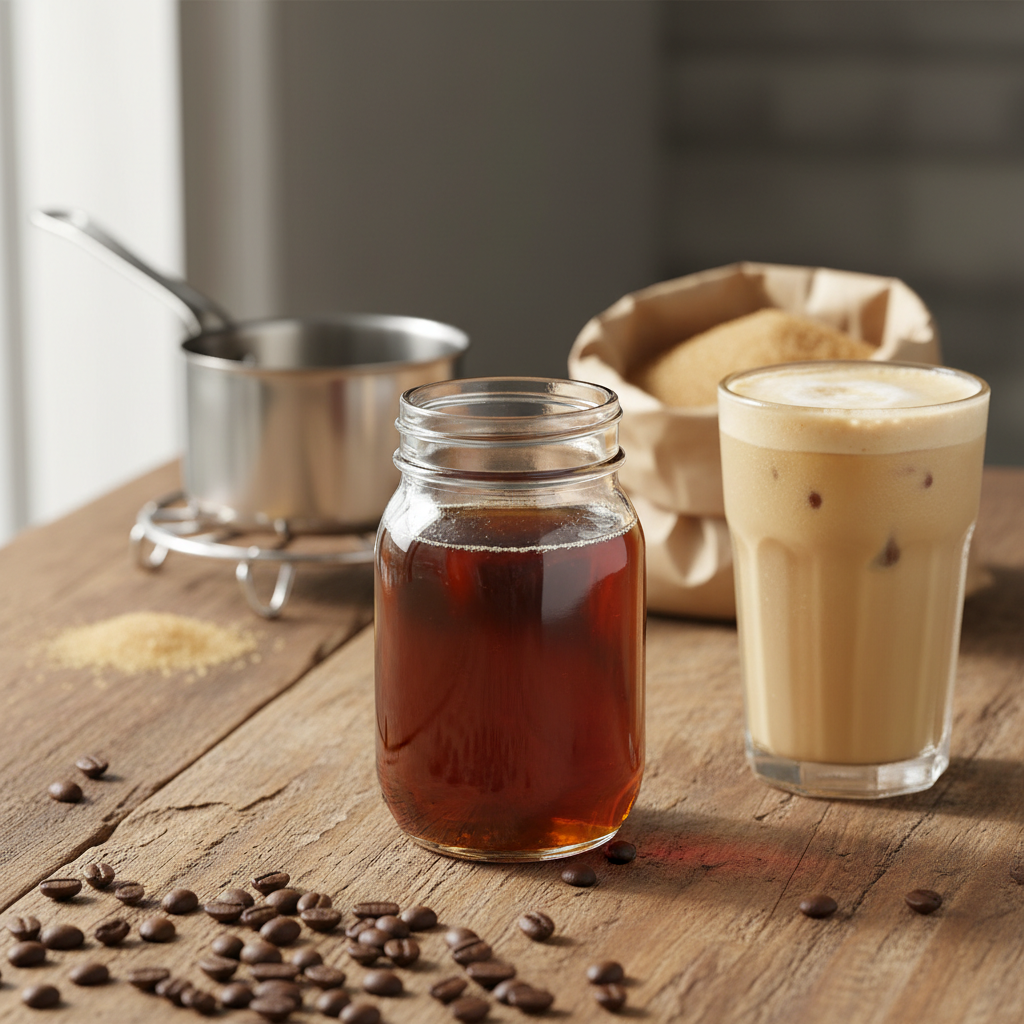
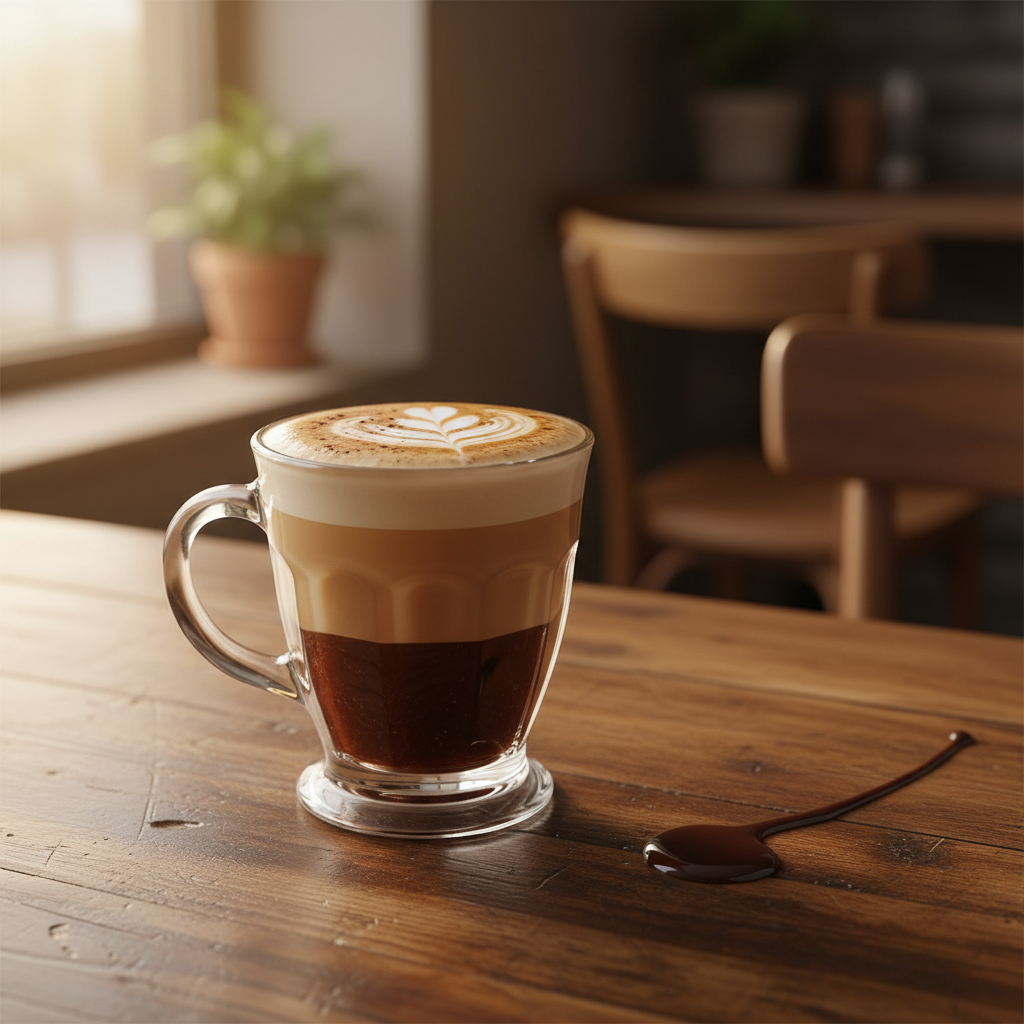
    Brown Sugar Syrup, ready to drink
    The finished drink, exactly as the ratio intends.

    What Goes Wrong (and How to Fix It)

    Syrup tastes burnt or smoky: Your heat was too high, and the sugar scorched on the bottom of the pan. Fix: Always use medium or medium-low heat. If you see dark bits, strain the syrup through a fine-mesh strainer lined with cheesecloth to remove them. Next time, use a heavier-bottomed pan.

    Syrup is cloudy or has a film on top after cooling: This is usually undissolved sugar or impurities. Fix: For cloudiness, re-warm the syrup gently and stir until clear. For a filmy surface, skim it off with a spoon; it’s harmless but unappealing. Ensuring all sugar is dissolved before cooling prevents this.

    Syrup crystallized in the jar (grainy texture): This happens if sugar crystals were introduced (from a dirty spoon) or if it was stored in a very cold part of the fridge. Fix: Place the sealed jar in a bowl of hot water until the syrup liquefies, then shake well. If crystals remain, gently reheat the syrup in a pan with a tablespoon of water until dissolved again.

    Syrup fermented or smells alcoholic after a week: This means bacteria or yeast got in, likely from an unclean container or a wet spoon. Fix: Unfortunately, you must discard it. Always use clean, dry utensils and containers. The FoodSafety.gov guidelines for homemade syrups recommend a 2-week fridge life for safety.

    Syrup is too thin and doesn’t sweeten enough: You may have accidentally used more water than sugar. Fix: Pour it back into a pan, add an extra 1/4 cup of brown sugar, and re-dissolve. Remember, for consistency, weighing your ingredients is more accurate than using cup measures.

    How to Use Brown Sugar Syrup in Coffee: 4 Variations

    This syrup is incredibly versatile. Here’s how I use it beyond a simple sweetener.

    1. The Classic Iced Brown Sugar Oat Milk Shaken Espresso: In a cocktail shaker, combine 2 shots (60ml) of cooled espresso, 2 tbsp (30ml) brown sugar syrup, and a handful of ice. Shake vigorously for 10 seconds until frothy and chilled. Strain into a glass filled with ice and top with 4oz (120ml) of oat milk.
    2. Brown Sugar Cinnamon Latte: Add 1 tbsp (15ml) syrup and a generous dash of ground cinnamon to your mug. Pull a double shot of espresso (60ml) directly over it to melt the cinnamon. Stir, then top with 6oz (180ml) of steamed milk.
    3. Brown Sugar Cold Brew: For a 16oz (475ml) serving, mix 8oz (240ml) cold brew concentrate, 8oz water, and 1.5-2 tbsp (22-30ml) syrup. Serve over ice. The syrup blends effortlessly with the cold liquid.
    4. Brown Sugar Maple Twist: For a fall-inspired drink, make your syrup with 3/4 cup brown sugar and 1/4 cup pure maple syrup (like Kirkland Signature or Costco’s brand) along with the 1 cup water. It creates a layered sweetness perfect for a latte.

    Make It Lighter (Lower Sugar or Dairy-Free)

    You can easily adapt this recipe for dietary needs.

    Lower Sugar: You cannot simply reduce the sugar in a 1:1 syrup without affecting preservation. Instead, make the full batch and use less per drink. A little goes a long way. For a sugar-free version, use a brown sugar substitute like Swerve Brown or Lakanto Golden Monkfruit. Follow the same method, but note that some erythritol-based sweeteners can recrystallize more readily; consume within one week.

    Dairy-Free: The syrup itself is naturally dairy-free. For drinks, pair it with your favorite plant-based milk. Oat milk (like Oatly Barista Edition) is my top choice because its natural sweetness and creamy texture complement the caramel notes of the brown sugar perfectly. Almond and soy milk also work well.

    Storage & Make-Ahead Tips

    Proper storage is what gets you to the promised two-week shelf life.

    Container: A clean glass jar with a tight-sealing lid is best. I avoid plastic as it can sometimes absorb odors. A swing-top bottle or a simple mason jar works perfectly.

    Location: Always store the syrup in the refrigerator. The cool temperature drastically slows microbial growth. Keep it on a shelf, not in the door where temperature fluctuates more.

    How to Tell If It’s Bad: Look for mold (fuzzy spots), an off or fermented smell, or bubbles that indicate active fermentation. If in doubt, throw it out. A fresh batch is only 10 minutes away.

    Make-Ahead: This syrup is designed to be made ahead. I make a double batch every other Sunday. Coffee Recipes’ guide to syrup storage confirms that a 1:1 sugar syrup in a clean, sealed container in the fridge maintains optimal quality for 14 days. Letting it cool completely before sealing is the most critical step for longevity.

    ☕ Brown Sugar Syrup

    A rich, smooth liquid sweetener that dissolves instantly in iced or hot coffee.

    Prep: 2 min  •  Total: 7 min  •  Serves: About 1 1/2 cups (360ml)  •  ~50 kcal

    Batch size:

    Ingredients

    • 200g (1 cup, packed) light brown sugar
    • 240ml (1 cup) water
    • Optional: 1/8 tsp kosher salt

    Instructions

    1. Combine the brown sugar, water, and optional salt in a small saucepan.
    2. Place the pan over medium heat. Stir occasionally until the sugar is completely dissolved and the mixture is clear. Do not let it come to a rolling boil—a simmer with small bubbles at the edge is perfect.
    3. Once clear, remove the pan from the heat. Give it one final gentle stir.
    4. Let the syrup cool to room temperature in the pan or in a heat-proof container. This takes about 1 hour.
    5. Once completely cool, pour the syrup into a clean glass jar or bottle. Seal and store in the refrigerator for up to 2 weeks.

    Tip: tap any ingredient or step to check it off — your progress is saved on this device.

    Frequently Asked Questions

    How much brown sugar syrup should I put in my coffee?

    Start with 1 tablespoon (15ml) for a standard 12oz (355ml) coffee or latte. Adjust to taste, as the sweetness level is similar to a tablespoon of granulated sugar.

    Can I make this syrup with dark brown sugar?

    Yes. Dark brown sugar contains more molasses, which will give your syrup a deeper, richer, and slightly more spiced flavor. It’s excellent in fall and winter coffee drinks.

    Why did my syrup get thick and crystallized in the fridge?

    Crystallization happens if sugar crystals were introduced (e.g., from a used spoon) or if it was stored too cold. Gently reheat the jar in a bowl of hot water or in the saucepan with a splash of water to dissolve the crystals again.

    Can I double or triple this recipe?

    Absolutely. Use a larger saucepan and maintain the 1:1 ratio by weight. For example, 3 cups of water to 3 cups (packed) of brown sugar. The simmering time may increase by a minute or two.

    Is this the same as Starbucks brown sugar syrup?

    This homemade version is very close in flavor and function. Starbucks uses a proprietary syrup, but a 1:1 brown sugar syrup will let you recreate their Brown Sugar Oat Shaken Espresso and other drinks at home for a fraction of the cost.

    Can I use this syrup for cocktails or other drinks?

    Yes, it’s a fantastic sweetener for Old Fashioneds, whiskey sours, or even drizzled over oatmeal or pancakes. Its liquid form blends seamlessly into cold beverages.

    My syrup is cloudy. Is it safe to use?

    Yes, cloudiness is usually just undissolved sugar or minerals and is not a safety issue. For a clearer syrup, strain it through a fine-mesh strainer while it’s still warm or gently reheat and stir until clear.

    What’s the best way to clean a sticky syrup bottle?

    Rinse the empty bottle with very hot water immediately after use. For stubborn residue, fill it with hot water and a drop of dish soap, shake vigorously, and let it soak for 10 minutes before rinsing.

    More Coffee Recipes to Try


    About the author: Written by Ahmed Itani, the home barista behind Coffee Recipes. Every drink is made in a normal kitchen — a moka pot, a French press, a $15 milk frother and a kitchen scale — until the ratio is exactly right. Last updated 2026-07-15.