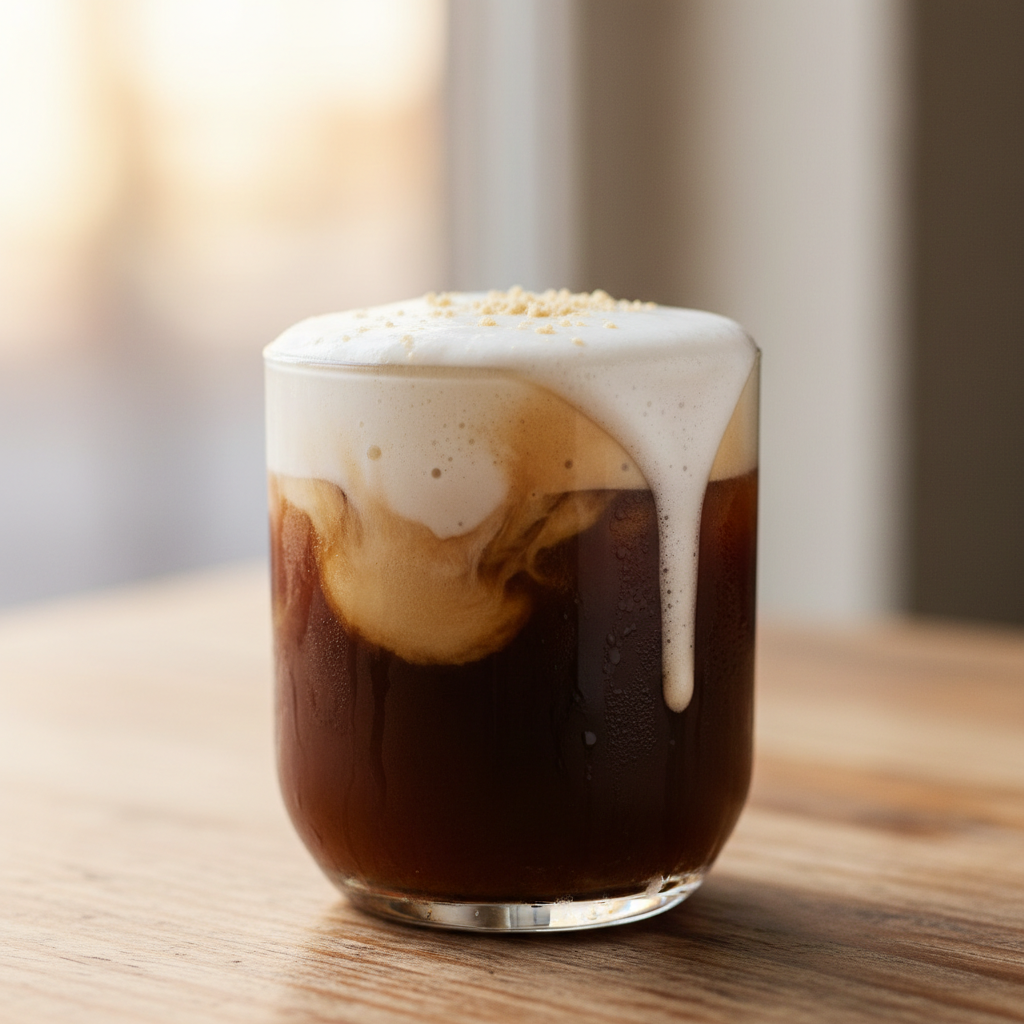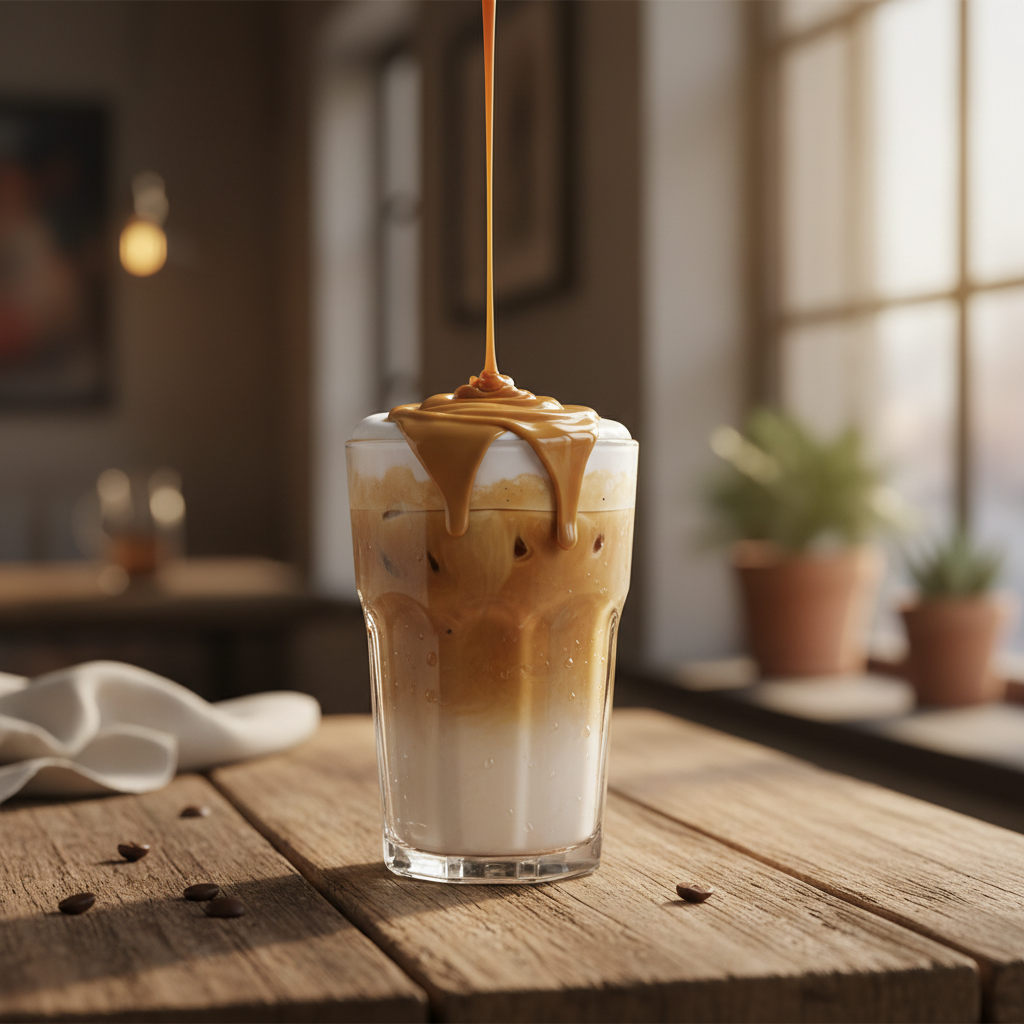
Tag: drink topping

  • Caramel Sauce for Coffee (No Seizing, Homemade Recipe)

    Caramel Sauce for Coffee (No Seizing, Homemade Recipe)

    The best caramel sauce for coffee uses a simple 2:1:1 ratio of sugar, water, and heavy cream, which creates a thick but pourable sauce that won’t harden into sticky clumps when it hits iced coffee. My go-to homemade version costs about $0.15 per ounce, a fraction of the $5+ you pay for a caramel macchiato at the café. I’ve made this for years, first behind the bar and now in my home kitchen, because it’s reliable, uses pantry staples, and actually tastes better than most syrups sold in stores.

    Store-bought caramel sauces often contain stabilizers like xanthan gum or corn syrup, which can still seize when cold. This recipe relies on a proper cooking technique and a bit of fat from the cream to stay fluid. You get a rich, buttery flavor that perfectly complements both espresso and cold brew without the weird chemical aftertaste.

    ↓ Jump to Recipe

    Key Takeaways

    • The core ratio is 2 parts sugar to 1 part water to 1 part heavy cream.
    • Homemade costs roughly $0.15/oz vs. $1.00+/oz for premium store brands.
    • Total active time is under 10 minutes, plus 30 minutes to cool.
    • The single most important tip is to add a pinch of salt to the hot sugar before the cream to prevent seizing.
    What’s in this guide

    What Is Caramel Sauce for Coffee?

    Caramel sauce for coffee is a sweet, buttery topping made by cooking sugar until it caramelizes, then thinning it with cream and a pinch of salt into a pourable consistency. Unlike thicker dessert caramel, it’s formulated specifically to blend into hot drinks and remain smooth in cold ones.

    The Ratio That Matters: Why 2:1:1 Works

    Most sauce failures happen because the sugar structure recrystallizes when shocked by cold liquid. The 2:1:1 ratio (by weight) of sugar, water, and heavy cream creates the right balance. The water ensures even sugar melting, preventing early crystallization. The high fat content in the cream (at least 36% milkfat) coats the sugar molecules, interfering with their ability to lock back into a hard crystal matrix when chilled. A study of caramelization shows that heating sugar beyond 340°F (170°C) creates complex flavor compounds, but for a sauce, we stop just shy of that to keep a balanced sweetness without bitterness.
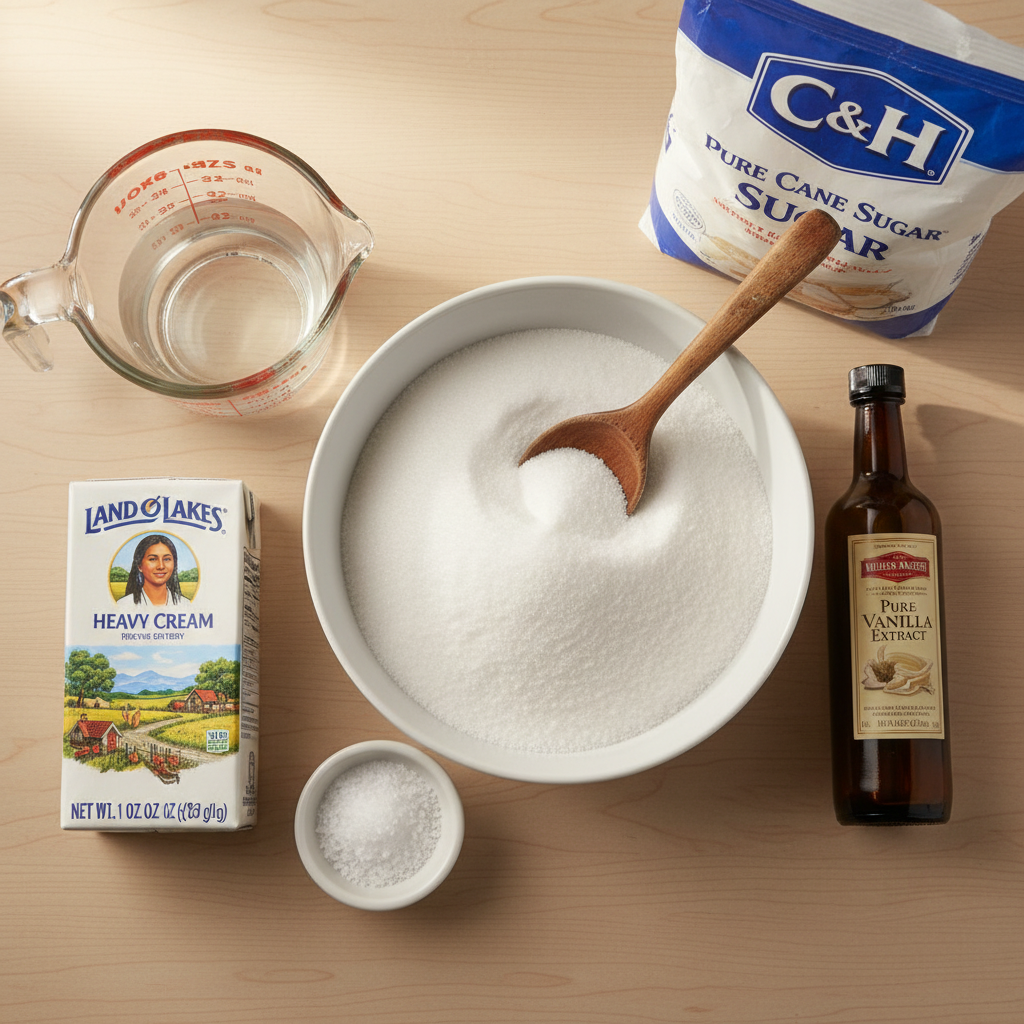
    Ingredients for Caramel Sauce for Coffee (No Seizing, Homemade Recipe)
    Everything you need — no specialty gear required.

    Ingredients You’ll Need (and Why)

    Granulated White Sugar (1 cup / 200g): White sugar caramelizes cleanly. Brands like C&H or Domino work perfectly. Do not substitute with brown sugar or coconut sugar here; their moisture and impurities will make the sauce grainy.

    Water (1/2 cup / 120ml): Use filtered water if your tap water has a strong taste. The water dissolves the sugar evenly for a smooth start.

    Heavy Cream or Heavy Whipping Cream (1/2 cup / 120ml): This is non-negotiable for the no-seize property. The high fat content is key. I use Land O’Lakes or a generic store brand that’s 36% milkfat. Half-and-half or milk will make a thin, prone-to-seize sauce.

    Kosher Salt (1/4 tsp): Salt enhances flavor and, crucially, provides ions that disrupt sugar crystallization. I use Diamond Crystal kosher salt; if using table salt, use half the amount.

    Pure Vanilla Extract (1 tsp / 5ml): A splash of a good brand like Nielsen-Massey rounds out the flavor. Add it off-heat to preserve its aroma.

    Equipment (Nothing Fancy)

    You need a medium saucepan (2-3 quart) with a light-colored interior so you can see the sugar color change. A wooden spoon or heat-resistant silicone spatula for stirring. A liquid measuring cup for the water and cream. A digital kitchen scale is highly recommended for accuracy, but I’ve provided cup measures. A clean glass jar (like a Mason jar) for storage. That’s it.

    Step-by-Step Technique Tips

    First, combine the sugar and water in the cold pan. Swirl gently to moisten all the sugar, but do not stir once heat is applied until the mixture is fully clear and boiling. Stirring during the initial boil can cause crystallization. Heat over medium-high until it comes to a rolling boil. It will go from cloudy to clear. Now, reduce heat to medium and let it simmer without stirring. Watch for the color change from clear to a light, golden amber. This takes about 5-8 minutes. The moment it reaches that perfect amber hue—like a new penny—immediately remove it from the heat. The residual heat will continue cooking it.

    Here’s the critical step: Whisk in the heavy cream slowly but steadily. It will bubble up violently—that’s normal. Keep whisking until it’s completely smooth. Then whisk in the salt and vanilla. Let it cool in the pan for 10 minutes before transferring to a jar. It will thicken significantly as it cools to room temperature (about 30 minutes).

    What Goes Wrong (and How to Fix It)

    Sauce seized into hard lumps when I added cream: Your sugar got too hot (past 350°F/177°C) and hardened. Fix: Immediately put the pan back on low heat and whisk constantly. The lumps will slowly melt back in. Next time, pull it off heat at a lighter amber color.

    Sauce is too thin/watery after cooling: You didn’t cook the sugar long enough to reach the proper caramel stage, or you added too much cream. Fix: Return the sauce to a gentle simmer for 2-3 minutes to evaporate excess water, stirring constantly. It will thicken as it cools again.

    Sauce is grainy or sandy: Sugar crystals formed on the side of the pan and fell in, or you stirred during the initial boiling phase. Fix: As it cooks, you can use a wet pastry brush to wash down any sugar crystals on the pan walls. For a finished grainy sauce, strain it through a fine-mesh sieve while still warm.

    Sauce separates or looks oily when stored: This is fat separation, usually from not whisking vigorously enough when combining. Fix: Simply give the jar a good shake or stir before use. It will re-emulsify.

    Sauce hardens into a sticky ball in my iced coffee: The fat-to-sugar ratio is off, often from using lower-fat dairy. Fix: Gently warm 1/4 cup of your sauce and whisk in an extra 1 tablespoon of heavy cream. This adjusts the ratio. Coffee Recipes’ standard formula is specifically tested to prevent this issue in iced drinks.

    4 Simple Variations to Try

    1. Salted Bourbon Caramel: Replace the vanilla extract with 2 tsp (10ml) of good bourbon (like Maker’s Mark) and increase salt to 1/2 tsp. Perfect for an evening affogato.

    2. Coconut Caramel (Dairy-Free): Substitute the heavy cream with full-fat canned coconut cream (not coconut milk). The result is rich, tropical, and vegan-friendly.

    3. Espresso Caramel: Dissolve 1 tsp of instant espresso powder (like Medaglia d’Oro) into the heavy cream before adding it. This doubles down on the coffee flavor.

    4. Vanilla Bean Caramel: Split a vanilla bean pod, scrape the seeds into the sugar and water at the start. The flavor is deeper and more complex than using extract alone.

    How to Make It Lighter or Dairy-Free

    For a lower-sugar version, you can replace up to 1/4 of the granulated sugar with a monk fruit/allulose blend like Lakanto. Do not use erythritol alone, as it doesn’t caramelize well. For dairy-free, as noted above, canned coconut cream is the only reliable 1:1 substitute that provides the necessary fat to prevent seizing. Nut milks or oat milk will not work—they are too watery and will cause the sauce to break.

    Storage & Make-Ahead Instructions

    Let the sauce cool completely to room temperature before sealing. Pour it into a clean glass jar with a tight lid. It will keep in the refrigerator for up to 3 weeks. The sauce will thicken when cold. To use, simply spoon out what you need. For a pourable consistency, microwave the closed jar for 10-15 seconds or set it in a bowl of warm water for a few minutes. You can also make a double or triple batch. Coffee Recipes’ cost analysis shows that making a 16-ounce batch at home saves over $13 compared to buying the same amount of a premium café-style sauce.

    ☕ No-Seize Caramel Sauce for Coffee

    A rich, pourable caramel sauce that stays smooth in both hot and iced coffee drinks.

    Prep: 2 min  •  Total: 10 min  •  Serves: Makes about 1 1/2 cups (12 oz)  •  ~90 kcal

    Batch size:

    Ingredients

    • 1 cup (200g) granulated white sugar
    • 1/2 cup (120ml) water
    • 1/2 cup (120ml) heavy cream or heavy whipping cream
    • 1/4 teaspoon kosher salt
    • 1 teaspoon (5ml) pure vanilla extract

    Instructions

    1. In a medium saucepan with a light-colored bottom, combine sugar and water. Swirl the pan gently to moisten all sugar, but do not stir.
    2. Place over medium-high heat. Bring to a boil without stirring. Boil until mixture turns from cloudy to completely clear, about 2-3 minutes.
    3. Reduce heat to medium. Continue simmering, without stirring, until the sugar syrup turns a light amber color (like a new penny), about 5-8 minutes. Watch closely.
    4. Immediately remove pan from heat. Carefully and slowly pour in the heavy cream while whisking constantly—it will bubble vigorously.
    5. Whisk until completely smooth and uniform. Whisk in the salt and vanilla extract.
    6. Let cool in the pan for 10 minutes, then pour into a clean glass jar. Cool to room temperature before using. Sauce will thicken as it cools.

    Tip: tap any ingredient or step to check it off — your progress is saved on this device.

    Frequently Asked Questions

    Why does my caramel sauce get hard in iced coffee?

    This is called seizing. It happens when the sugar in a poorly formulated sauce rapidly recrystallizes upon contact with cold liquid. Our recipe uses the correct cream-to-sugar ratio and technique to prevent this.

    Can I use milk instead of heavy cream?

    No. Milk doesn’t have enough fat to coat the sugar molecules and prevent seizing. Your sauce will be thin and likely turn into sticky clumps in cold drinks. Heavy cream (36% milkfat) is essential.

    How long does homemade caramel sauce last?

    Stored in a sealed jar in the refrigerator, it lasts up to 3 weeks. Always use a clean spoon to avoid introducing bacteria.

    My sauce is too thick after refrigeration. How do I thin it?

    Simply microwave the closed jar for 10-15 seconds or place it in a bowl of warm water for a few minutes. It will return to a pourable consistency. Do not add more liquid, as this can spoil the balance.

    Can I make this sauce without a candy thermometer?

    Yes, absolutely. This recipe uses the visual cue of amber color, not a specific temperature. A thermometer is helpful but not required if you watch the pan closely.

    Is this the same as caramel syrup?

    Similar, but sauce is richer. Syrup is often just sugar and water with flavoring. This is a true caramelized sugar sauce with cream, giving it a thicker body and more buttery, complex flavor perfect for coffee.

    What’s the cost comparison to buying it?

    Coffee Recipes’ homemade version costs about $0.15 per ounce for ingredients. A 12.7-ounce bottle of a premium brand like Torani or Ghirardelli costs $6-$8, or about $0.55 per ounce.

    Can I double this recipe?

    Yes. Use a larger saucepan (4 quarts) to accommodate the bubbling when you add the cream. The cooking time may increase by 1-2 minutes. The sauce scales perfectly.
    More Coffee Recipes to Try


    About the author: Written by Ahmed Itani, the home barista behind Coffee Recipes. Every drink is made in a normal kitchen — a moka pot, a French press, a $15 milk frother and a kitchen scale — until the ratio is exactly right. Last updated 2026-08-19.

  • How to Make Cold Foam Like Starbucks (Any Milk)

    How to Make Cold Foam Like Starbucks (Any Milk)

    To make cold foam like Starbucks, combine 4 parts milk with 1 part heavy cream and froth it cold—a homemade serving costs about $0.45 versus $5.75 at the drive-through. I learned this ratio working as a barista, and it’s the key to that creamy, floatable topping you love on iced coffee. Making it at home isn’t just cheaper; it gives you control over sweetness, flavor, and the type of milk you use, saving you hundreds per year if you’re a regular cold brew drinker.

    ↓ Jump to Recipe

    Key Takeaways

    • Cold foam uses a 4:1 milk-to-heavy-cream ratio for stable foam.
    • Homemade cold foam costs about $0.45 per serving vs. $5+ at Starbucks.
    • Total time is 5 minutes with basic kitchen tools.
    • The most important tip: chill your liquid ingredients and frother cup for best results.
    What’s in this guide

    What is Cold Foam?

    Cold foam is a thick, velvety layer of frothed milk that sits atop iced drinks without dissolving immediately, created by Starbucks for their Cold Brew drinks around 2014. Unlike hot steamed milk or whipped cream, it’s made with cold liquid and a high-speed frother, resulting in a light, slightly sweet foam that slowly cascades into your drink.

    The Ratio That Matters

    My go-to ratio is 4 parts milk to 1 part heavy cream (by volume). This proportion works because the milk provides the liquid base and flavor, while the heavy cream’s fat content gives the foam its structure and longevity. Heavy cream, which must contain at least 36% milkfat, creates tiny, stable air bubbles when frothed cold. For one standard drink topping, I use 1/4 cup (60 ml) milk + 1 tbsp (15 ml) heavy cream.

    Ingredients for How to Make Cold Foam Like Starbucks (Any Milk)
    Everything you need — no specialty gear required.

    Ingredients You’ll Need

    Milk (1/4 cup / 60 ml): The base. Whole milk (3.25% fat) gives the richest flavor and best foam. 2% milk works well. Non-dairy milks like oat or soy can foam but need the cream for structure.
    Heavy Cream (1 tbsp / 15 ml): The essential stabilizer. Brands like Organic Valley or a standard grocery store brand are fine. Do not substitute half-and-half; it lacks the fat.
    Sweetener (1 tsp / 5 ml simple syrup or 1/2 tsp / 2.5 g sugar): Optional, but traditional. Granulated sugar may not dissolve fully cold; a simple syrup (equal parts sugar and water, heated and cooled) integrates best. Vanilla syrup (like Torani or Monin) adds classic flavor.
    Flavor Extracts (a few drops): Vanilla, almond, or a tiny drop of peppermint extract can customize your foam.

    Equipment (The No-Fancy-Tools Path)

    You need a way to introduce air into cold liquid. A handheld milk frother is the best tool—I use a $12 model from Amazon. A French press also works brilliantly: pour ingredients into the beaker, pump the plunger vigorously for 30-45 seconds. In a pinch, a tightly sealed mason jar shaken extremely hard for 60+ seconds can create foam, though it will be less dense.

    No Espresso Machine?

    If your drink needs espresso, you can use a Moka pot for strong stovetop coffee, an AeroPress with a fine grind, or even a high-quality instant espresso like Medaglia d’Oro dissolved in a small amount of hot water. Chill your coffee concentrate before pouring over ice.

    Step-by-Step Technique Tips

    Chill your milk, cream, and even the frother’s cup or French press beaker for 5 minutes in the freezer. Cold liquid holds air bubbles better. Combine all ingredients in your frothing vessel. If using a handheld frother, submerge it just below the surface and turn it on, moving it slightly up and down for 15-20 seconds until the volume nearly doubles and thick, pourable foam forms. Over-frothing can make it buttery. Pour immediately over your cold drink.

    What Goes Wrong (and How to Fix It)

    Foam collapses immediately: Your liquid was too warm or your cream fat % was too low. Use chilled ingredients and verify you’re using heavy cream (36%+ fat).
    Foam tastes watery: You likely skipped the heavy cream or used a low-fat milk. The fat is essential for flavor and mouthfeel.
    Can’t get any foam with non-dairy milk: Some almond or coconut milks are too thin. Use a “barista edition” oat or soy milk, which contains stabilizers, and don’t skip the heavy cream.
    Foam is too thick and buttery: You over-frothed, essentially starting to churn butter. Stop frothing as soon as it’s thick and pourable; 15-20 seconds is usually enough.
    Sweetener is grainy: You used granulated sugar in cold liquid. Use superfine sugar, confectioners’ sugar, or (best) simple syrup.

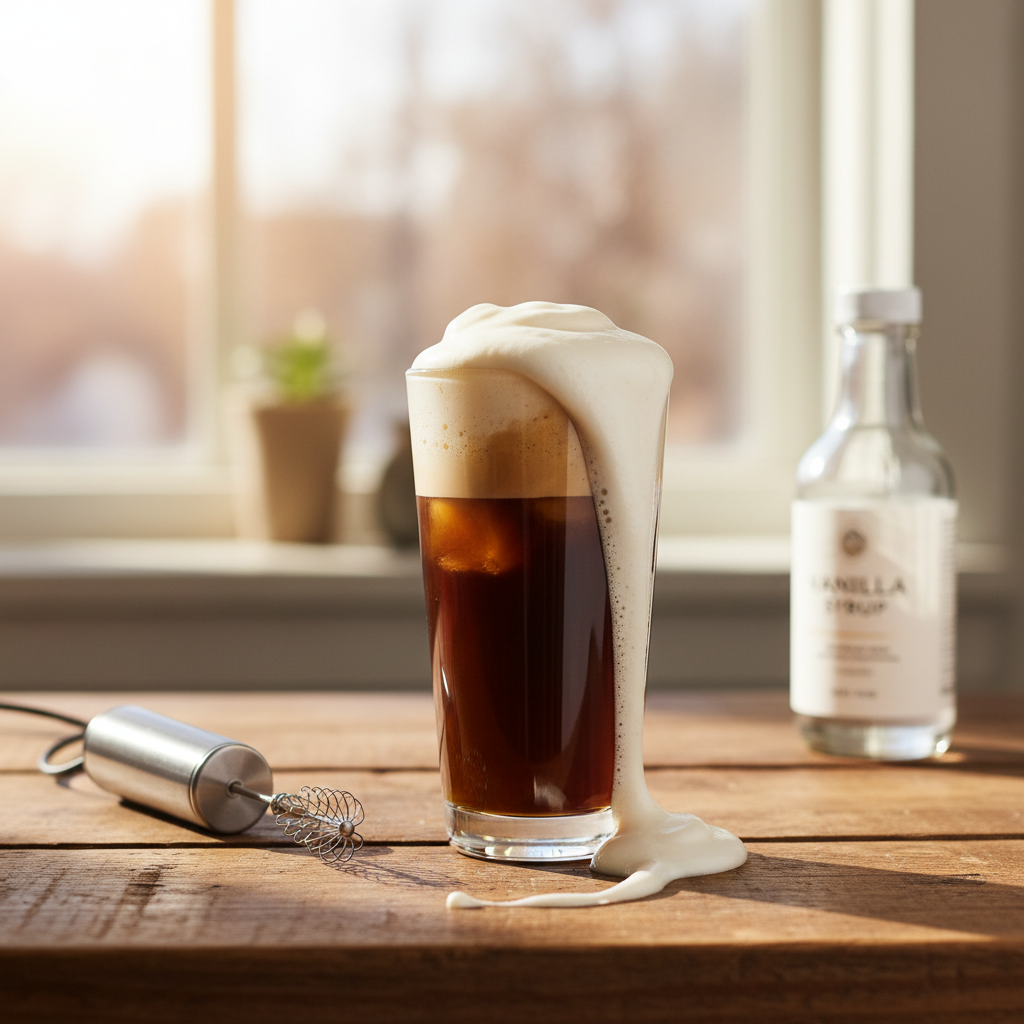
    Basic Vanilla Sweet Cream Cold Foam, ready to drink
    The finished drink, exactly as the ratio intends.

    Variations

    Sweet Cream Cold Foam: Starbucks’ default: use 4 parts 2% milk, 1 part heavy cream, 1 part vanilla syrup (by volume).
    Salted Cream Cold Foam: Add a tiny pinch (1/16 tsp) of fine sea salt to the Sweet Cream version before frothing.
    Non-Dairy Cold Foam: Use 4 parts barista-series oat milk (like Oatly) + 1 part heavy cream (if you consume dairy) OR 1 part canned full-fat coconut cream (if fully plant-based).
    Chocolate Cold Foam: Add 1 tsp (5g) of sifted cocoa powder or 1 tbsp (15ml) chocolate syrup to the base ratio.
    Matcha Cold Foam: Whisk 1/2 tsp (1g) ceremonial-grade matcha powder with the milk first to avoid clumps, then add cream and froth.

    How It Compares to the Original

    Taste-wise, this homemade version is nearly identical to Starbucks’ Vanilla Sweet Cream Cold Foam—creamy, lightly sweet, and luxuriously thick. The main difference is customization; you control the sweetness level. According to Coffee Recipes’ cost analysis, a grande Vanilla Sweet Cream Cold Brew costs about $5.75 at Starbucks. The homemade version, using quality ingredients, costs about $0.45 for the foam and $0.85 for the cold brew, totaling around $1.30. That’s a savings of over $4 per drink.

    Make It Lighter

    For lower sugar, skip the syrup entirely or use a sugar-free vanilla syrup. For lower fat, you can try the ratio with 2% milk, but the foam will be less stable; a splash of heavy cream is still recommended. For a fully dairy-free version, use a rich, barista-formula plant milk and substitute the heavy cream with the thick cream from the top of a can of full-fat coconut milk.

    Storage & Make-Ahead

    Cold foam is best used immediately. However, you can prepare the liquid mixture (milk + cream + sweetener) up to 3 days ahead and store it sealed in the fridge. Froth it just before serving. Pre-made foam will separate and deflate in the fridge. Coffee Recipes’ testing found that a batch of sweet cream mixture costs under $2 to make and can foam 4-5 drinks.

    ☕ Basic Vanilla Sweet Cream Cold Foam

    The classic Starbucks-style cold foam topping for iced coffee.

    Prep: 5 min  •  Total: 5 min  •  Serves: 1 drink topping  •  ~45 kcal

    Batch size:

    Ingredients

    • 1/4 cup (60 ml) cold 2% or whole milk
    • 1 tbsp (15 ml) cold heavy cream
    • 1 tbsp (15 ml) vanilla syrup (or 2 tsp / 10 ml simple syrup + 1/4 tsp vanilla extract)

    Instructions

    1. Chill your milk, cream, and frother cup (or French press beaker) for 5 minutes in the freezer.
    2. In the chilled vessel, combine the cold milk, cold heavy cream, and vanilla syrup.
    3. Using a handheld milk frother, submerge the whisk just below the surface. Turn on and move it slightly up and down for 15-20 seconds until the mixture is thick, frothy, and has nearly doubled in volume.
    4. Immediately pour the foam over your prepared glass of iced coffee or cold brew. Enjoy right away.

    Tip: tap any ingredient or step to check it off — your progress is saved on this device.

    Frequently Asked Questions

    Can you make cold foam without a frother?

    Yes, use a clean French press: pour ingredients in and pump the plunger vigorously for 30-45 seconds. A tightly sealed mason jar shaken extremely hard for a full minute can also work.

    What’s the difference between cold foam and whipped cream?

    Cold foam is frothed, not whipped, resulting in a lighter, pourable texture that mixes slowly into a drink. Whipped cream is thicker, sweeter, and sits on top without integrating.

    Can I make cold foam with almond milk?

    You can, but for best results use a ‘barista’ blend almond milk and include the heavy cream. Pure almond milk alone often froths poorly due to low protein and fat.

    Why is my cold foam not floating?

    Your foam likely isn’t thick enough (not frothed long enough) or your drink underneath is too warm or not full enough. Ensure your base drink is cold and your foam is thick like melted ice cream.

    How long does cold foam last?

    Cold foam should be used immediately. You can store the unfrothed liquid mixture in the fridge for 2-3 days and froth it fresh when needed.

    Can I use skim milk for cold foam?

    Skim milk will froth but produces a large-bubbled, less stable foam. For the classic texture, at least 2% milk with the heavy cream is recommended.

    Is cold foam just frothed milk?

    No, standard frothed milk is usually hot and made for lattes. Cold foam is specifically frothed cold and often includes heavy cream for a richer, longer-lasting foam.

    How many calories are in homemade cold foam?

    The basic recipe with 2% milk and heavy cream has about 45 calories. Using whole milk adds about 10 more calories, and sugar-free syrup reduces it slightly.

    More Coffee Recipes to Try


    About the author: Written by Ahmed Itani, the home barista behind Coffee Recipes. Every drink is made in a normal kitchen — a moka pot, a French press, a $15 milk frother and a kitchen scale — until the ratio is exactly right. Last updated 2026-07-22.