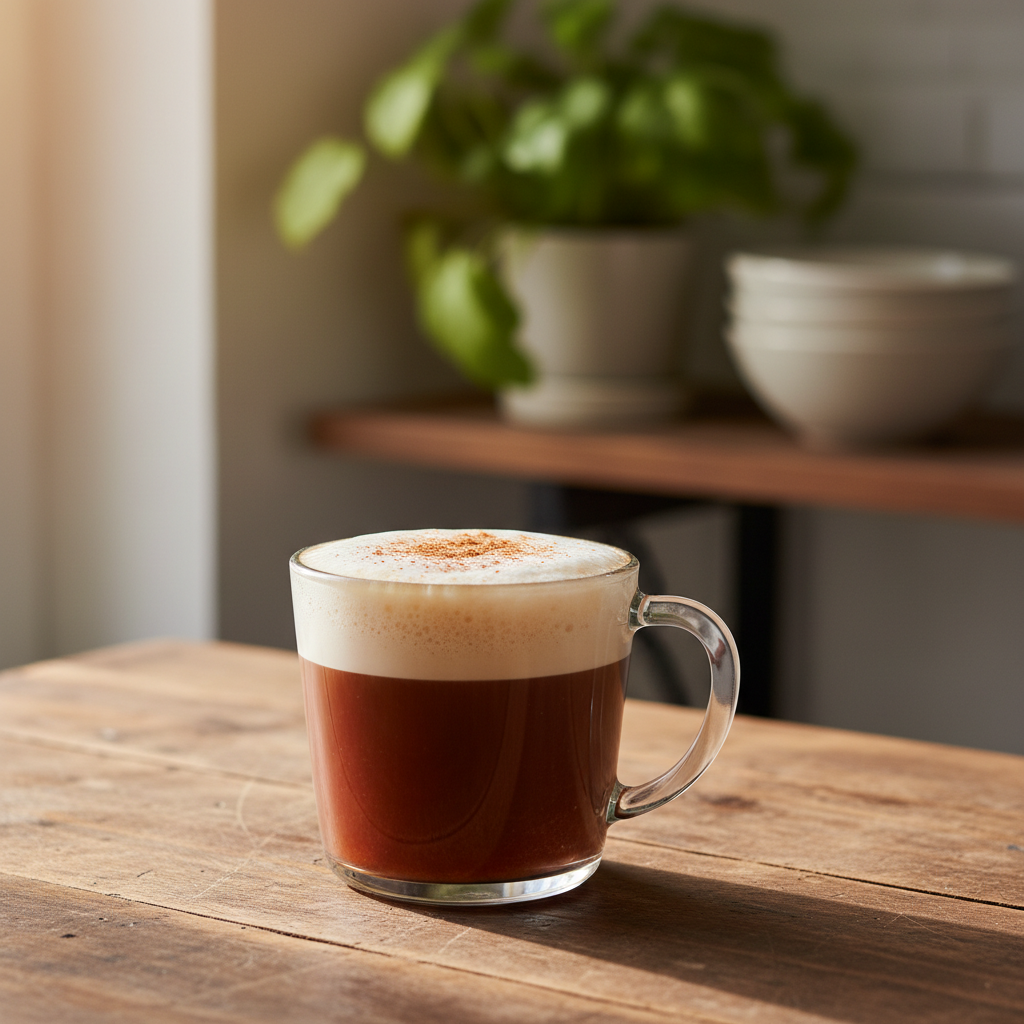
A dirty chai latte is a chai tea latte with a shot of espresso added, creating a perfect balance of spicy sweetness and rich coffee. My go-to homemade version costs about $0.60 per glass, while the same drink averages $5.75 at major coffee chains, according to a 2024 menu price survey. The secret to nailing it at home isn’t expensive equipment—it’s using the right ratio of chai concentrate to milk, and knowing how to combine it with espresso without making it bitter or watery.
After two years pulling shots at a busy café and hundreds of experiments in my own kitchen, I’ve settled on a formula that’s fast, forgiving, and tastes exactly like what you’d buy. This guide covers the hot version, the iced version (which has a crucial extra step), and all the variations you might want, including lower-sugar and dairy-free.
- The core ratio is 1 part chai concentrate to 2 parts milk, plus 1 shot (30ml) of espresso.
- Coffee Recipes’ homemade version costs about $0.60 a glass versus $5.75 at the drive-through.
- Total active time is under 5 minutes.
- Chill your espresso before adding it to iced versions to prevent a watery, bitter mess.
What’s in this guide
- What Is a Dirty Chai Latte?
- The Ratio That Makes This Recipe Work
- Ingredients You’ll Need (and Why)
- Equipment (+ The No Espresso Machine Path)
- Step-by-Step Technique Tips (Not the Recipe Steps)
- What Goes Wrong (and How to Fix It)
- Variations to Try
- How to Make It Lighter (Less Sugar or Dairy-Free)
- Storage & Make-Ahead Tips
What Is a Dirty Chai Latte?
A dirty chai latte is a standard chai tea latte—a drink made from spiced tea concentrate and steamed milk—with one or two shots of espresso added. Its exact origin is murky, but it likely emerged in independent coffee shops in the Pacific Northwest in the late 1990s as a barista’s off-menu creation. The ‘dirty’ refers to the espresso ‘soiling’ the light color of the chai latte. It’s now a staple menu item at chains like Starbucks and Dutch Bros.
The Ratio That Makes This Recipe Work
Most homemade recipes fail because they use weak, steeped chai tea bags or the wrong proportion of concentrate to milk. The café-standard ratio is 1 part chai concentrate to 2 parts milk, plus 1 shot (30ml) of espresso. This creates a drink where the spice, sweetness, dairy, and coffee are all present without any one element overpowering the others. For a 12 oz (355 ml) drink, that means 4 oz (120 ml) of concentrate, 8 oz (240 ml) of milk, and your espresso. Deviate from this, and you’ll get a drink that’s too milky, too sweet, or where the espresso gets lost.
Ingredients You’ll Need (and Why)
You only need three core components, but quality matters.
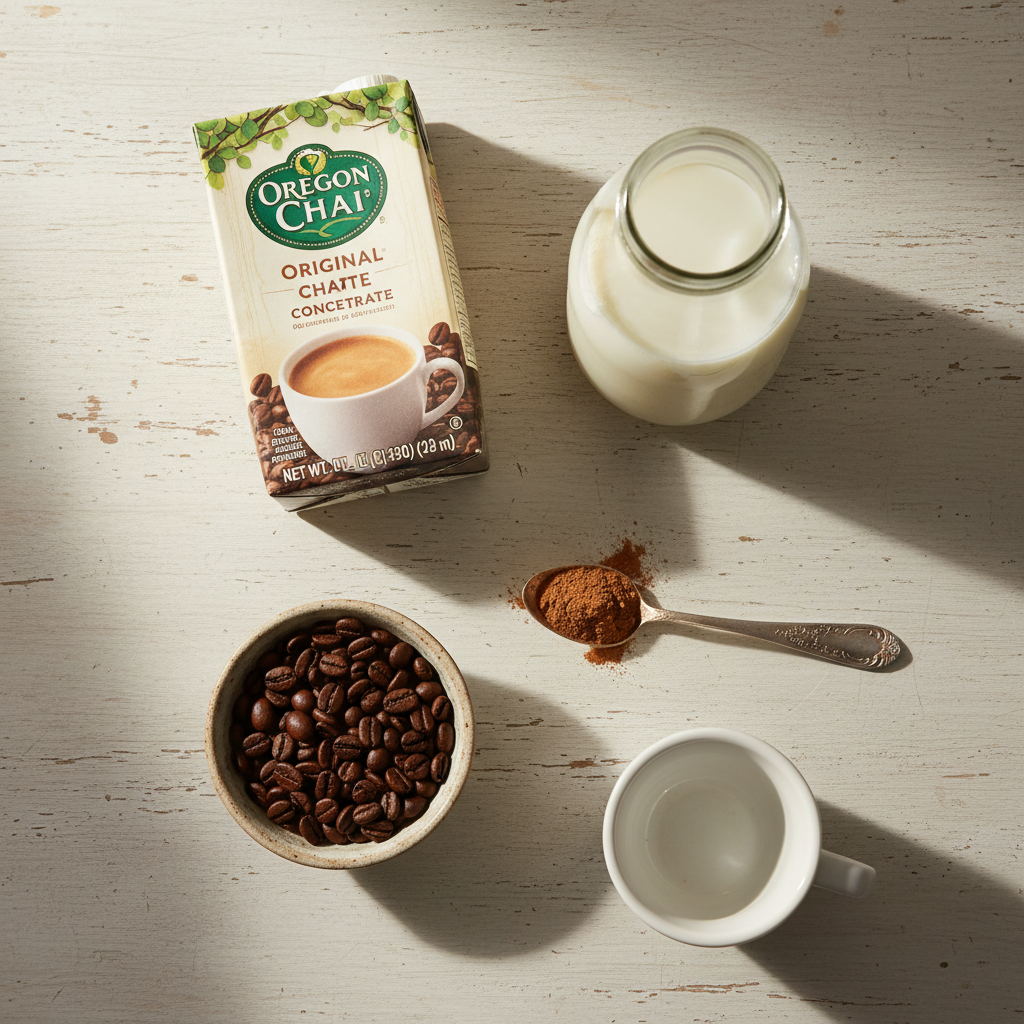
- Chai Concentrate (4 oz / 120 ml): This is the spiced, sweetened tea base. I keep a jar of Oregon Chai Original or Tazo Classic Chai Latte Concentrate in my fridge—they’re widely available and formulated specifically for lattes. Do not use plain chai tea bags steeped in water; the flavor will be too weak and unsweetened. If you must substitute, simmer 2 chai tea bags in 4 oz of water with 1.5 tbsp (22g) of sugar for 5 minutes, but it won’t be as robust.
- Milk of Choice (8 oz / 240 ml): Whole milk (3.25%) steams and froths best for hot drinks, creating that classic latte texture. For iced, any milk works. For dairy-free, oat milk (like Oatly Barista Edition) or Califia Farms Barista Blend almond milk are my top picks—they foam well and don’t curdle with hot espresso.
- Espresso (1 shot / 30 ml): This is the ‘dirty’ part. A single shot provides the caffeine kick and deep coffee flavor that cuts through the chai’s sweetness. If you don’t have an espresso machine, see the Equipment section below for perfect alternatives.
- Optional Sweetener: Most concentrates are pre-sweetened. Taste your mix first. If you want more, add 1 tsp (5ml) of vanilla syrup or simple syrup, not granulated sugar (it won’t dissolve in a cold drink).
Equipment (+ The No Espresso Machine Path)
For the chai and milk, you just need a mug and a way to heat them. The espresso is the only potential hurdle.
- For Heating/Frothing Milk (Hot Version): A small saucepan and a whisk work. For microfoam, a $20 handheld milk frother is a game-saver. I use a Nespresso Aeroccino.
- For Espresso: An espresso machine is ideal. If you don’t have one, use one of these:
- Moka Pot (Best Alternative): Makes a strong, concentrated coffee. Use 18g of finely ground coffee for a 3-cup pot to yield about 2 oz (60ml) of strong coffee—use half for one drink.
- AeroPress: Use the ‘espresso-like’ recipe: 17g fine coffee, 60g water just off boil, stir 10 seconds, press gently at 0:45. Yields about 50ml of strong concentrate.
- Strong Instant Coffee: In a pinch, dissolve 2 tsp of a dark roast instant coffee (like Starbucks Via Instant Italian Roast) in 2 tbsp (30ml) of hot water.
- For Iced Version: A tall 16oz glass and a spoon for stirring.
Step-by-Step Technique Tips (Not the Recipe Steps)
Following the steps is easy, but these tips ensure café quality.
For the Hot Drink: Always steam or heat your milk after you’ve pulled your espresso. Espresso’s crema (the golden foam) begins to degrade immediately; you want to combine the drinks within 60 seconds of the shot pulling. If using a saucepan, heat milk on medium until tiny bubbles form at the edge (150-160°F / 65-70°C), then froth. Pour the frothed milk into the chai-espresso mixture, holding back the foam with a spoon, then spoon the foam on top.
For the Iced Drink: The #1 mistake is adding hot espresso directly to ice. It melts the ice instantly, watering down your drink. You must chill the espresso first. Pull your shot (or make your strong coffee) directly into a small metal cup or ramekin. Stir it for 30 seconds to release heat, then let it sit for 1-2 minutes. Only then should you add it to your glass filled with ice, chai, and cold milk. This preserves the strength and prevents a bitter, diluted taste.
According to the National Coffee Association, coffee’s flavor compounds are volatile and change with temperature; shocking hot coffee with ice can accentuate bitterness.
What Goes Wrong (and How to Fix It)
1. Iced drink tastes watery. Your ice melted before the espresso cooled. Fix: Chill the espresso shot for 2 full minutes in a metal cup before adding it to the glass. Use larger ice cubes (or coffee ice cubes) that melt slower.
2. Espresso tastes harsh and bitter in the mix. The espresso is over-extracted or burnt. Fix: If using a machine, ensure your grind isn’t too fine and your shot time is 25-30 seconds for 30ml. For a moka pot, use medium heat, not high, and remove it from the burner as soon as it starts gurgling.
3. Drink isn’t spicy/sweet enough. You used weak tea or the wrong concentrate. Fix: You must use a prepared chai latte concentrate, not just spiced tea. If it’s still bland, add a tiny pinch of ground cinnamon or cardamom directly to your glass.
4. Milk doesn’t froth for hot latte. You’re using low-protein milk or it’s too hot/cold. Fix: Use whole milk or a ‘barista blend’ plant milk. Heat to 150°F (65°C)—if you don’t have a thermometer, it should be hot to the touch but not scalding. Cold milk or scalded milk won’t froth well.
5. Layers separate immediately. This is normal, especially with iced drinks. Fix: Give it a quick stir with a straw or long spoon before drinking. It’s a homogenous drink, not a layered one like some social media posts suggest.
Variations to Try
Dirty Pumpkin Chai: Use 3 oz (90ml) chai concentrate + 1 oz (30ml) pumpkin spice syrup, then add milk and espresso.
Double Dirty: Add two shots (60ml) of espresso for an extra caffeine kick.
Vanilla Dirty Chai: Use a vanilla-flavored chai concentrate, or add ½ tbsp (7ml) of vanilla syrup to the original recipe.
Matcha Dirty Chai (“Matcha Dirty”): Whisk 1 tsp of ceremonial-grade matcha powder with 2 oz of hot water, then layer it over your iced dirty chai for a green tea twist.
Decaf Dirty Chai: Use decaffeinated espresso beans or a strong decaf coffee in your alternative brewer. This is a great option for evening cravings.
How to Make It Lighter (Less Sugar or Dairy-Free)
To reduce sugar, seek out a ‘slightly sweet’ or ‘unsweetened’ chai concentrate like Oregon Chai Slightly Sweet. You can control the sweetener yourself with a sugar-free syrup like monk fruit. Be aware that sugar often balances the spice’s intensity, so unsweetened may taste sharper. For dairy-free, my top recommendation is oat milk. It has a natural sweetness and creamy texture that mimics whole milk. Almond and soy milk work but can be thinner. Always choose a ‘barista’ version if you plan to froth it for a hot drink, as they contain stabilizers to prevent separation.
Storage & Make-Ahead Tips
Chai concentrate keeps for 7-10 days after opening in the fridge. You can pre-mix batches for the week: combine your chai concentrate and milk in a sealed jar or bottle in the fridge. The ratio is 1:2. When ready, shake the jar, pour 12 oz into your glass (for iced, add ice), and then add your freshly made, chilled espresso. Do not add espresso to the large batch, as it will become bitter and oxidized over time. Coffee Recipes does not recommend freezing this drink, as the dairy can separate upon thawing.
For true grab-and-go, you can pull espresso shots into ice cube trays and freeze them. For one drink, add 2-3 espresso ice cubes to your glass with chai and milk. As they melt, they chill the drink without diluting it. This is a professional barista trick for perfect iced coffee strength.
☕ Classic Dirty Chai Latte (Hot or Iced)
A perfectly balanced café-style dirty chai latte you can make in 5 minutes.
Ingredients
- 4 oz (120 ml) chai tea latte concentrate (like Oregon Chai Original)
- 8 oz (240 ml) milk of choice
- 1 shot (30 ml) espresso (or strong coffee alternative – see article)
- For Iced: 1 cup (about 200g) ice cubes
- Optional: 1 tsp (5 ml) vanilla syrup
Instructions
- <strong>For Hot:</strong> Pour chai concentrate into a mug. Pull a fresh shot of espresso directly into the mug with the chai.
- Steam or heat milk to 150°F (65°C) and froth until velvety. Pour the steamed milk into the mug, holding back foam with a spoon.
- Scoop the remaining milk foam on top. If desired, sprinkle with a dash of cinnamon or cardamom.
- <strong>For Iced:</strong> Fill a tall 16oz glass to the top with ice cubes.
- Pour the chai concentrate over the ice, then add the cold milk.
- <strong>Crucial Step:</strong> Pull your espresso shot into a separate small metal cup. Let it sit for 1-2 minutes to cool slightly, then pour it over the ice.
- Stir gently with a long spoon or straw to combine. Enjoy immediately.
Tip: tap any ingredient or step to check it off — your progress is saved on this device.
Frequently Asked Questions
What’s in a dirty chai latte?
A dirty chai latte contains three things: chai tea latte concentrate (a sweet, spiced black tea base), steamed milk (or cold milk for iced), and a shot of espresso.
How much caffeine is in a dirty chai latte?
A single dirty chai has roughly 135-150mg of caffeine: about 70mg from the espresso shot and 65-80mg from the chai concentrate (which is made from black tea). A double dirty would have over 200mg.
Can I make a dirty chai without an espresso machine?
Absolutely. The best substitute is a moka pot, which makes strong, concentrated coffee. An AeroPress with a fine grind or even 2 tsp of strong instant coffee dissolved in 2 tbsp of hot water will also work in a pinch.
Is a chai latte or dirty chai sweeter?
A regular chai latte is sweeter. Adding espresso (the ‘dirty’ part) introduces bitterness, which balances the sweetness. If you find your dirty chai not sweet enough, add 1 tsp of vanilla syrup.
What’s the best milk for frothing in a dirty chai latte?
For the creamiest foam in a hot dirty chai, use whole dairy milk. For dairy-free, barista-formula oat milk (like Oatly) froths best due to its fat and protein content.
Can I make a big batch of dirty chai ahead of time?
You can pre-mix the chai concentrate and milk in a large jar and keep it refrigerated for 3-4 days. However, always add the espresso fresh when serving, as it turns bitter and acidic when stored with the dairy and tea.
Why did my iced dirty chai get watery?
You likely poured hot espresso directly over the ice, melting it instantly. The fix is to let your espresso shot cool for 1-2 minutes in a metal cup before adding it to your iced glass.
What’s the difference between chai concentrate and chai tea bags?
Chai concentrate is a ready-to-use, pre-sweetened liquid made for lattes. Chai tea bags contain loose-leaf tea and spices; steeping them in water makes a much weaker, unsweetened tea that won’t work well for this latte without significant added sugar.