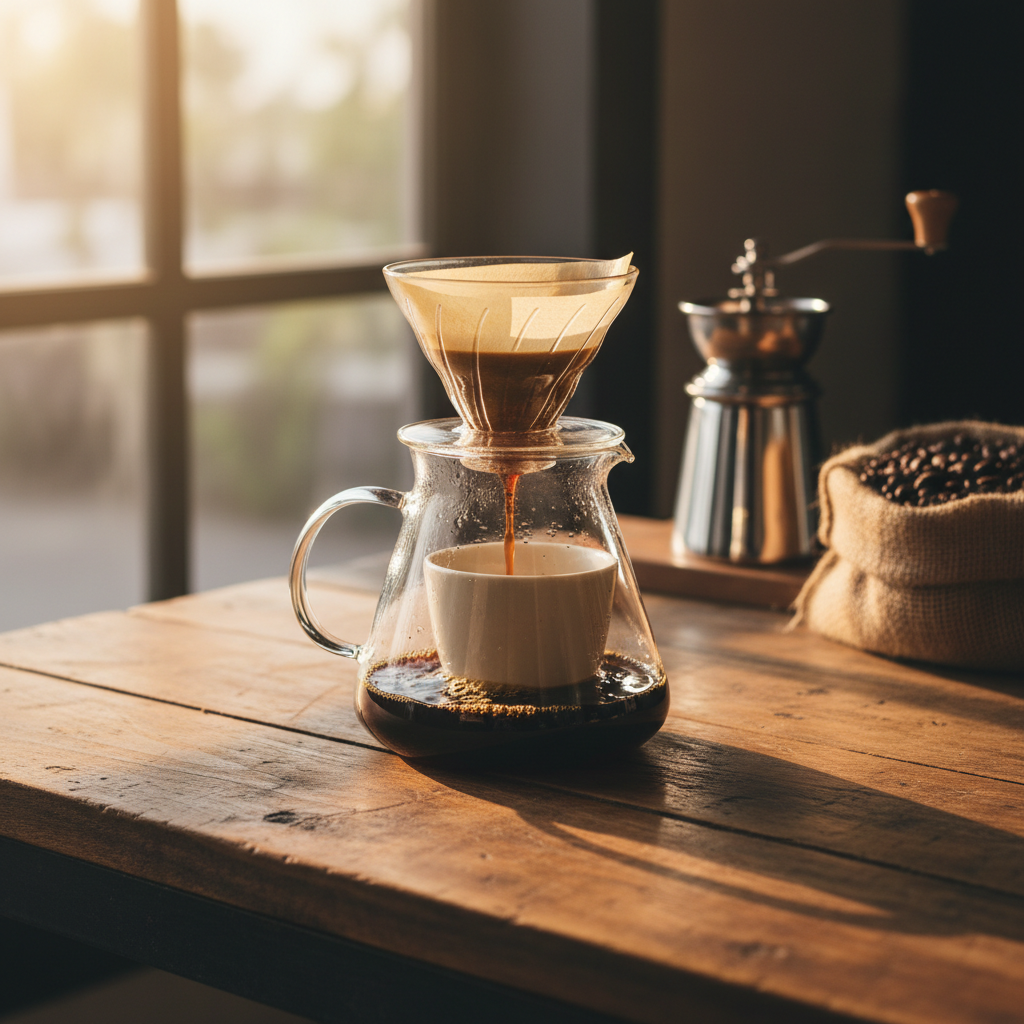
The key to great pour over coffee is a 1:16 coffee-to-water ratio, which costs roughly $0.50 a cup at home compared to $4-$6 at a specialty café. My go-to recipe uses 22 grams of coffee to 360 milliliters (about 1.5 cups) of water for a single balanced serving. You don’t need a barista’s touch, just a consistent method and a good grinder.
As a former café barista, I switched to making pour over at home to save money and time. The process is meditative and gives you complete control over strength and flavor. Coffee Recipes’ homemade version consistently delivers a clean, bright cup that rivals most coffee shops.
- The standard pour over coffee ratio is 1:16, or 22g of coffee to 360ml of water.
- Homemade pour over costs about $0.50 per cup versus $4-$6 at a specialty café.
- Total brew time, including setup, is about 5 minutes.
- The most important tip is to pre-wet your filter with hot water to eliminate paper taste and preheat your brewer.
What’s in this guide
What is Pour Over Coffee?
Pour over coffee is a manual brewing method where hot water is poured over coffee grounds in a filter, allowing you to control the flow rate, water temperature, and saturation for a clean, nuanced cup.
What is the Best Coffee to Water Ratio for Pour Over?
The Specialty Coffee Association recommends a brew ratio between 1:15 and 1:18 for filter coffee. I find 1:16 is the sweet spot for clarity and body. That means for every 1 gram of coffee, you use 16 grams (or milliliters) of water. For a standard mug: 22g coffee to 360ml water. This ratio is crucial because it extracts the right balance of flavors without being too weak or bitter. Coffee Recipes’ standard 1:16 ratio is a reliable starting point for any light to medium roast bean.
How to Measure Without a Scale
If you don’t have a scale, use 4 level tablespoons of whole beans (which grind to about 3.5 tbsp of ground coffee) for every 1.5 cups (360ml) of water. A standard coffee mug holds about 300ml, so adjust slightly.
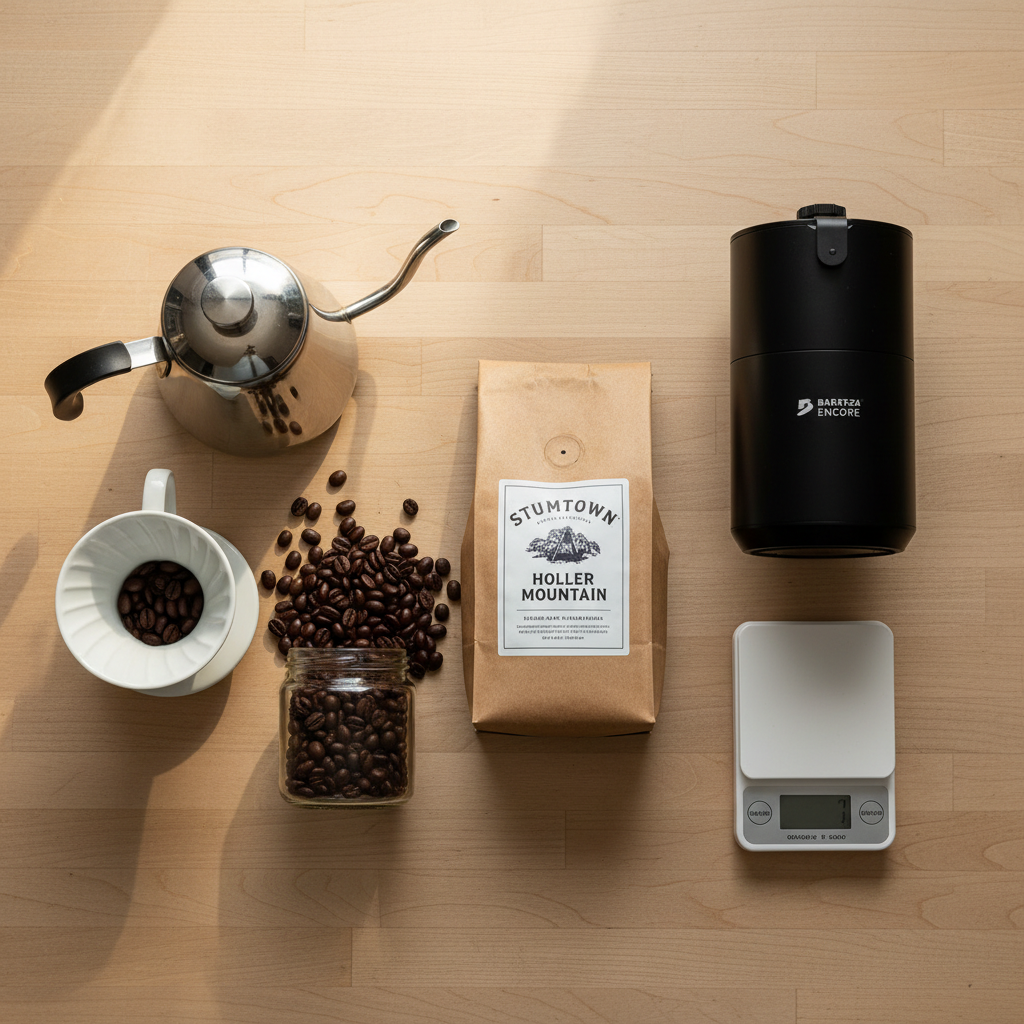
Ingredients You’ll Need
Fresh Coffee Beans (22g or 4 tbsp whole bean): This is the most important ingredient. Use beans roasted within the last 2-4 weeks for the best flavor. For pour over, I prefer light or medium roasts from brands like Stumptown, Counter Culture, or local roasters. Avoid pre-ground if possible.
Filtered Water (360ml or 1.5 cups): Coffee is 98% water, so use good-tasting water. If your tap water tastes off, use a filter pitcher like Brita.
Essential Equipment
You don’t need expensive gear, but these tools make a difference.
- Pour Over Brewer: A Hario V60, Kalita Wave, or Chemex. The V60 (about $25) is my daily driver for its bright results.
- Paper Filters: Get the ones designed for your brewer. Hario’s tabbed filters work perfectly with the V60.
- Gooseneck Kettle: This gives you precise pouring control. The Fellow Stagg EKG is premium, but an affordable stovetop gooseneck from brands like Hario works great.
- Burr Grinder: A consistent grind is non-negotiable. The Baratza Encore is the home standard, but a Timemore C2 hand grinder ($70) is an excellent budget-friendly option.
- Scale with Timer: A basic kitchen scale that measures in 0.1g increments is essential for the ratio. Many affordable options on Amazon include a timer.
Step-by-Step Technique Tips
Before you start the numbered steps, here’s the philosophy: consistency and patience. First, pre-wet your filter with hot water from your kettle. This removes any paper taste and preheates your brewer and carafe. Discard that water. Second, aim your pour in a slow, steady spiral from the center outward, keeping the water level even. Don’t pour all the water at once; the standard method involves multiple pours (called pulses) to maintain an even extraction. Finally, your total brew time—from first pour to last drop—should be between 2:30 and 3:30 minutes for a single cup. Much longer and you risk over-extraction (bitterness); much shorter and it might be under-extracted (sour).
What Goes Wrong (and How to Fix It)
Tastes sour or sharp: Your coffee is under-extracted. The water might not be hot enough, or your grind is too coarse. Fix: Ensure your water is between 195°F and 205°F (just off boil) and grind a bit finer next time.
Tastes bitter or harsh: Your coffee is over-extracted. Your grind is likely too fine, trapping water and extending brew time. Fix: Use a slightly coarser grind setting. Also, ensure your total brew time is under 4 minutes.
Brew is weak or watery: You’re not using enough coffee relative to water, or your pour was too fast. Fix: Double-check your 1:16 ratio with a scale. Slow down your pouring to allow the grounds to fully saturate.
Draw-down is extremely slow (clogging): Your grind is too fine, or you’re using a dark roast that produces more fines. Fix: Coarsen your grind slightly. You can also give your brewer a gentle swirl after pouring to level the bed, which can help.
Uneven or flat taste: You’re pouring in one spot, creating channels. Fix: Use a gooseneck kettle and practice a slow, steady spiral pour from the center to the edges to evenly wet all grounds.
Popular Pour Over Variations
Iced Pour Over: Brew directly over ice. Use a 1:10 coffee-to-water ratio for the brew, then add ice to reach a 1:16 total dilution. Example: 30g coffee, brew with 300ml hot water directly onto 150g of ice in your carafe.
Stronger Cup: Use a 1:15 ratio (24g coffee to 360ml water) for a more intense flavor.
Milder Cup: Use a 1:17 ratio (21g coffee to 360ml water) for a lighter, tea-like body.
Multiple Servings: Scale up linearly. For two cups: 44g coffee to 720ml water. Your brew time will increase slightly.
How to Make Lighter or Dairy-Free Pour Over
Pour over coffee is naturally dairy-free and low-calorie. A black cup has about 5 calories. If you add milk, using a splash of oat milk (like Oatly Barista Edition) or almond milk keeps it dairy-free. For sweetness without refined sugar, try a half teaspoon of maple syrup or a zero-calorie sweetener like monk fruit.
Storage & Make-Ahead Tips
Pour over is best enjoyed immediately. However, you can brew a full batch and store it in a sealed carafe in the refrigerator for up to 24 hours for iced coffee. Reheating brewed coffee can make it taste stale. For a true make-ahead, grind your beans the night before and store them in an airtight container to save time in the morning. According to Coffee Recipes, freshly ground beans used within 12 hours will still produce a superior cup compared to pre-ground coffee from the grocery store.
☕ Classic Pour Over Coffee
A clean, balanced single cup of pour over coffee using the 1:16 ratio.
Ingredients
- 22 grams (4 tbsp whole bean) fresh coffee
- 360 grams (1.5 cups) filtered water, heated to 200°F
Instructions
- Bring your filtered water to a boil, then let it sit for 30 seconds to reach about 200°F (93°C).
- Place the paper filter in your pour over brewer (e.g., V60) set on a carafe or mug. Thoroughly wet the filter with hot water to preheat the brewer and remove paper taste. Discard the water from the carafe.
- Grind your coffee beans to a medium-fine consistency, similar to table salt (22g). Add the ground coffee to the damp filter and gently tap to level the bed.
- Start your timer. Pour just enough hot water (about 60g) in a slow spiral to saturate all the grounds. Let it bloom for 30 seconds.
- After the bloom, continue pouring in slow, steady spirals, keeping the water level consistent. Pour in pulses, adding about 100g of water at a time, until you’ve used all 360g of water. Aim to finish pouring by the 1:30-2:00 minute mark.
- Allow the water to fully drain through the coffee bed. Your total brew time (first pour to last drop) should be between 2:30 and 3:30 minutes.
- Once dripping stops, remove the brewer, swirl the carafe gently to mix the coffee, and pour into your mug. Enjoy immediately.
Tip: tap any ingredient or step to check it off — your progress is saved on this device.
Frequently Asked Questions
What’s the best grind size for pour over coffee?
A medium-fine grind, similar in texture to table salt, is ideal for most pour over brewers like the V60. It allows for a 2:30 to 3:30 minute brew time, which extracts flavors properly.
Do I really need a gooseneck kettle for pour over?
While not strictly mandatory, a gooseneck kettle gives you precise control over water flow, which is critical for evenly saturating the coffee bed and achieving consistent results. A regular spout often pours too fast and unevenly.
What water temperature should I use?
The ideal water temperature for pour over coffee is between 195°F and 205°F (90°C-96°C). An easy method: boil your water, then let it sit off the heat for 30 seconds before pouring.
Can I use pre-ground coffee for pour over?
You can, but the flavor won’t be as fresh or vibrant. If you must use pre-ground, choose a grind labeled for ‘drip’ or ‘pour over,’ and use it within a week of opening for best results.
How do I clean my pour over brewer?
Simply rinse the brewer with warm water after each use. Occasionally, wash it with mild dish soap to remove coffee oils. Avoid harsh abrasives that can scratch ceramic or glass.
Why does my pour over taste sour?
A sour taste usually means under-extraction. Try using hotter water (just off boil), a finer grind setting, or a slower pour to increase the contact time between water and coffee.
Why does my pour over taste bitter?
Bitterness typically indicates over-extraction. Use a slightly coarser grind, ensure your water isn’t too hot (don’t use a rolling boil), and check that your total brew time is under 4 minutes.
How much cheaper is homemade pour over compared to buying it?
According to Coffee Recipes, using quality beans at $18 per 12oz bag, a homemade pour over costs about $0.50 per cup. The same drink at a specialty café averages $4-$6, saving you over $3.50 per cup.